Affiliate links may be included for your convenience. View our privacy and affiliates policy for details.
The Iron Craft Challenge this week was to make something that could be done from start to finish in an hour or less. I had been thinking about this one for a while so I was glad to finally get it finished.
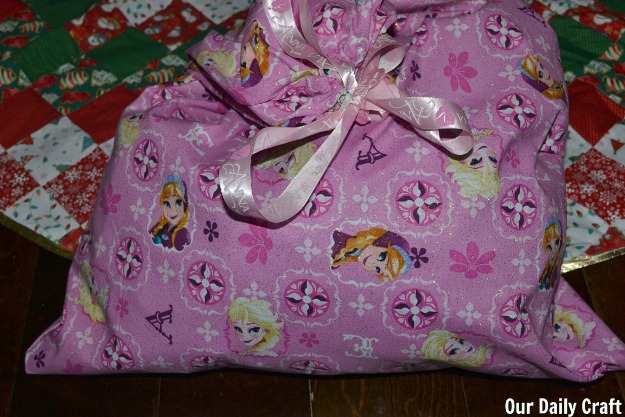
Like most girls her age, the girl is very into Frozen. One of the few things on her Christmas list at the beginning of the season (though it did get longer in time) was Anna and Elsa dolls. I had already gotten her dress up dresses (and have since ordered shoes and some other accessories) and I thought it would be fun to make a storage bag to hold it all using Frozen fabric. 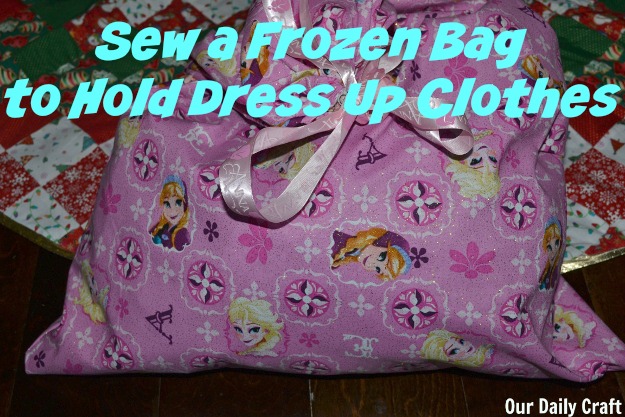
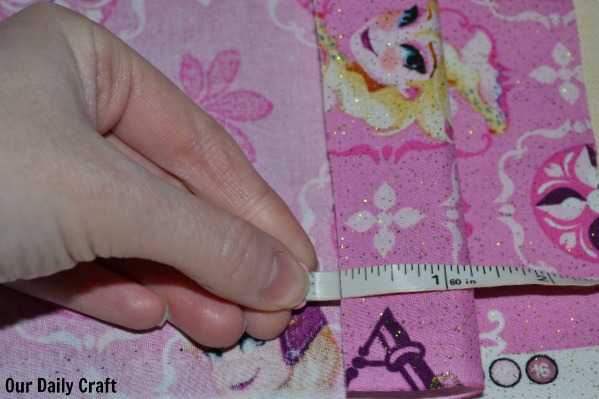
This was indeed a really quick and easy project, and I happened to buy the fabric and ribbon when it was on sale, which is even better. The bag looks huge — and it kind of is, at about 32 inches deep and 40 inches around — but there’s going to be a lot of stuff to go into it really soon, so I think it’s fine.
And of course this could be a “plain” dress up bag made out of any fabric you like, or just a really big gift bag for the holidays. Or use it as a potato sack for some indoor fun in the winter. 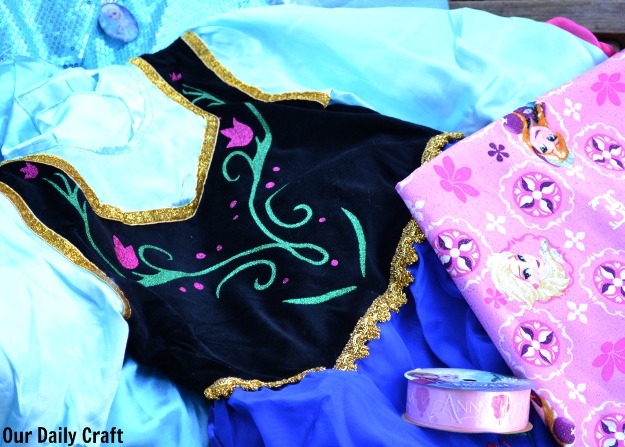
What You’ll Need
- 1 yard of Frozen or other fabric of your choice
- spool of ribbon (mine is 7/8 inch wide and says “Anna” on it)
- iron and ironing board
- sewing machine and coordinating thread
- straight pins
What You’ll Do
- If you’re feeling fancy, press the fabric. Fold in half, right sides together, and press.
- Decide which edge will be the top. Fold down about an inch and a quarter of fabric to what will be the inside of the bag and press.
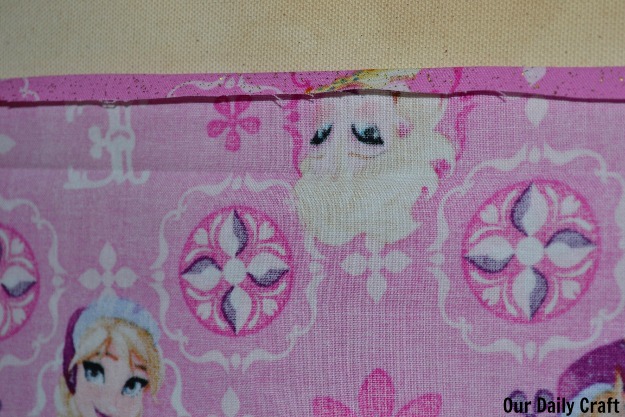
- Unfold the seam. Fold the raw edge under a quarter of an inch and press again.
- Fold along original pressing line. Pin to hold.
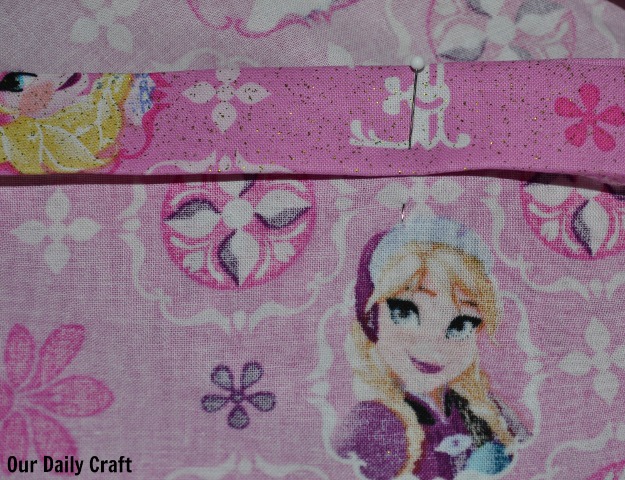
- Pin the side and bottom seams if desired.

- Sew those seams. I started up by the casing for the ribbon and started sewing just at the very bottom edge of it. That way I could use that opening to thread my ribbon through.

- Sew the top seam all the way around, making sure not to close up the top edge. Leave the ends open for threading the ribbon.
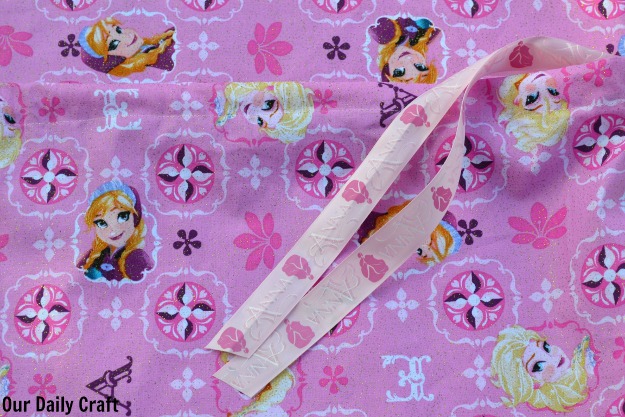
- Turn the bag right side out. Cut your ribbon to desired length. (Mine goes all the way through the bag and I left 12 inches extra on each side.) Use a safety pin to help you thread the ribbon through the casing. Trim the end of the ribbon again if the edge frays when you do this.
- Fill with goodies and put under the tree.
Have you made any gifts or parts of gifts this year? I’d love to hear about it!