Affiliate links may be included for your convenience. View our privacy and affiliates policy for details.
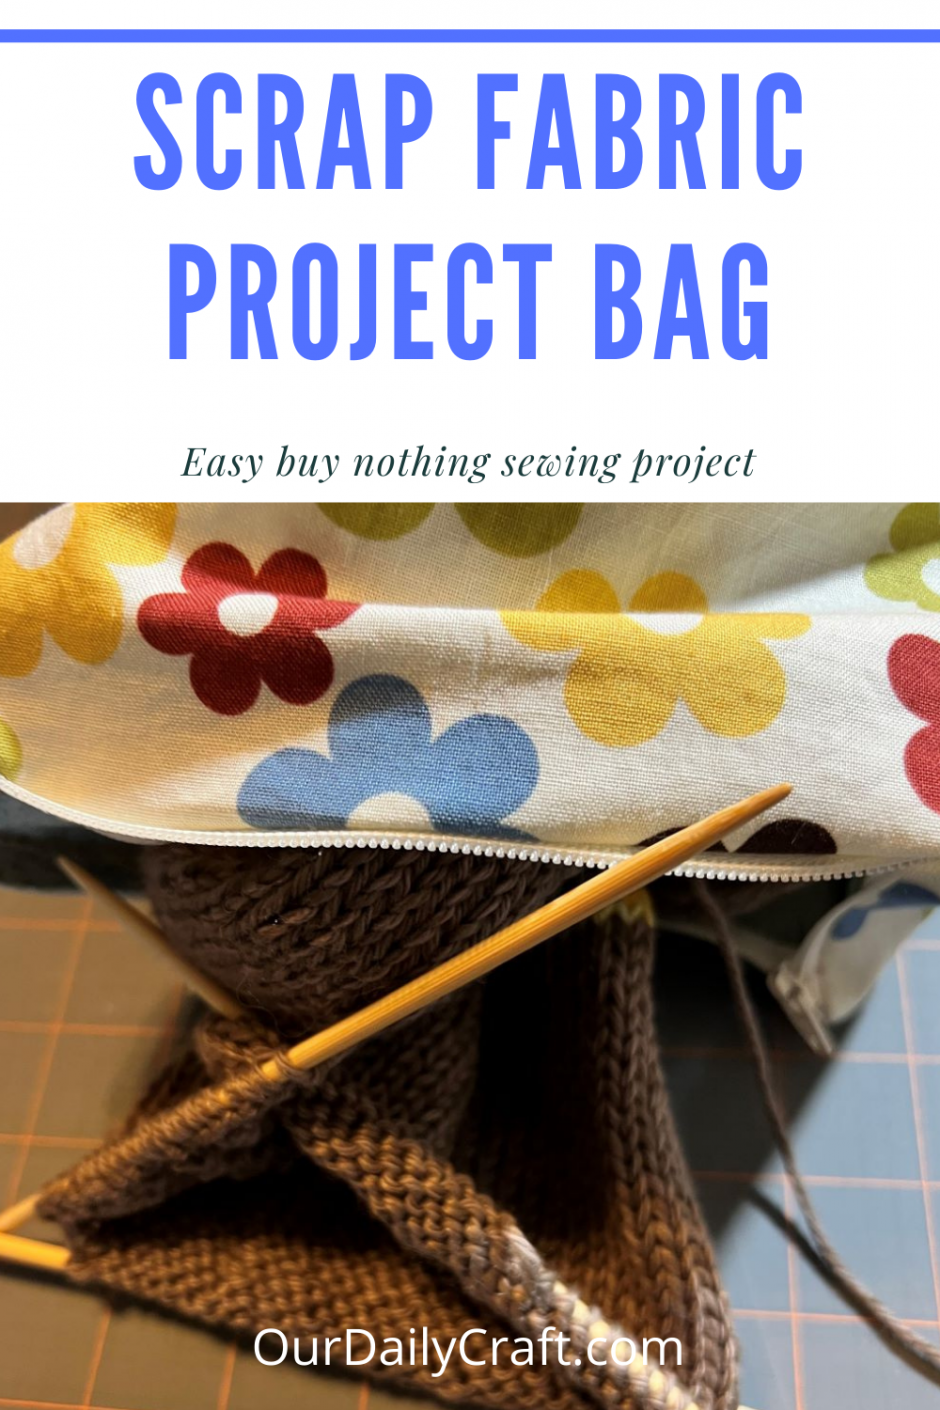
This easy scrap fabric project bag is the child of a couple of necessities. First, I have cats who LOVE yarn. They will go to any lengths, including climbing shelves and digging in tote bags, to get a ball of it — and the project its attached to — for themselves.
Second, I have a lot of random scraps of fabric. Some of them are somewhat large, cut for fabric face masks I didn’t end up sewing. Some are truly random, odd little pieces that I also want to use, but I made this project super simple by using a few bigger pieces of fabric left over from masks.

Because I wanted this to be a buy nothing project (I’m trying to use supplies I already own as much as I can this year) I made it the size to fit a zipper I already had in my stash. But you can do this same thing with a single piece of fabric or even more scraps than I used, and make it as big or as small as you want.
If you don’t have cats that think they are smarter than drawstrings, you can make a drawstring fabric project bag instead of using a zipper.
But if you’re afraid of zippers this is a great first project for using a zipper.
What You’ll Need
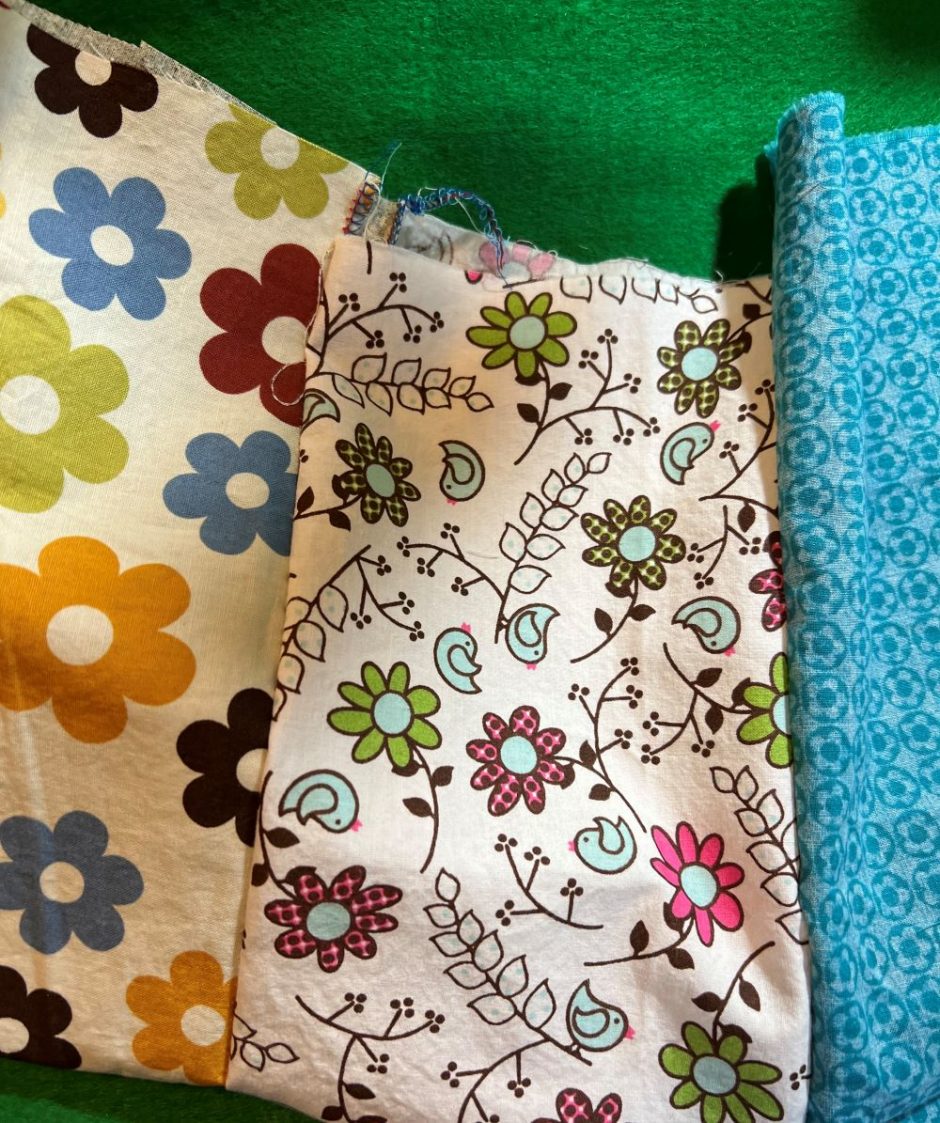
Fabric: my fabric pieces were each about 6 inches long and either 11 or 22 inches wide (two of the pieces are long, two short)
Zipper: I used a 9 inch polyester zipper that had been in my stash for so long it was from Hobby Lobby
Sewing machine and/or serger: I used my serger to sew the pieces together, then my sewing machine to install the zipper and finish the bag. You could do it all on the sewing machine
Sewing Your Scrap Fabric Project Bag
First, sew your scraps of fabric together to make one or two large sheets. Since I had a couple of longer pieces that were just a little longer than I needed the bag to be all the way around, I had one big piece of fabric when I was done sewing.
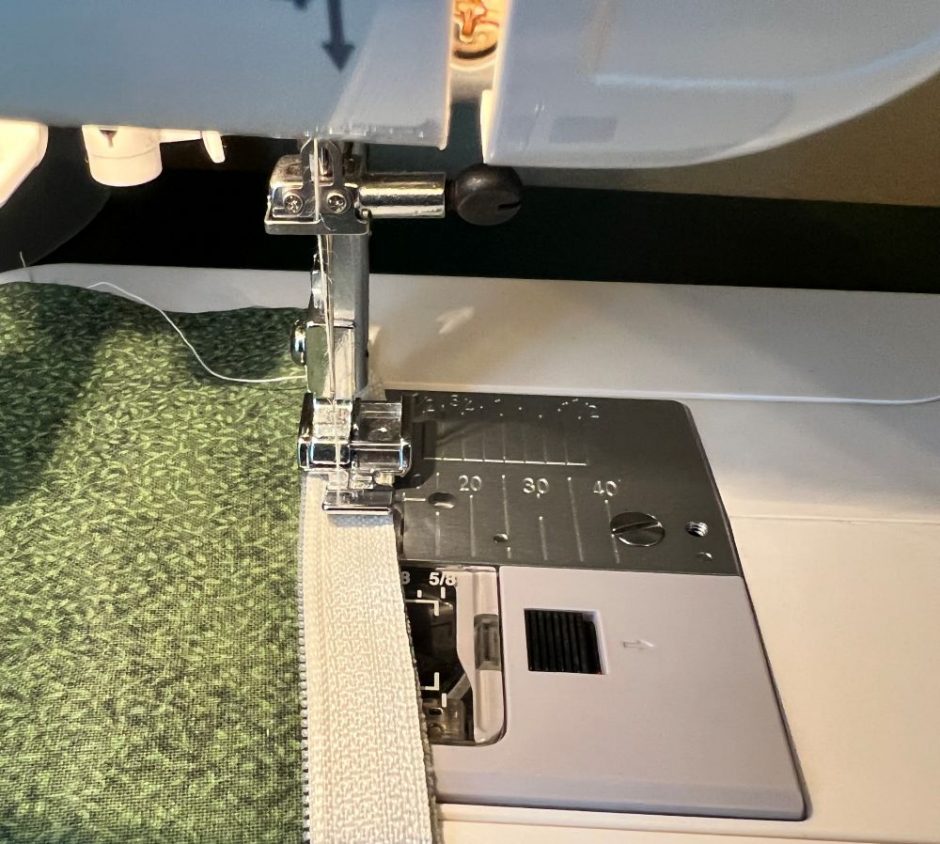
Open the zipper and pin one side to the right side of the fabric along the edge. I started at the corner where the fabric folded in half to make the side of the bag.
Using the zipper foot on your machine, sew along this side of the zipper. After you’ve sewn a bit, stop sewing, put the needle down through the fabric, lift the foot and slide the zipper so it is closed.
Repeat on the other side of the zipper, starting with it closed and opening it once you have sewn a bit.
Press the fabric to make sure it’s flat and square.
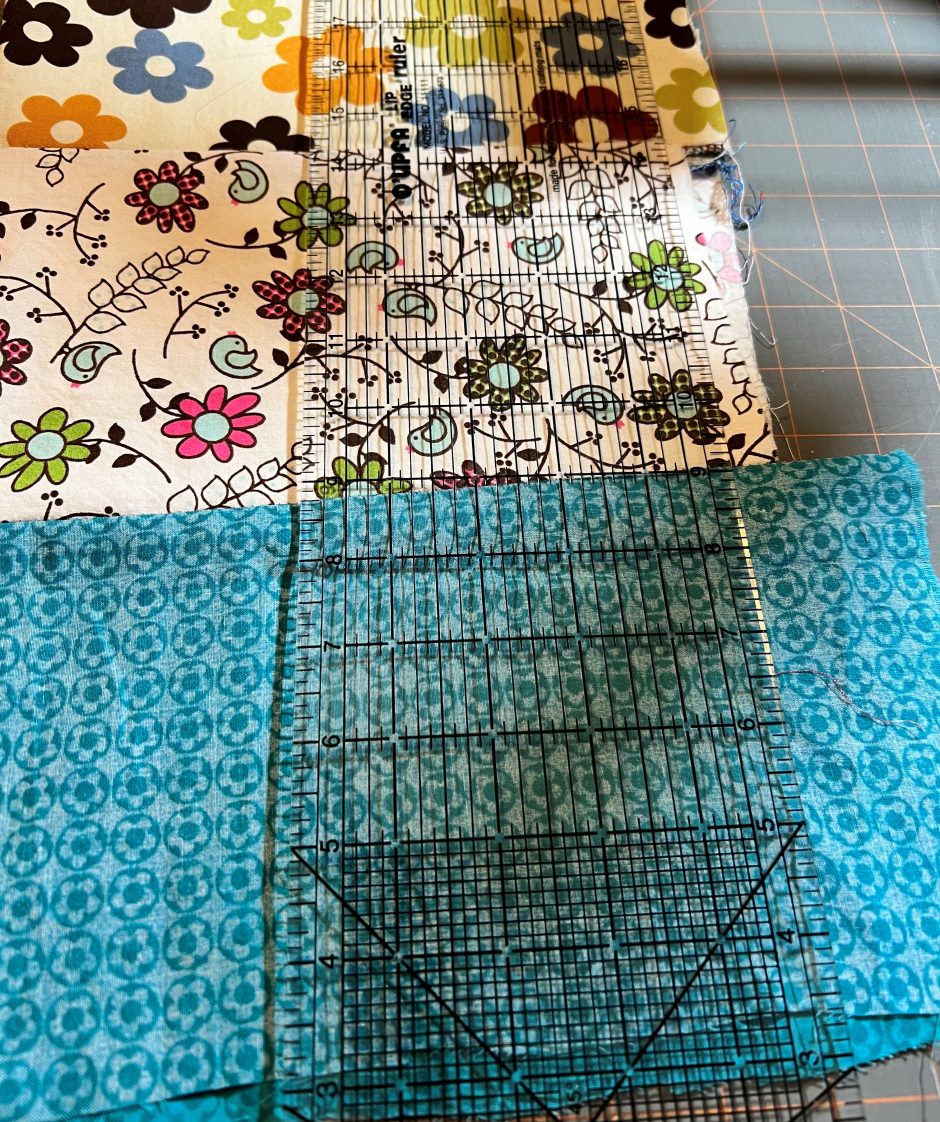
Trim edges as needed to make them even with the zipper and straight across the bottom.
Finish the side(s) and bottom using the sewing machine.
Using Your Project Bag
Of course you can make a scrap fabric project bag any size and for any purpose you want. I have some longer zippers so I can make bigger ones in the future.
I’d also love to make some small ones for notions and double-pointed needles (those don’t necessarily need zippers, but the concept is the same).
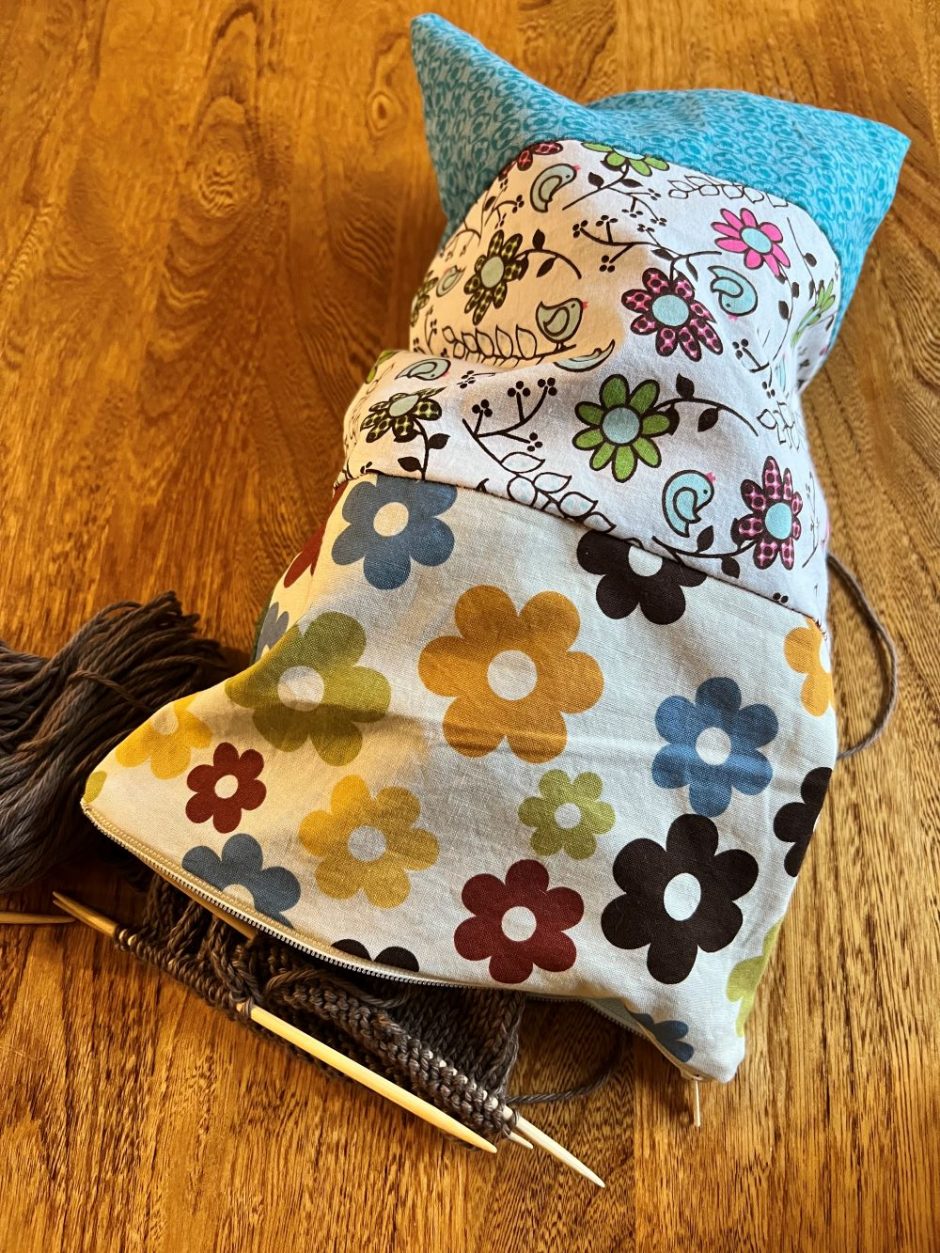
This project bag is about 15 inches deep so it’s a decent size for holding a sweater, which is just what I needed. I kind of have to fold it up to get it in there, but that’s not a problem.
When I’m done knitting I can put my project in, zip it up and the cats will never know there’s delicious yarn inside.