Affiliate links may be included for your convenience. View our privacy and affiliates policy for details.
Yesterday we talked about pulling together supplies to make an art journal — or any other kind of DIY journal you like! — and I mentioned that we’d be putting the pages together in signatures for this project.
Each signature is like its own little book, and depending on the size of your cover material, you’ll need a few of them.![]()
I made each of mine five or six sheets thick, and I think I’ll be able to fit four of them in my book.
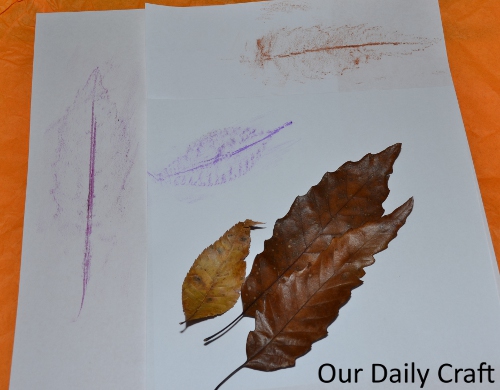
To make a signature, gather the papers you want together, lining them up as you like. Remember if you have papers that are white on one side and patterned on the other to flip some of them over so the patterns are randomly dispersed through the book.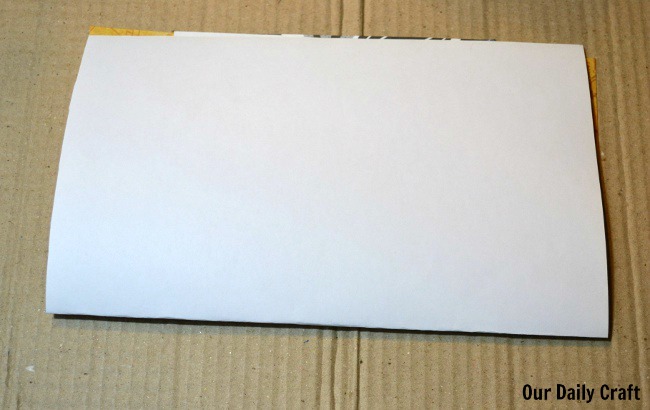
Fold the stack of pages in half down the middle.
The easiest way to bind your signatures is by sewing them with your sewing machine, if you have one.
Yes, really.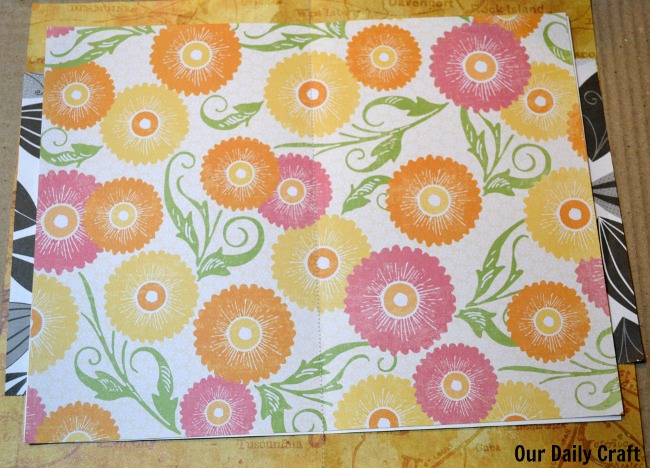
If you have a heavy-duty machine that can take the thickness, it’s not at all difficult to sew paper on a sewing machine. Just remember to change your sewing needle out before you sew fabric the next time, because this will dull it pretty quickly.
If you don’t have a sewing machine you can do this by hand with a needle and thread. Or if you have small pages (or a long-arm stapler) you can just staple them together in the middle.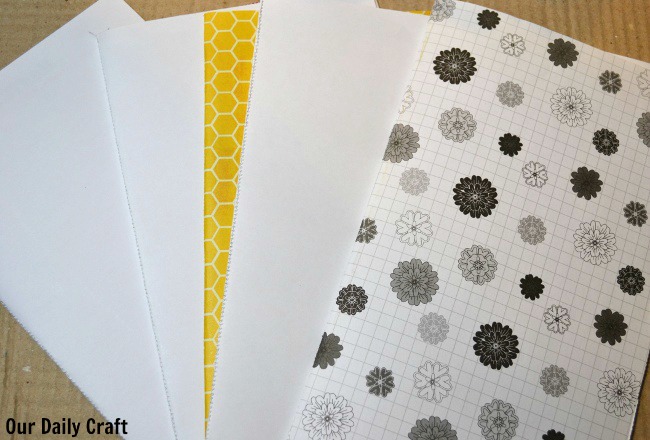
As I said, I made five signatures, which are all ready to be assembled into the book.
A bonus activity for today is to add a pretty piece of paper to the inside of your book cover, if you want. Mine is a piece I cut down but didn’t need. It’s not a perfect fit, but I’m not sure I want to add more.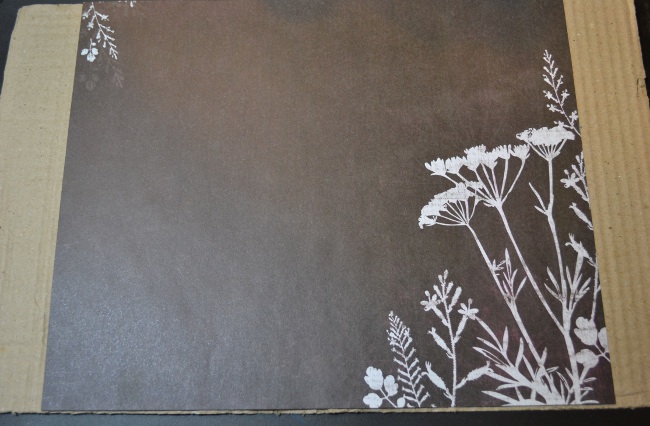
I used heavy-duty photo glue stick to glue the paper to the cardboard. It’s a little fiddly to get into the part that will be the spine and have it lay flat, but I think it’s a lovely touch.
Then I stacked my cover and the signatures and put a heavy book on top until I’m ready for the next step of making my DIY journal.
If you’re following along with this project I’d love to see the papers you chose and what your signatures look like. Tag your photos with #ourdailycraft on Instagram or Twitter.
Previous Post | Next Post | See the Whole Series
2 Comments