Affiliate links may be included for your convenience. View our privacy and affiliates policy for details.
This is a project that I’ve been wanting to make for a long time, and I’m so excited to finally get to share this DIY ribbon organizer with you. 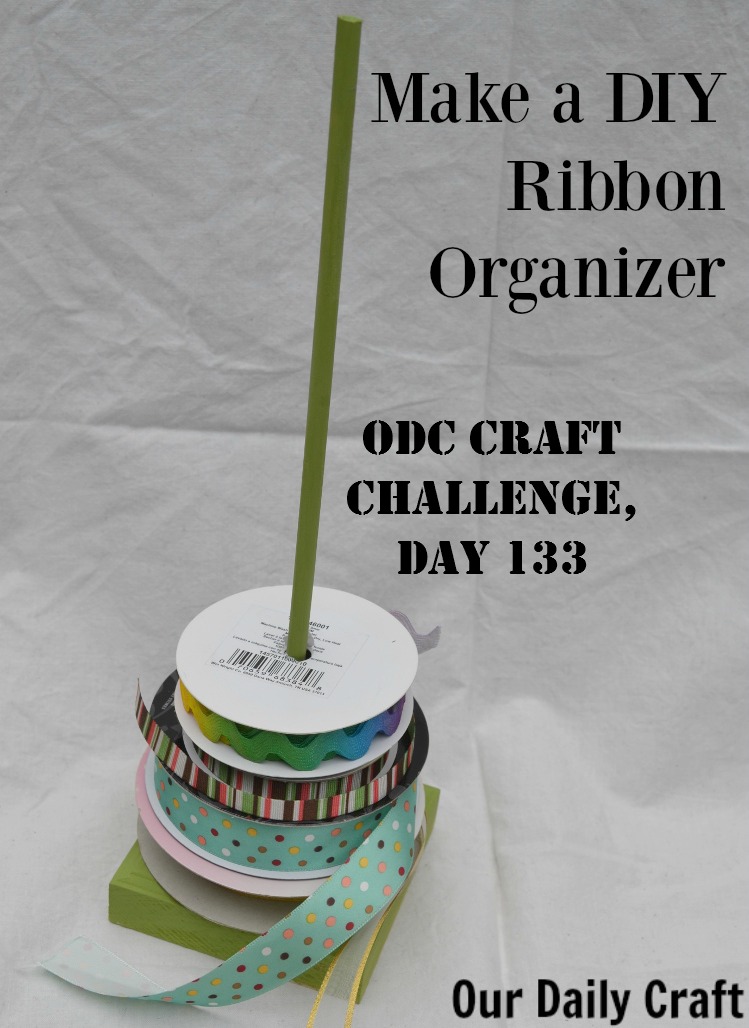
I think it was one of those things where I was sure it was going to be hard for some reason but it’s not at all. The hardest part is getting the stick to stand up straight while the glue dries.
You might need a trip to the hardware store to complete this ribbon storage project, but it’s well worth it to have a cute way to display ribbons and rick-rack and to keep them easily accessible.
What You’ll Need
- 4.5-inch square MDF molding (I used the Rosette style)
- 1/4-inch round dowel (I used 12 inches, so if you have some left over from another project don’t go buy more)
- craft knife and sandpaper if you need to cut your dowel
- paint (I used Americana Decor Chalky Finish paint in New Life) and paintbrush
- wood glue
How to Make a DIY Ribbon Organizer
If necessary, cut dowel to length. I scored mine with a box cutter then broke it on that line. Use sandpaper to smooth the ends flat. 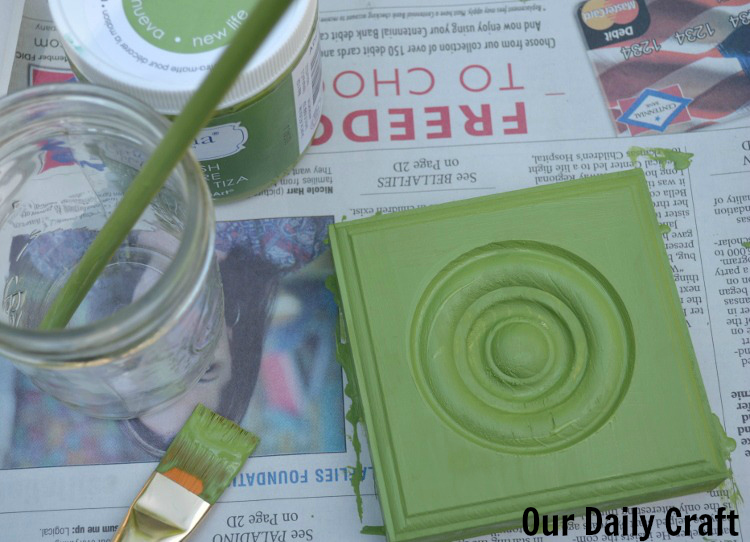
Paint the molding piece and the dowel and allow to dry. You can do more than one coat if you like. (Pro tip: put the dowel in a mason jar to dry.)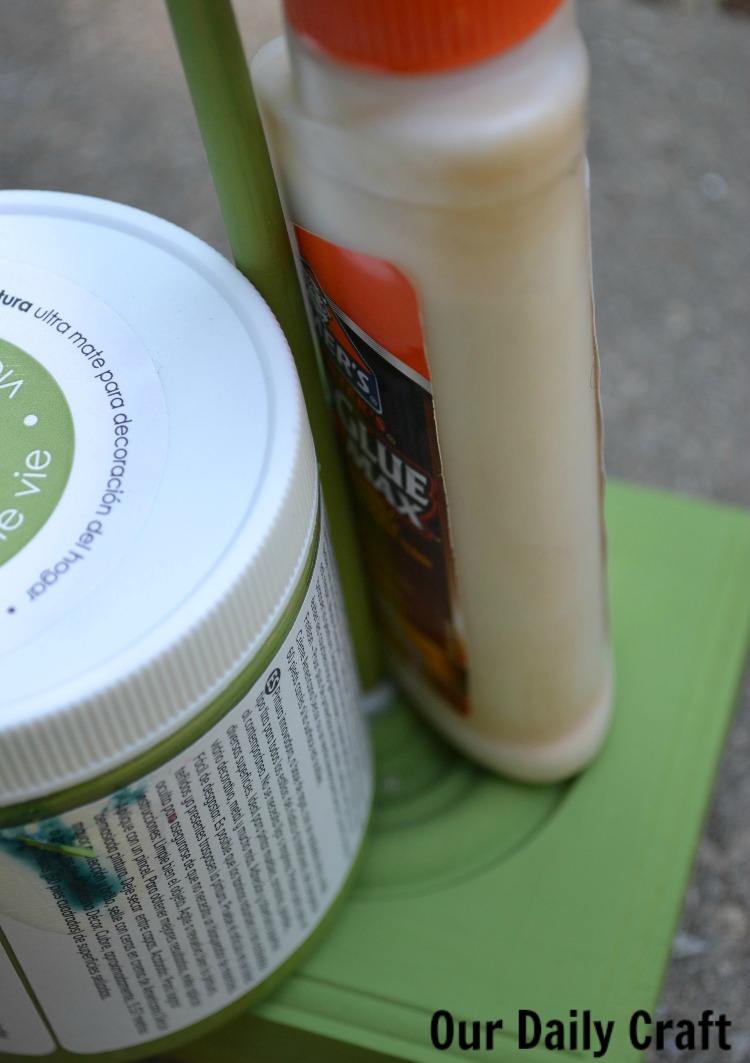
Apply wood glue to the center of the molding piece and attach the dowel. Use the wood glue and paint bottles to hold it straight (my dowel wasn’t completely straight to begin with).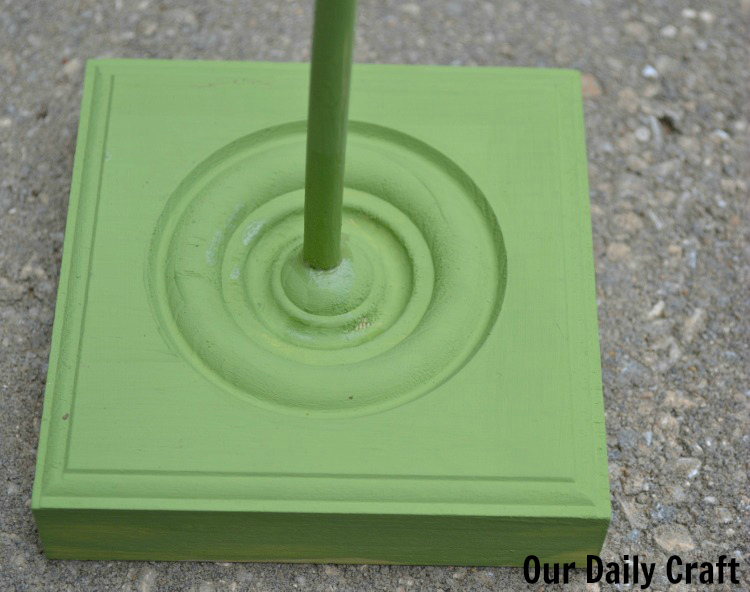
Allow to dry.
Thread ribbon spools onto dowel.
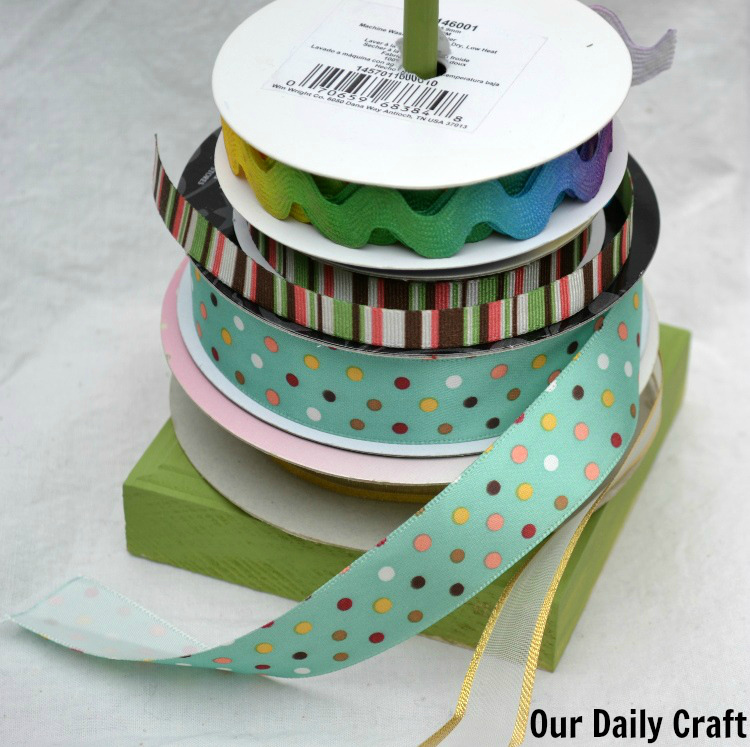
Don’t have a lot of ribbon in your house? Think about how you could use simple items from the hardware store to organize something else in your life.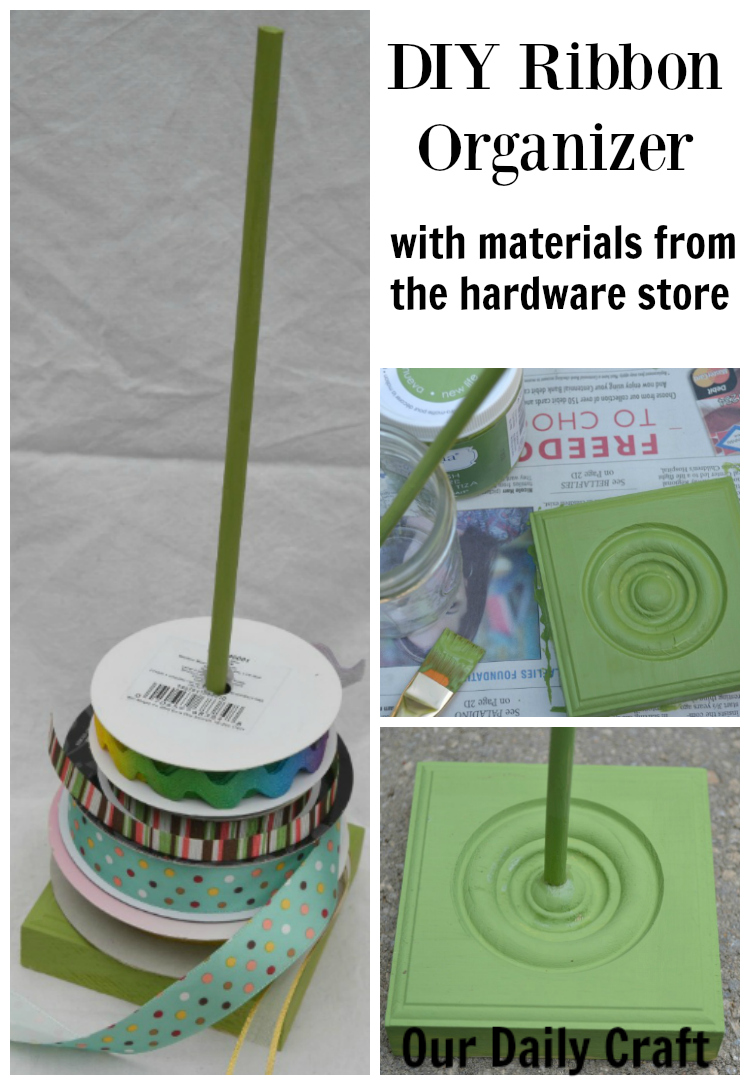
If you try this, I’d love to hear what you make!


1 Comment
Great idea to take care of a common storage problem. I keep the few ribbon spools I have in a re-purposed box. 🙂