Affiliate links may be included for your convenience. View our privacy and affiliates policy for details.
I told you yesterday that I was going to make something fun with the painted washers, so here’s what I came up with. Make simple washer bracelets to go with your washer necklace, or use them as keychains, zipper pulls or in other fun ways. 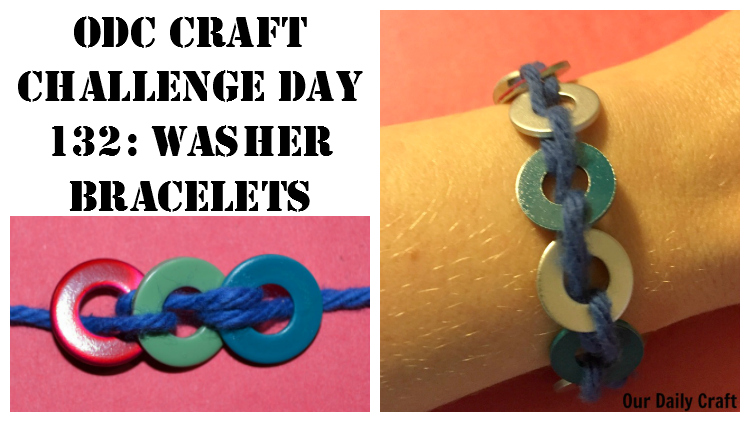
How to Make Washer Bracelets
I will admit that making washer bracelets is a little fiddly, and I’m not 100 percent certain I have the technique down perfectly, but this will at least get you started.
First, look at your washers. If you painted them you probably painted only one side. If you didn’t, you’ll note that there’s a side that is rounder and a side that is flat. You probably want the rounder side to be the one facing up, but it’s your choice.
Get a length of ribbon, cord or yarn to thread the washers on. It needs to be thin enough to go through the hole in each washer twice. 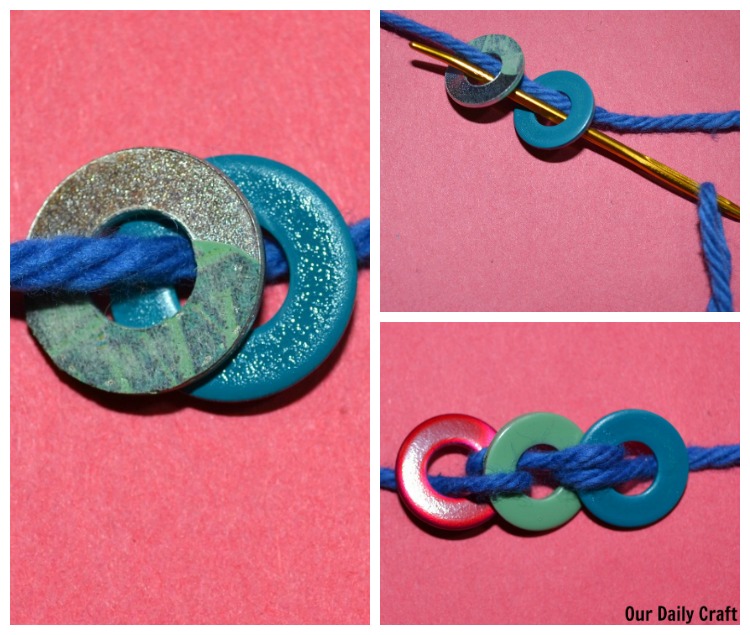
Start with one washer facing up and one facing down, and thread them onto your cord, leaving a few inches at the end for finishing.
Go back up through the bottom of both washers, flipping the second over as you pull tight. You can leave space between the washers if you want or stack them. I used a yarn needle to help you see where it needs to go, but you can just do it with your hands if you’d rather.
Thread on another washer face down and repeat. 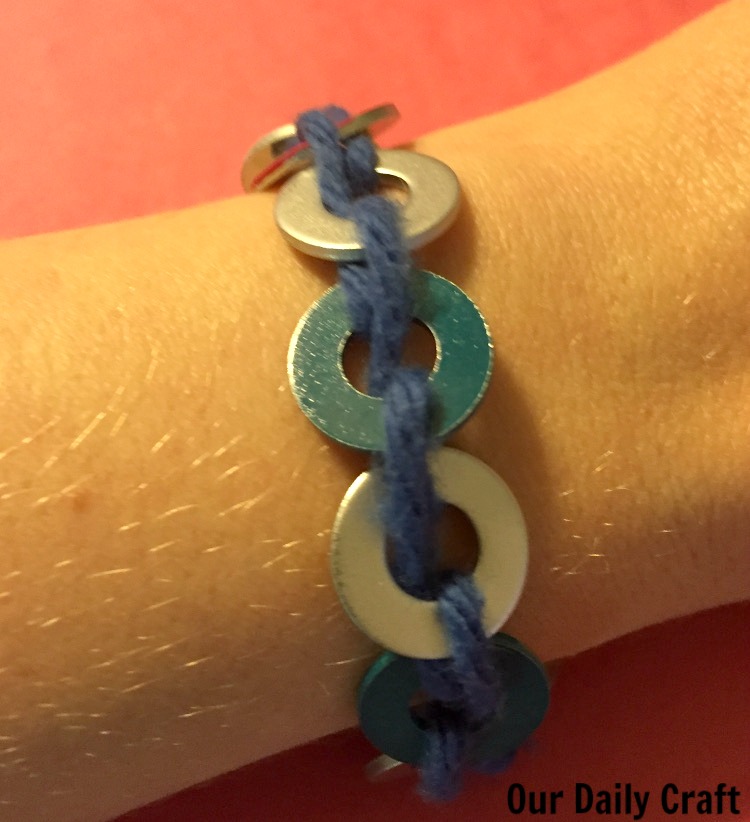
The pattern I was going for is longer than my arm, but you get the idea. 
Here’s another one I made with the painted ones. I think it would be perfect for a keychain. Very beachy. 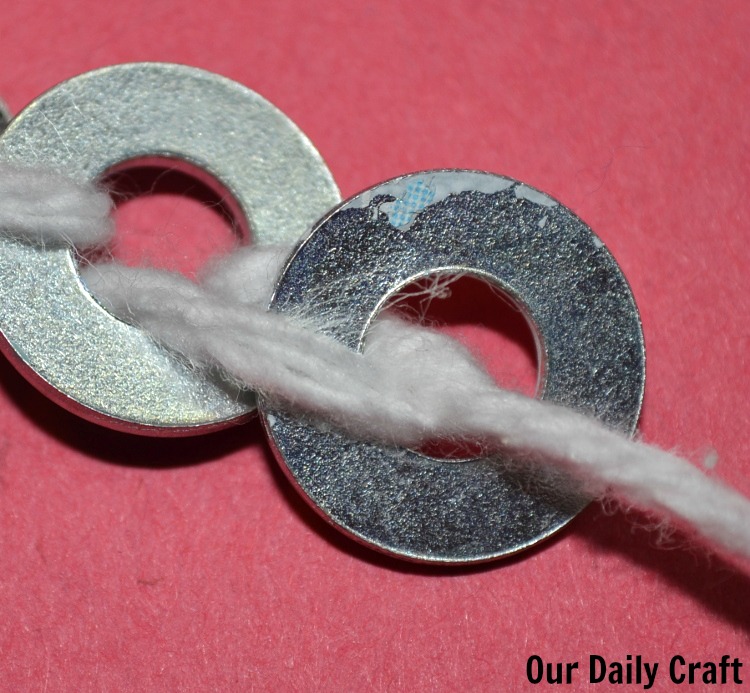
To finish, thread the end of the yarn or cord through the last loop to tie a knot. Repeat at the beginning, too.
Add a closure or just tie it to your keys.
Once you get the hang of it, this is a pretty easy craft, though I will admit to getting lost a few times and having to really think through what I was trying to do.
Have you ever made washer bracelets or jewelry? I’d love to hear about it!

