Affiliate links may be included for your convenience. View our privacy and affiliates policy for details.
I was working on a circular knitting machine bunny pattern the other day and I couldn’t decide which one I liked better so I’m sharing two options you can play with and see what you prefer.
Making a Knitting Machine Bunny

These bunnies are made on a Sentro 22 circular knitting machine. You can of course also use an Addi if you have the small one, or use a bigger one and make bigger bunnies, though I really like this size.
I used various kinds of worsted weight yarn (the white is unknown, the tan is Big Twist) as well as little bits of black and pink for the eyes and nose, and the inside of the ears on some versions.
In addition to yarn you’ll need fiberfil stuffing or something else to fill your bunnies with, a yarn needle and scissors.
Sizing
The little tan knitting machine bunny is about 5 inches/12.7 cm tall, while the big white one is 6 inches/15.2 cm. The smaller white one is about 4.5 inches/11.4 cm. You can make yours bigger or smaller by working more or fewer rounds as you like.
The ears on all of the bunnies are the same and came out about 3 inches/7.6 cm long.
Round Bunny Pattern
I’m going to walk you through the small white bunny with photos and then we can talk about variations for your knitting machine bunny.

For this one I just cast on as normal, no waste yarn, and worked 25 rounds.

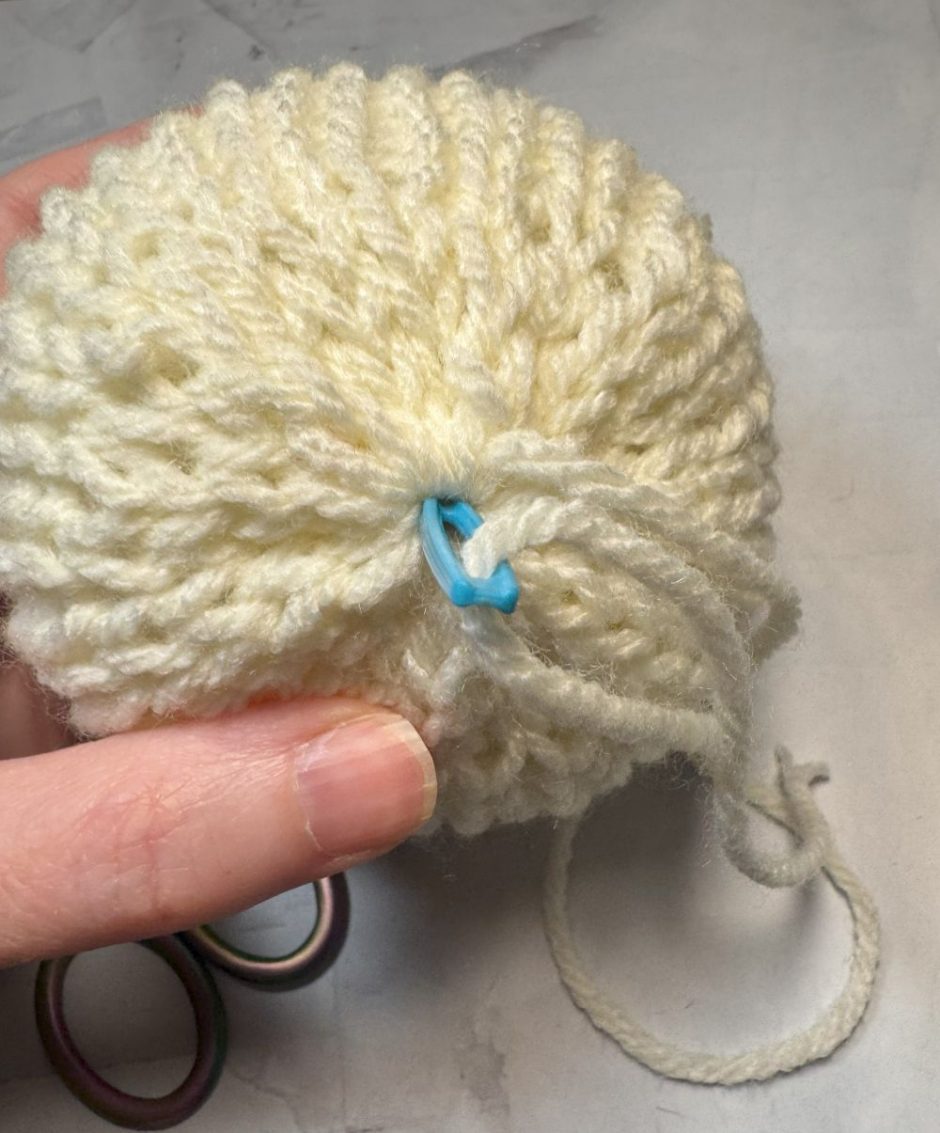
Cut yarn, leaving a long tail, and thread the end on your yarn needle. Crank one more round, picking up all the stitches with your needle and sliding them onto the yarn.

Pull tight and take the needle back through all the stitches to tighten up. Pull the yarn end through to the inside from the hole at the top.

I found it easier to decide where to put the face when I had stuffed the top of the tube to see how big it was going to be, so do that first. The way I stuffed this to start looks kind of like an egg, so you could make it an egg, too.

Then add the eyes with black yarn and the nose with pink yarn using duplicate stitch.

Bury the yarn ends in the stuffing.
Stuff the remainder of the body to your liking and pull on the cast on yarn tail to tighten up the bottom. Thread the tail onto your yarn needle, take it through the stitches again to close up the hole better, then take the needle through the hole and out one side of the bunny to bury the yarn end.

Trim any remaining tail.

Knitting the Ears
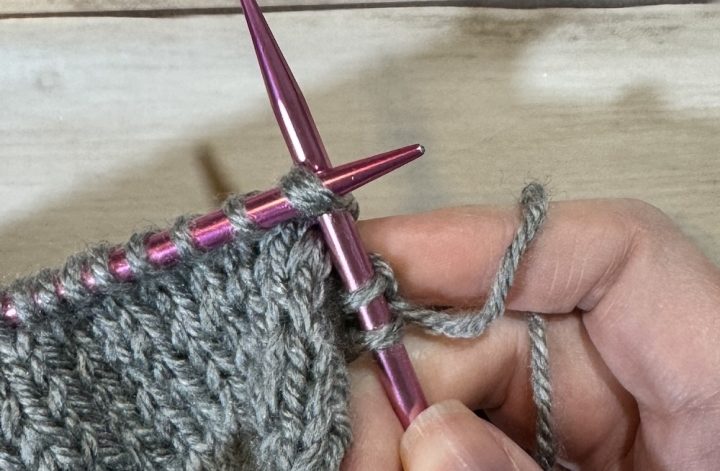
For all the bunny options the ears are done the same. You’ll need to know how to knit a panel on your machine, but this is a good first panel project because they don’t have to be perfect.
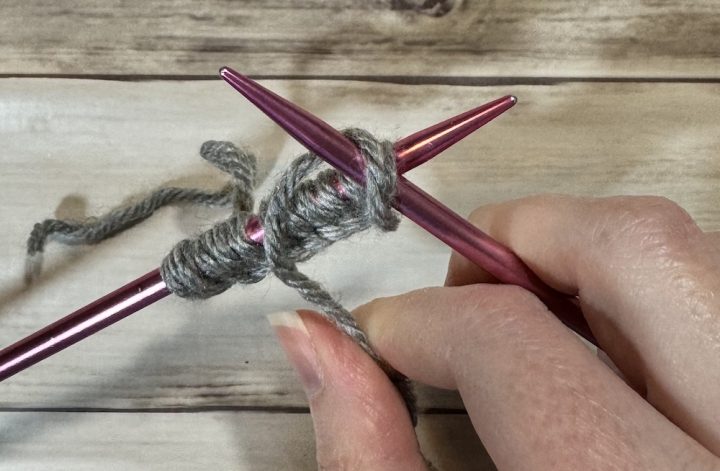
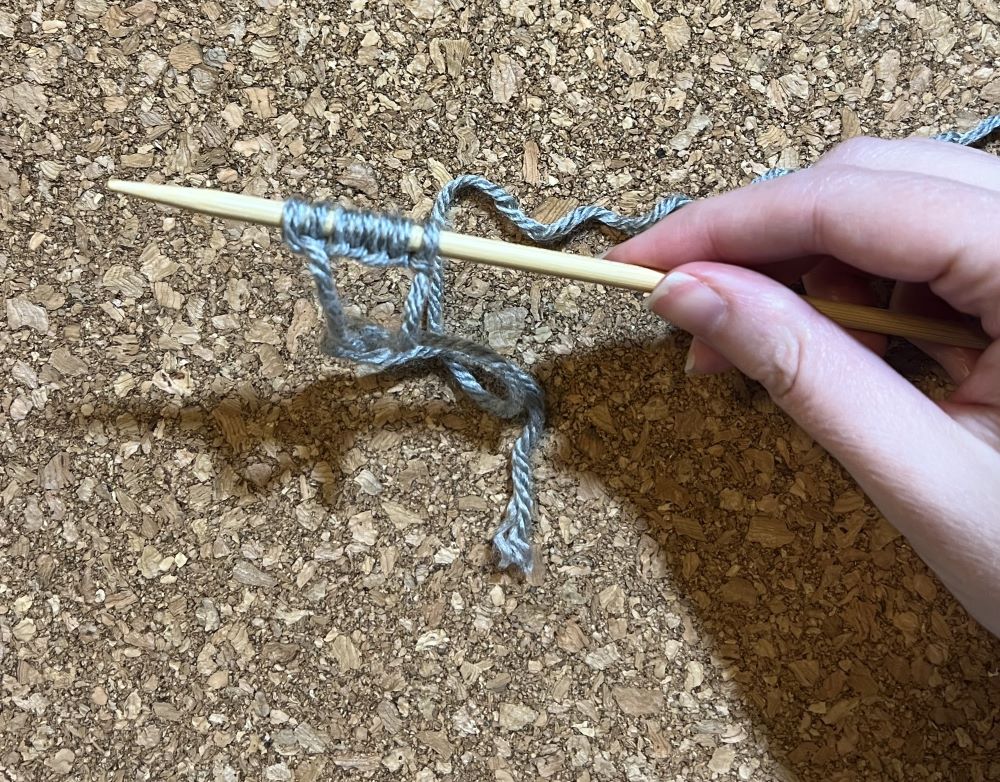
Each of the ears is a panel of five stitches worked for 15 rows. When you’re done stitching, cut the yarn, leaving a tail. Thread onto your yarn needle and crank one more row, picking up the stitches on the yarn needle as you go.

Slide the stitches onto the yarn and pull tight so that the bottom of the ear curves a bit. Run the needle through the stitches again and pull to shape again.

If desired, knit a panel of 3 stitches and 15 rows in pink for the inside of each ear.

If you do this, leave a longer tail when you pick up the stitches to sew the inside to the inside of your bunny ear. Bury the pink yarn ends (and the ear tip main color tail) inside the ear.

Pull on the cast on yarn to gather the stitches closer together, but still keep them flat.

Sew the ear to the side of the bunny head.

Repeat on the other side.
Knitting Machine Bunny Variations
I started out trying to give my bunny a distinct head and body by weaving the yarn end in and out around the body where I wanted the head to end. My daughter said this looked like bunny was being strangled.

On the next version I stuffed the head and the body separately, leaving a little space inside that makes it look like bunny has a neck.
This one was 30 rounds long and I feel like it looks a little like a dog, but that could just be the color. It’s still cute, whatever it is.
You could add a little scarf or some buttons or embroidery on the body (little daisy stitch flowers would be cute) or work the body in striping yarn or use safety eyes instead of sewing on the features. And again of course you can make them bigger or smaller as you like.

My big version is 40 rounds with the same 15 row ears with the pink interiors. Not a super traditional bunny shape but it is cute.

Or make a yellow one and call it a chick with no ears at all. If I had planned this I might have made the nose into a beak by stitching it with orange yarn, but it’s still cute. Maybe it’s a potato.

I love the whole bunch of them bundled together, but a single one would be a cute addition to an Easter basket. And if you want to make an Easter basket on a knitting machine, I can help you with that, too!
I hope you have as much fun with these circular knitting machine bunny patterns as I do. If you make yours different I’d love to hear and see what you did!