Affiliate links may be included for your convenience. View our privacy and affiliates policy for details.
It’s finally time for me to make a DIY pants pattern from these pants that I have loved a little too well for many years.

You all have seen these before if you’ve seen my post on adding a new waistband to pants, or even adding pockets to pants, because I used the pocket from these pants as my pattern.
I love these pants. I bought them at Target so long ago I can’t even remember how old they are. And they are falling apart, have paint on them, etc. Time to re-create them with a DIY pants pattern.
Supplies to Draft a Pants Pattern

It’s not difficult to make a DIY pants pattern from a pair of pants you already like, especially if they have an elastic waistband.
In this case the fronts and the backs are cut differently, so we’ll need two different pattern pieces.
To make your pattern you’ll need tracing paper (or newspaper pieces taped together if you don’t have any tracing paper handy), a pencil, a ruler (a gauge ruler makes it easier, but a regular ruler is fine), a pair of scissors for cutting paper and the pants you want to copy.
If you have pattern weights these would also be helpful, or you can use things from around the house to hold to pants down as you work.

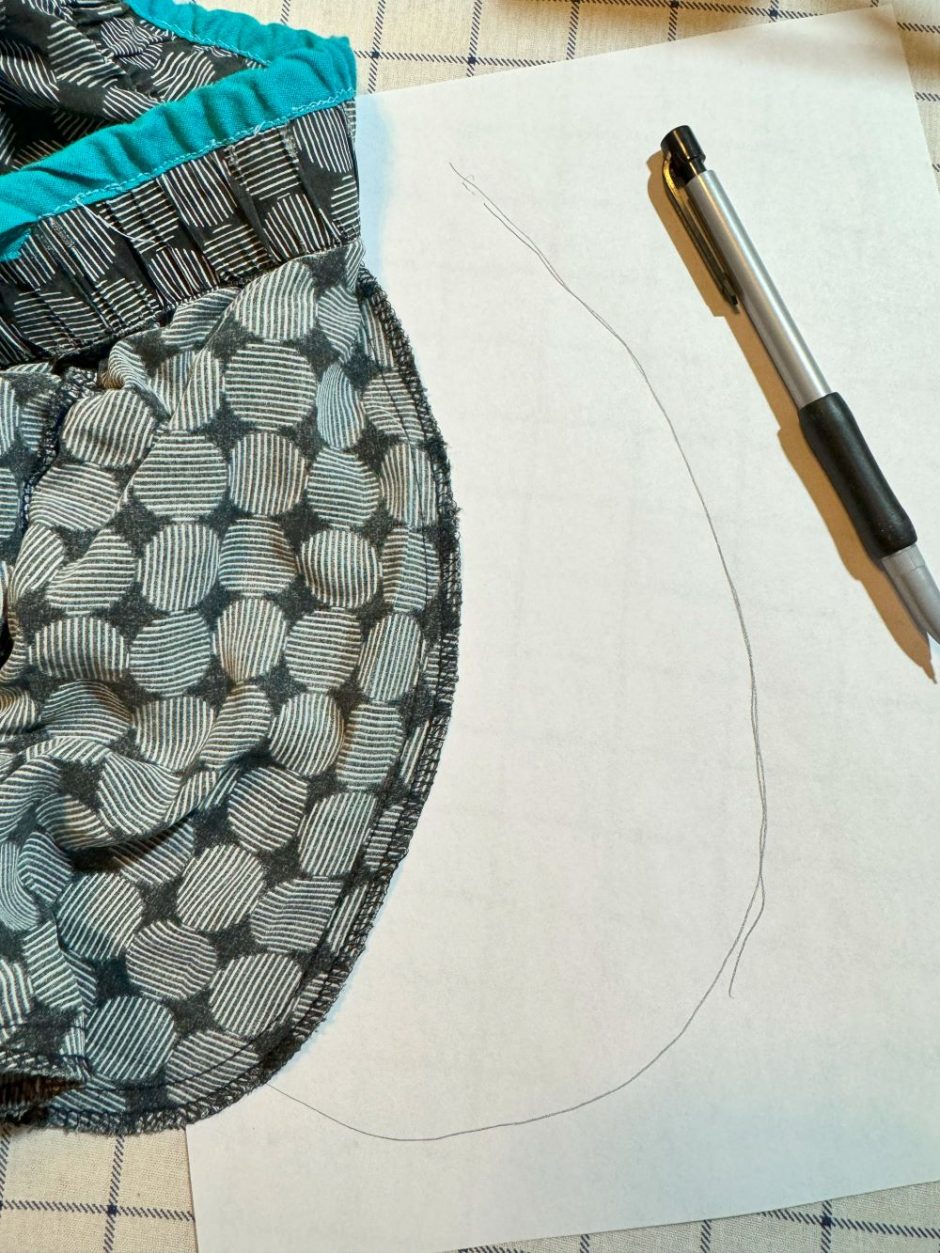
To start you need to carefully fold your pants in half so that the seams lie flat all the way around. Place them on your paper.
Drawing a DIY Pants Pattern

Use your pencil to draw the actual measurements of the pants as accurately as you can. This is not strictly necessary, but it’s helpful when comparing the front to the back or if you want to use the pattern pieces again but change the seam allowance.

Use your ruler to measure the width of the waistband (or use the width of the elastic you want to use) and add that as well as your seam allowance to the top edge of the pattern. I used a half inch/1.25 cm seam allowance throughout. I like to make a few measurements and then try to draw a straight line between them.
You could also do the waistband separately if you want and follow the instructions in the post on replacing a waistband to add that to your pants when the legs are sewn together. I wanted to keep these super simple so I made it all one piece.

For the sides you’ll just add the seam allowance, drawing lines that correspond to the lines of the actual pants.

Along the bottom of the leg, measure the width of the hem and add that length plus your seam allowance to the end. You may need a few tries if you’re as terrible at drawing straight lines as I am.

Cut out the pattern piece. Write on it what it is (front or back) and mark where the pocket goes, if your pants have pockets.
Making the Other Side of the Pattern
To make the pattern for the other side of the pants, fold them in the opposite way and mark out the pattern as before.

My pants actually have a lower waistband in the front, and the shape of the crotch is different, so they won’t be identical. But I do like to compare the front and back to make sure the waistband is the same length and the legs are close, accounting for that dip in the waistband.

Originally I drew the fronts longer than the backs so doing this check in is helpful for me.
Again draw your seam allowances, cut out and label the piece, and mark where the pockets go here, too.
If your pants have other details you want to preserve, such as holes for a drawstring, patch pockets, a fly opening, etc., make sure you mark those as well and draw pattern pieces for them as needed.
Speaking of Pockets
My pants have pockets that became the model for my pockets that I add to other pants, so I already had mine drawn, but if you need to get yours, turn the pants inside out (you can actually do all of this inside out, I just wanted the prettier side showing for photos) and trace the pocket bag onto a piece of tracing paper or newspaper.
Actually sewing these pants will be a separate post as soon as I do it, but when you make yous you’ll need two pieces — one with the pattern facing up on the fabric and one facing down — cut from the front pattern piece, two from the back and four of the pockets.
Sew the pockets first, then sew the back legs together at the center back and the front legs together at center front. Sew the inseams together, then the side seams, the waist and the hem. Sounds simple when you say it like that, right? It’s really not that hard to make your own DIY pants pattern and sew it up so I hope you’ll give it a try!


