Affiliate links may be included for your convenience. View our privacy and affiliates policy for details.
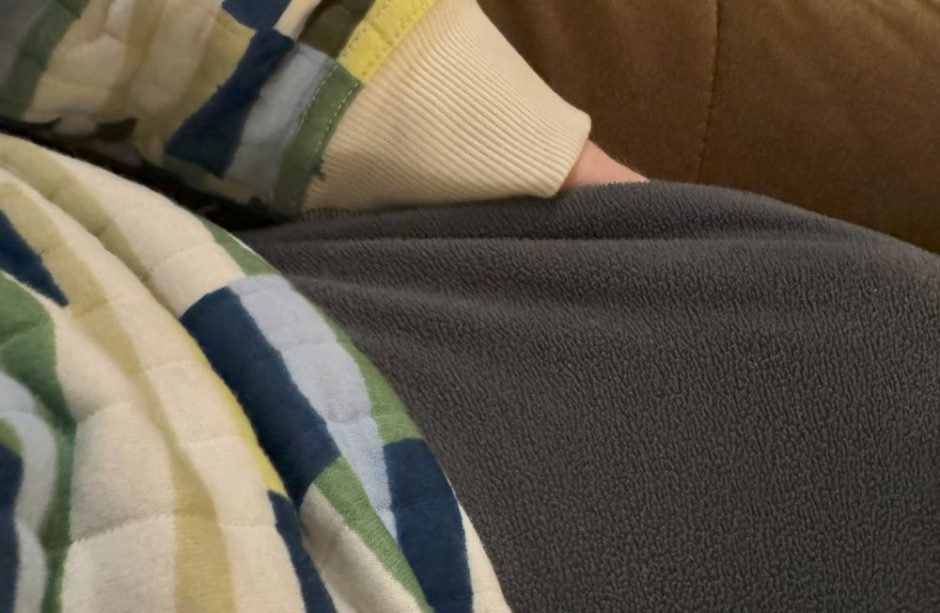
I decided this winter I wanted to add pockets to pants I own that didn’t already have pockets — mostly the fleece lounge pants that I wear all the time because I work from home.
It turns out it’s really easy to add pockets to pants that have a seam along the outside, and now that I’ve done it once I’m going to do it to all the pants that don’t have pockets. That’ll show ’em.
Pocket Pattern
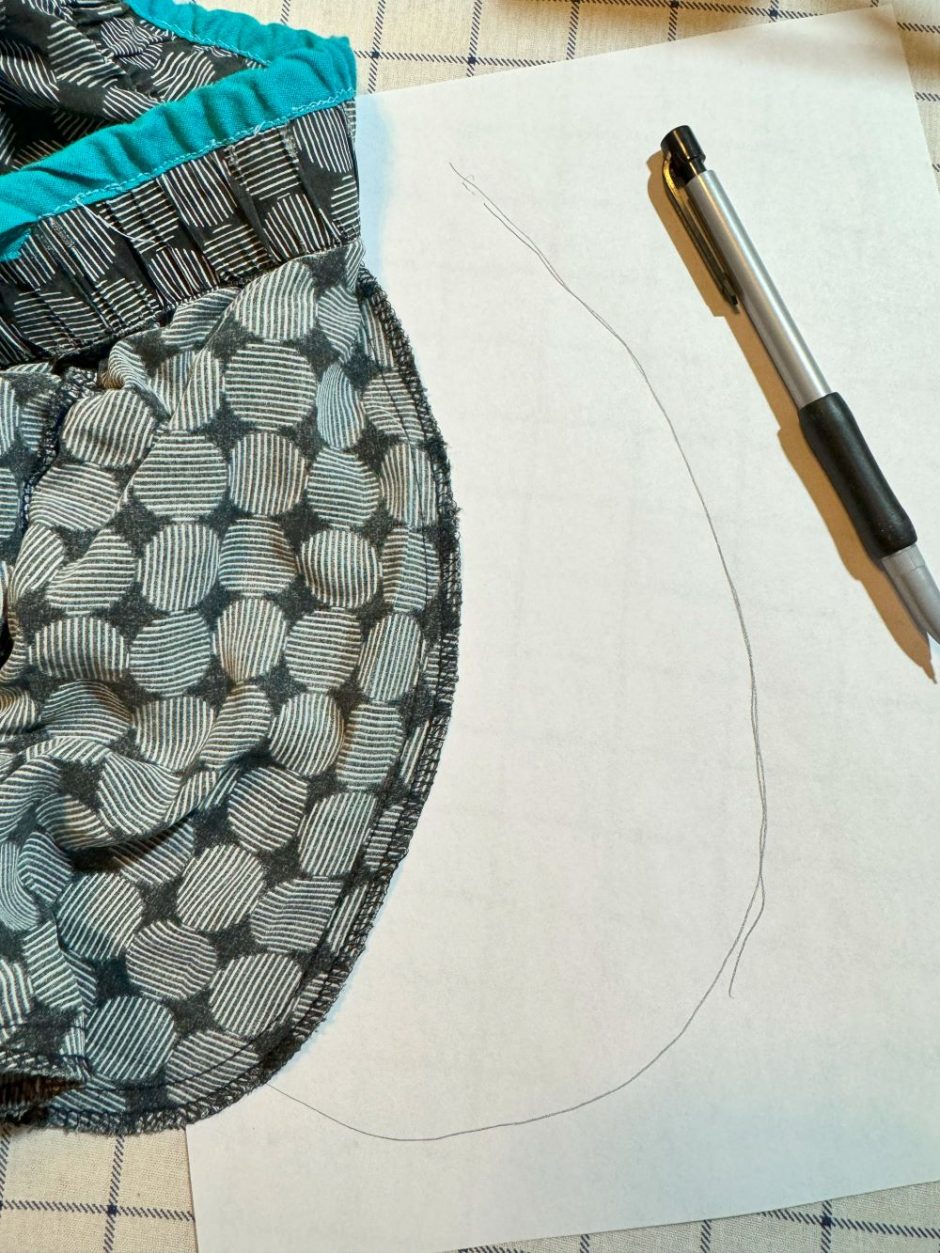
Of course to add pockets to pants you have to have a pocket pattern you can cut out to sew to your pants. I just grabbed a pair of pajama pants that already had pockets (these are my favorite pants ever and I really need to copy the whole pattern, not just the pockets) and traced them onto printer paper.
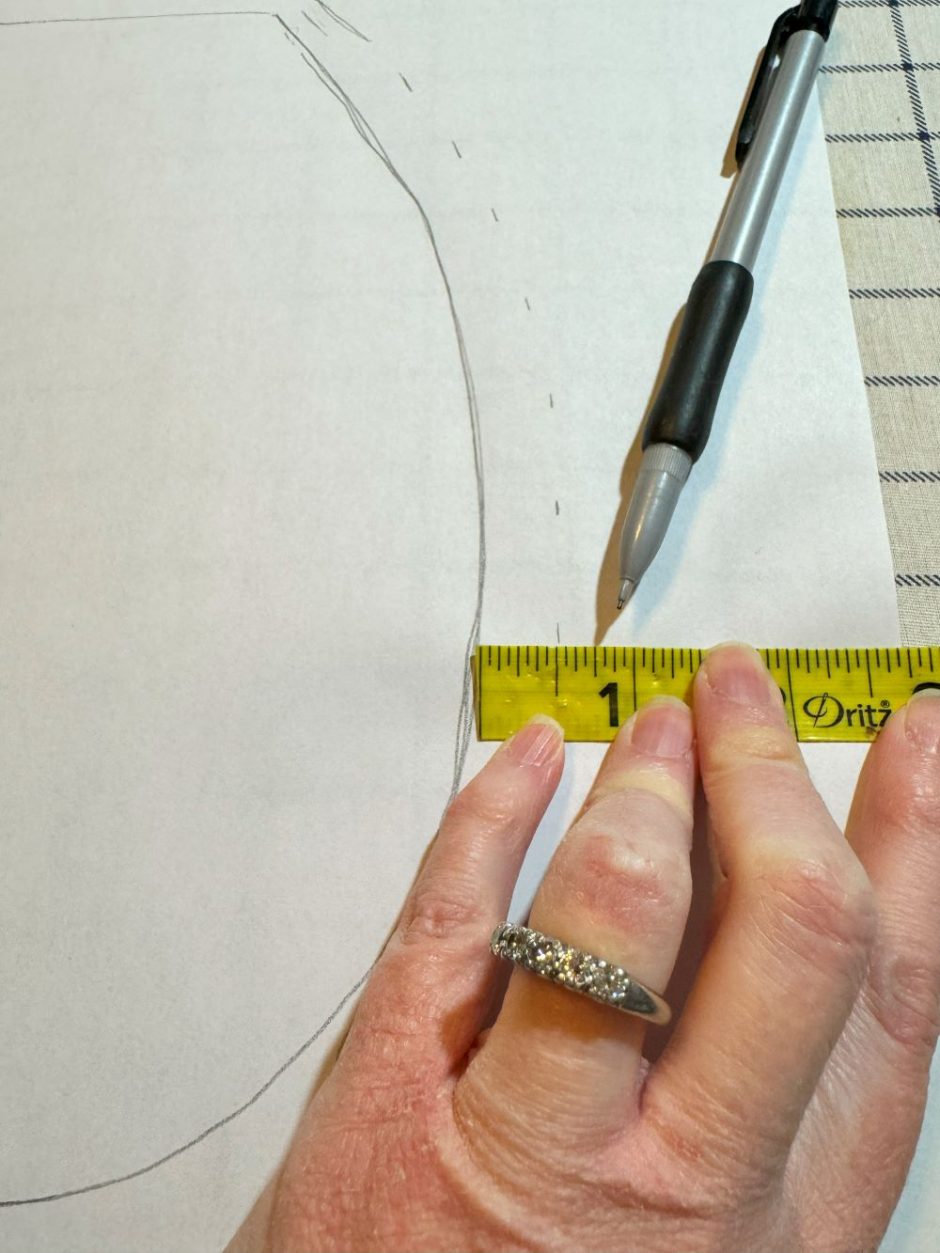
I added about half an inch all the way around except at the top for seam allowances.
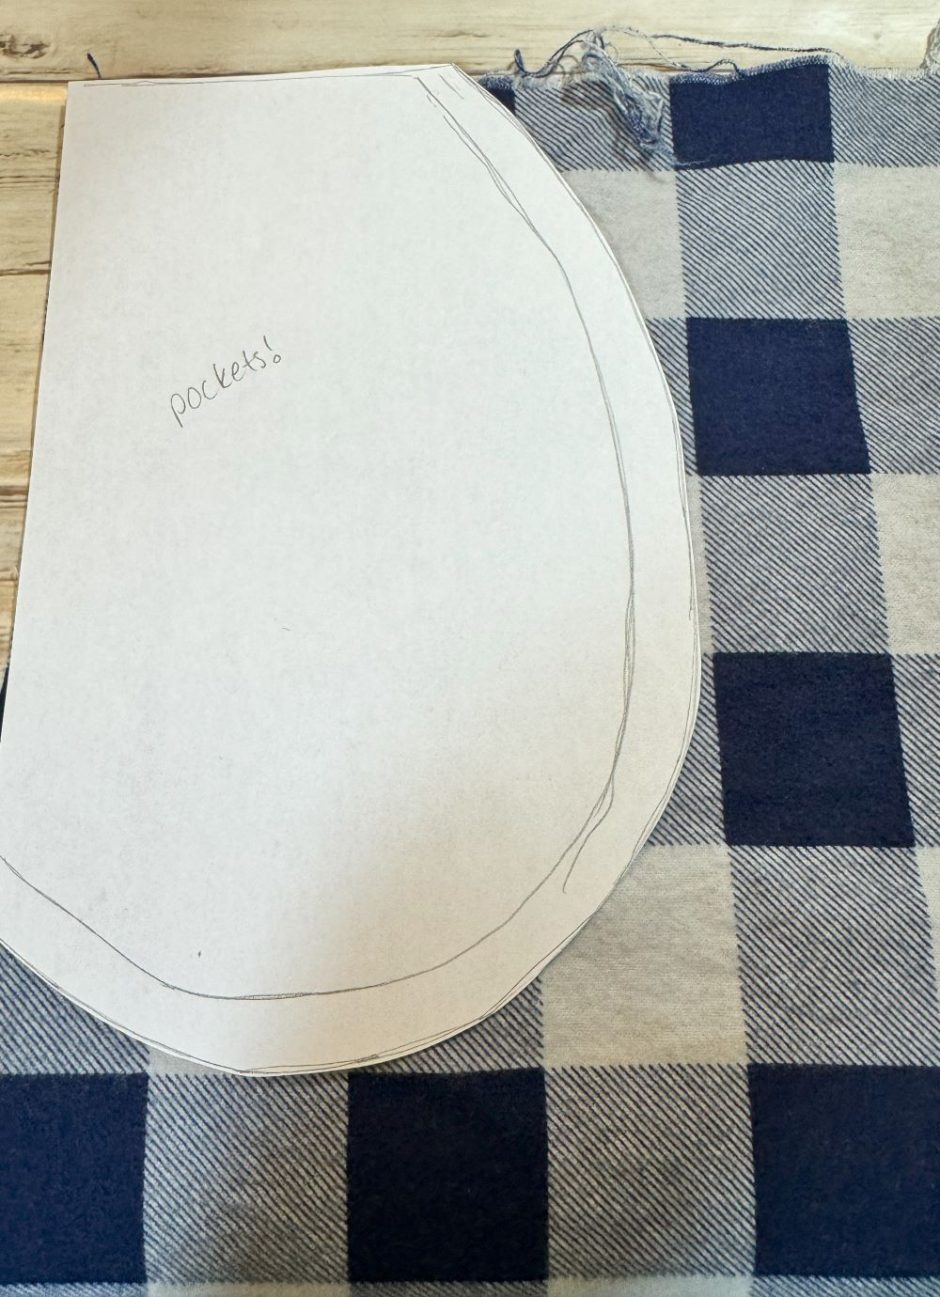
On these pockets the long straight side is where your hand goes, so I marked that as “open side” so I wouldn’t have to consult the original pants next time I want to add pockets to pants to remember how it goes.
Preparing for Pockets
Next you’ll want to choose the fabric for your pockets. Because I have fleece pants I could have added fleece pockets, but I didn’t really want that kind of bulk.
I have a bit of checked flannel fabric (you may recognize from my microwavable hand warmer pattern) that I thought would be cozy but not too bulky.
You could use an old T-shirt, sheet, denim shirt, scraps from other projects, whatever you have handy.
Since you want the front side of the fabric to be the inside of the pocket on both sides, for each pocket you’ll need to cut out a piece of fabric with the pattern facing up and with the pattern facing down, if that makes sense. Just cut out two pieces with your pattern aligned one way, flip it over and cut out two more.

Or just flip the first piece you cut out and cut a mirror image.
How to Add Pockets to Pants
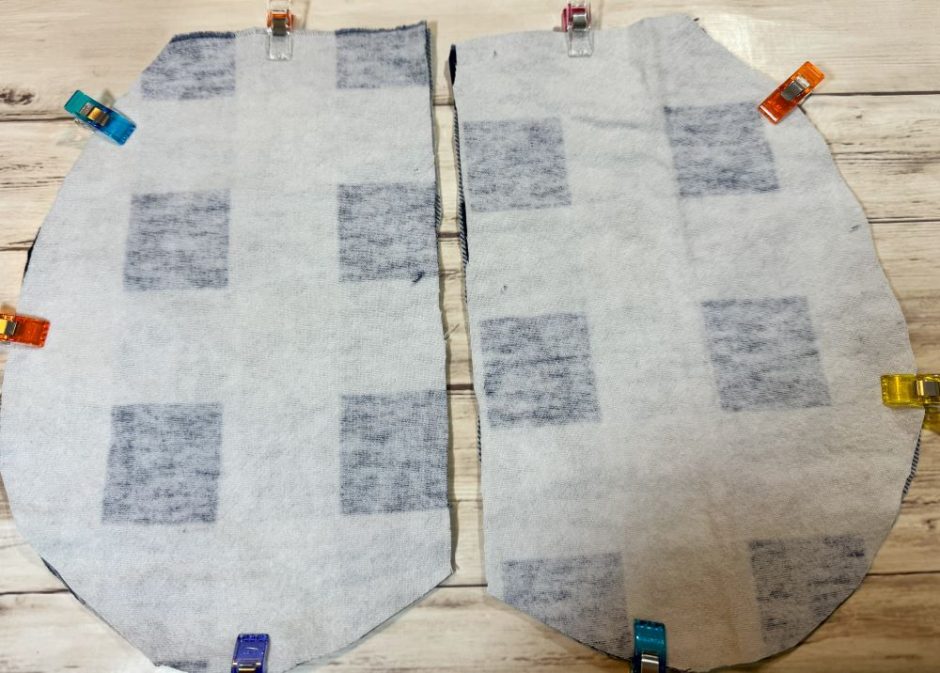
Now take one of each of your fabric pieces and put them right sides together. Pin or clip in place.
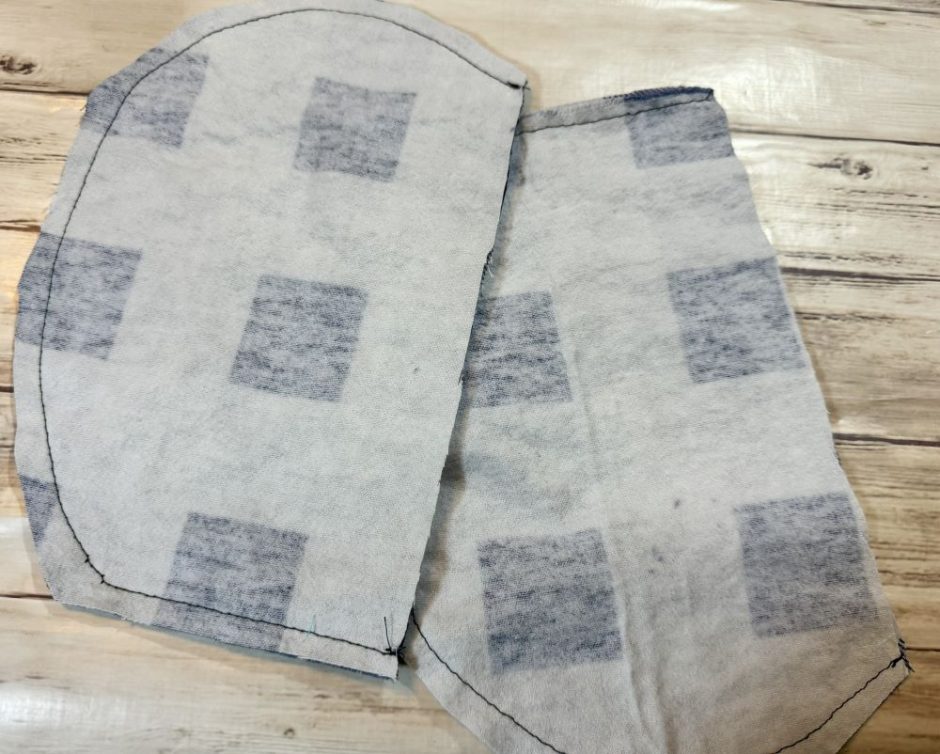
Sew along the short flat edge at the top of the pocket and the long curved edge, so only the long flat side that will sew into the pant leg is open.
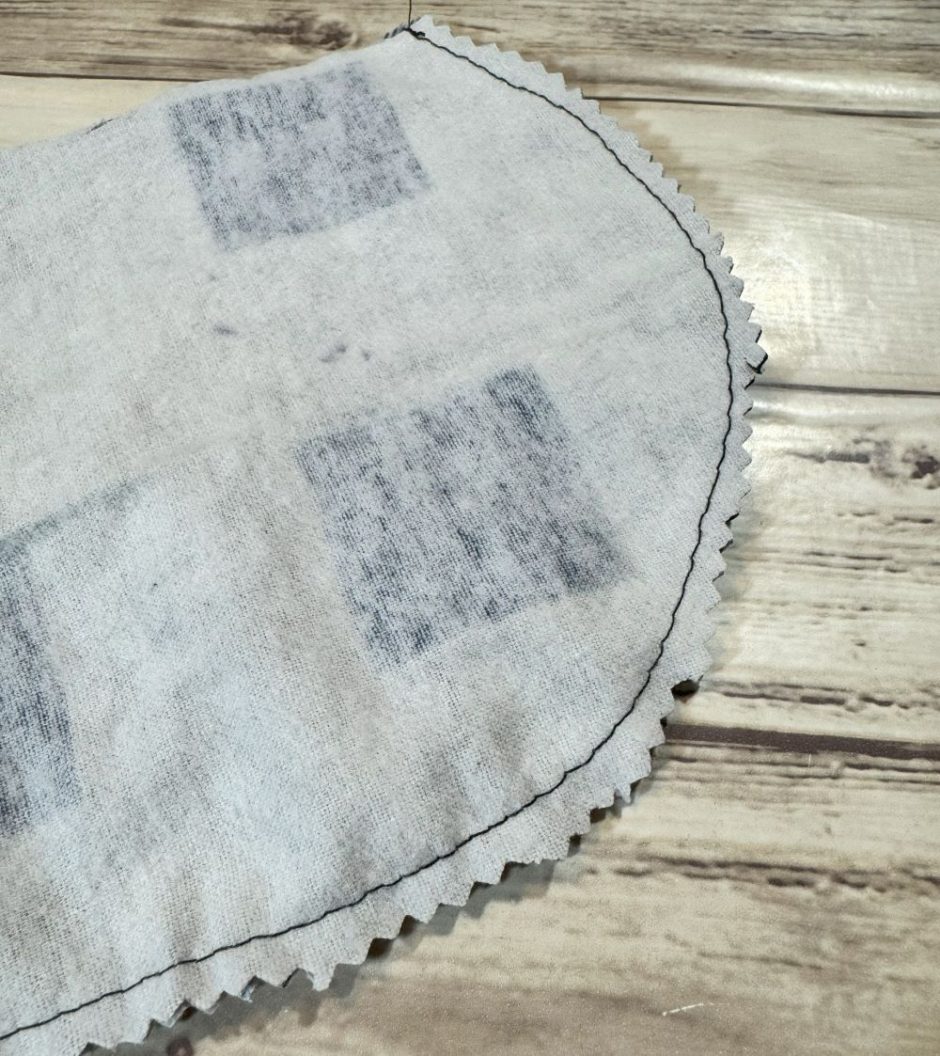
Trim this seam allowance using pinking shears, or zigzag the edges after you sew your straight seam.
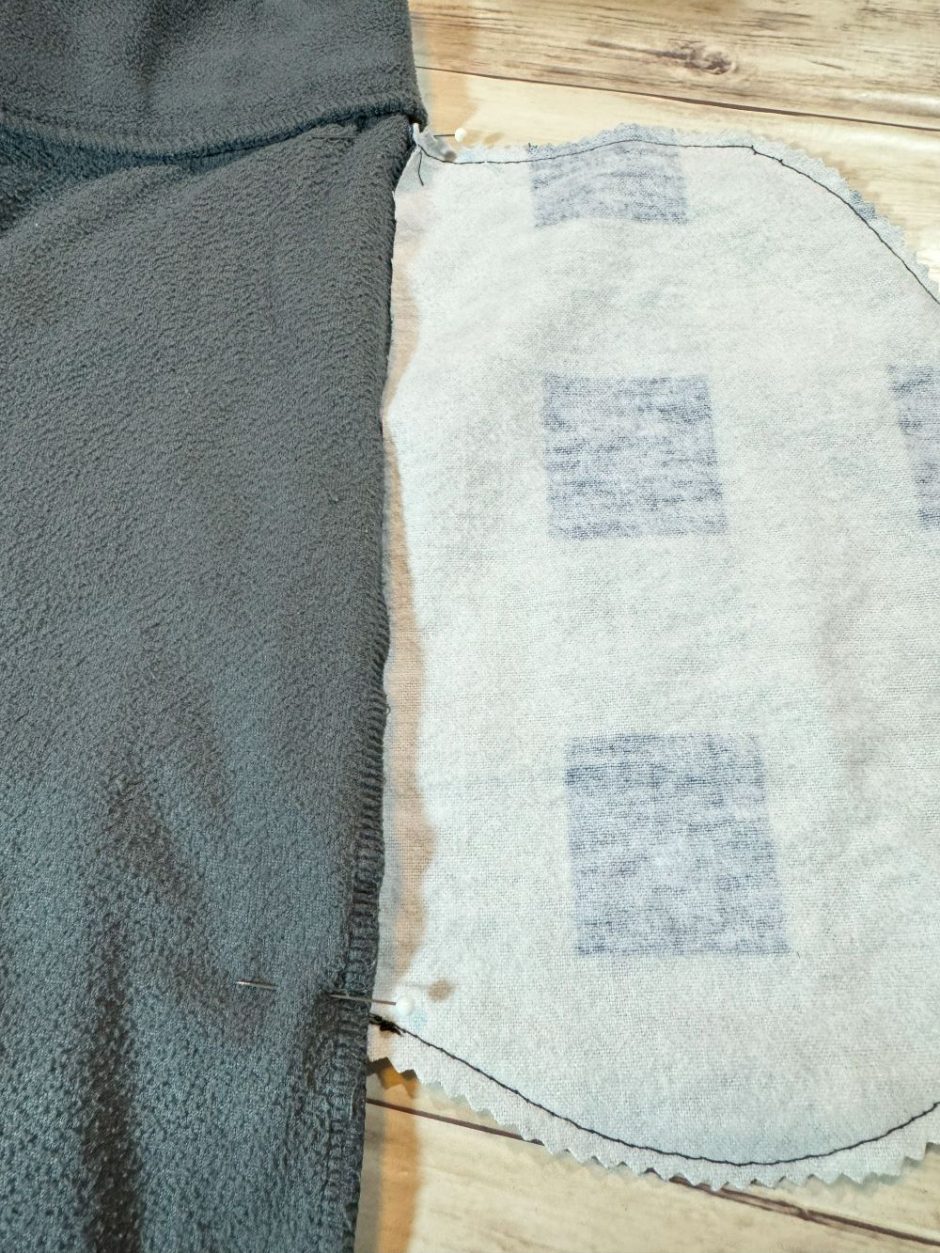
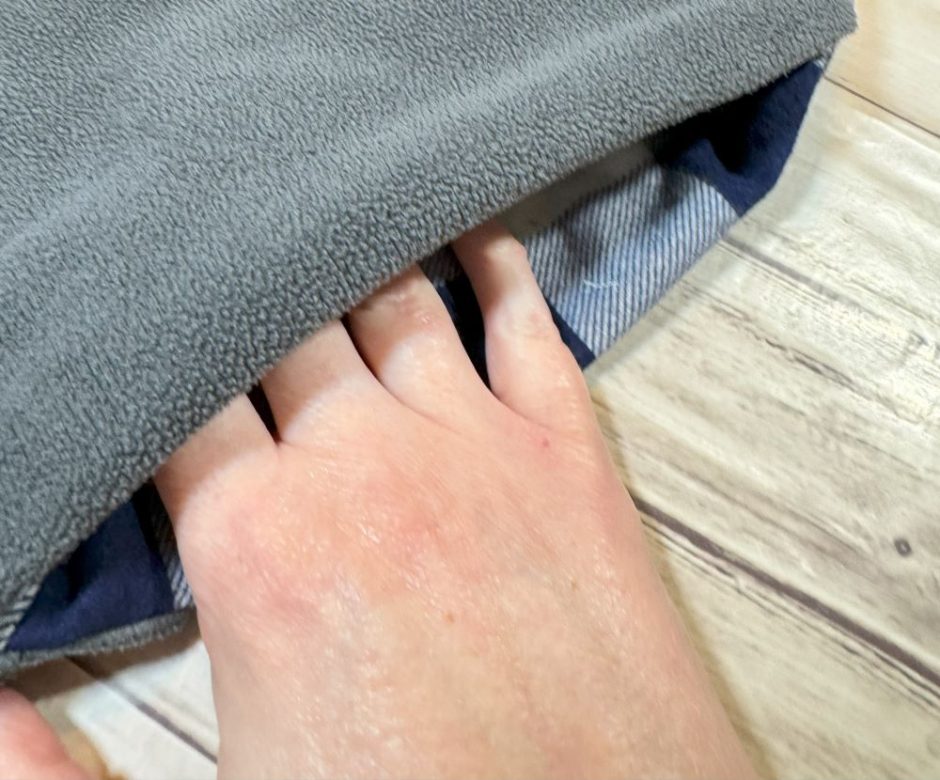
Using the pocket as a guide, mark on the pants where the pocket will go. I put mine just a little down from the waistband.
Rip out the seam for the marked area. This will take a little time because it’s probably a serged seam.
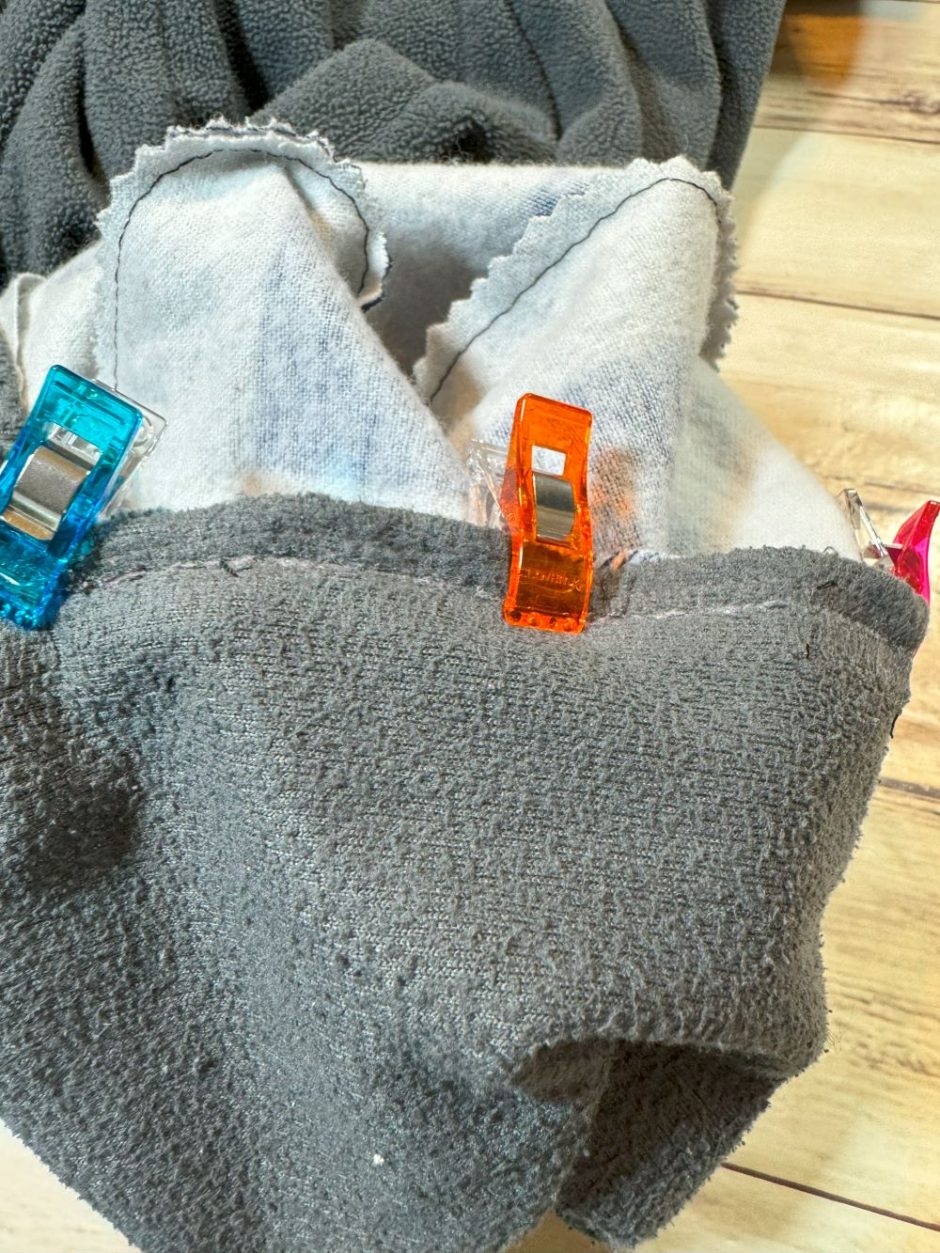
Pin or clip the pocket to the seam you just ripped out so the pieces are right sides together. In the photo you’re seeing the wrong sides, but the edge of the pocket is turned so that the right side is clipped to the right side of the seam. You’ll know you’ve done this right if the seam you’re about to sew is on the inside side of the pants rather than the inside of the pocket.
Sew this seam all the way around, making sure you don’t sew the pocket closed. Use the original seam as your guide.
Repeat this procedure on the second side.
Honestly it was so quick and easy to add pockets to pants that I wonder why I didn’t do this years ago. Now no pants are safe!

Also if you find your pockets are popping out of your pants when you wear them, you can add some topstitching all the way around, close to the edge. Not necessary but it does make them a little nicer to wear.
Have you ever added pockets to a pair of pants? Did you do it like this or do you have a different method?


2 Comments
How did they turn out? Do they still fit and feel okay with the pockets? I bought a pair on linen pants online not realizing they didn’t come with pockets and am debating whether to add some!
I like them! These are just fleece pants so they aren’t close fitting or anything. The pockets themselves pop out a little bit more than I expected like when I sit down but these are home pants so I don’t care.