Affiliate links may be included for your convenience. View our privacy and affiliates policy for details.
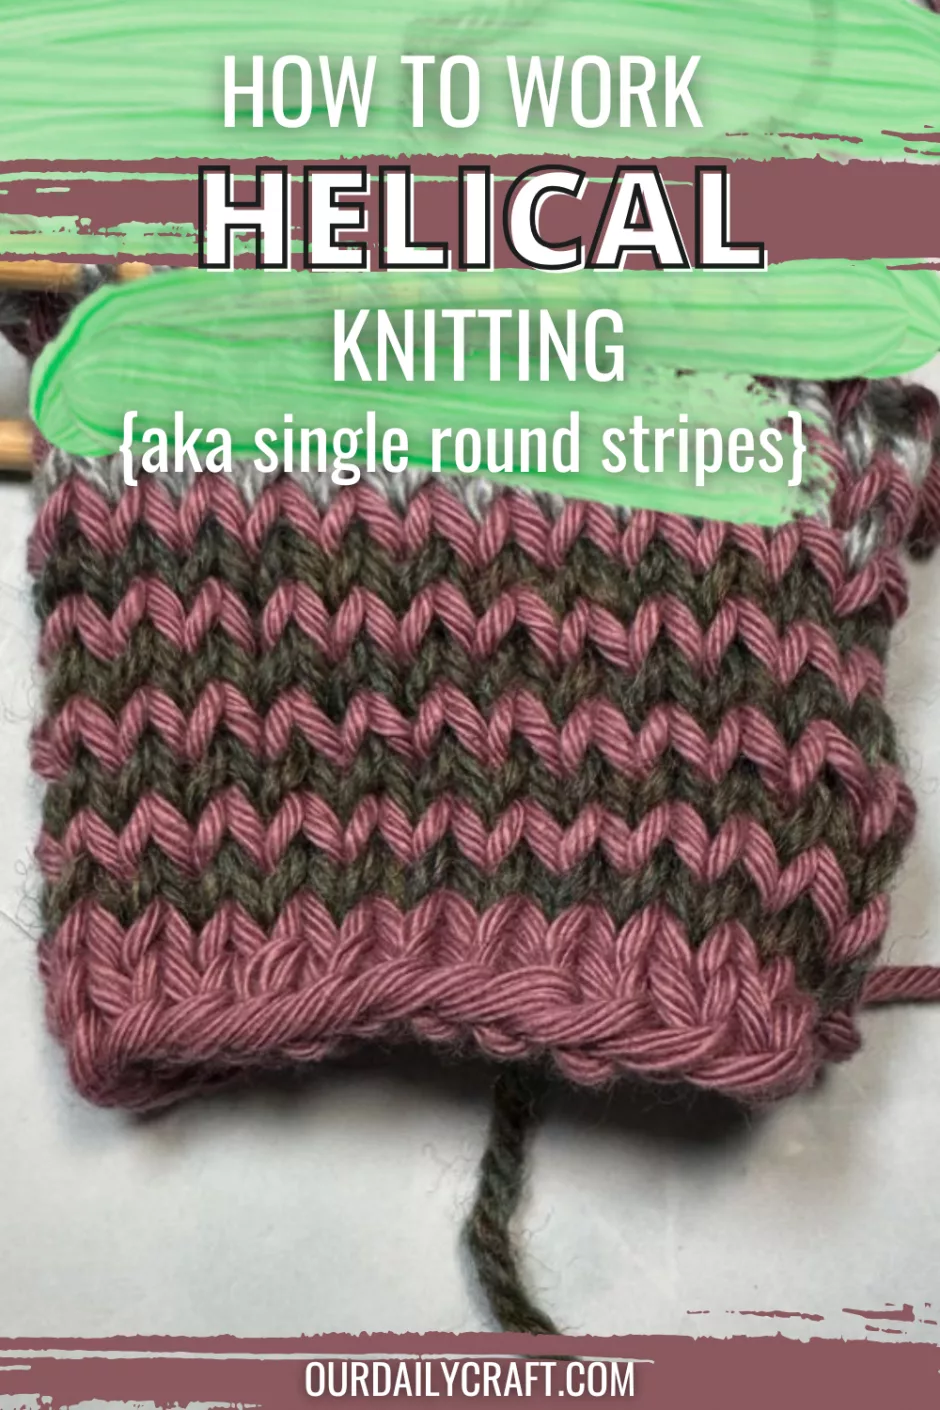
Helical knitting is a fun knitting technique to make jogless, one round stripes when knitting in the round. This helical knitting tutorial will show you how it’s done.
What is Helical Knitting?
Helical knitting is a method by which you can work single round stripes (aka changing colors every round) and have them come out looking smooth and continuous. The way this is done is by slipping a number of stitches at the beginning of each round and changing where the beginning of the round is on each round.
To understand why smooth color changes don’t happen naturally, we need to consider the structure of fabric knit in rounds. It’s not a straight tube; it’s actually a spiral. As June Hemmons Hiatt puts it in her indispensable book, The Principles of Knitting:
A circular fabric consists of a spiral; the running thread passes from the last stitch at the end of one round to the first stitch at the beginning of the next. This creates a step, or jog at the intersection, which makes its first appearance at the cast-on edge and continues the entire length of the fabric.
When working in stockinette stitch in a single color you don’t notice this jog, but once you start adding in colors such as stripes or colorwork, or even a different stitch pattern (as in working garter stitch in the round, where you are switching between knits and purls) you’ll be able to see where the rounds shift.
The way to deal with this in stripes that are multiple rounds is typically to slip the first stitch on the second round worked with the new color. This elongates the stitch, essentially pulling the new color up so it looks like a clean color change.
But you can’t do that if the stripes of each color are only one round long. So how do you do it? Helical knitting.
Getting Ready for Helix Knitting
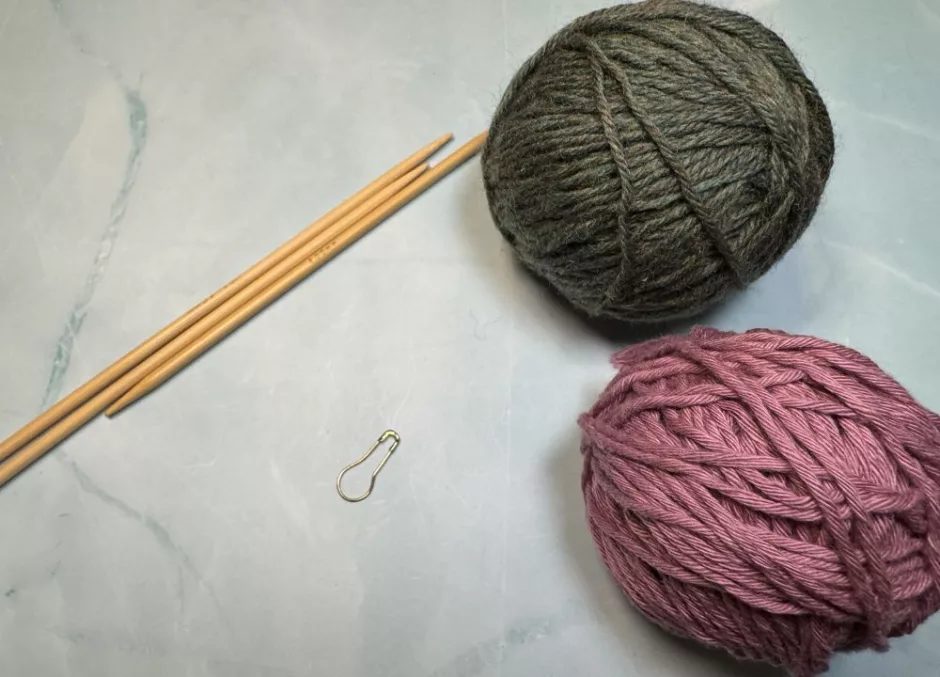
One thing you need to know about helical knitting is it is always worked in the round, whether on one or two circular needles or a set of double pointed knitting needles, which I am using in this tutorial.
You’ll also need two or more colors of yarn of the same weight that works with your knitting needles. A locking stitch marker is helpful when you’re getting started or if you like to knit while watching TV, reading, or when you are otherwise distracted.
Helical Knitting Tutorial
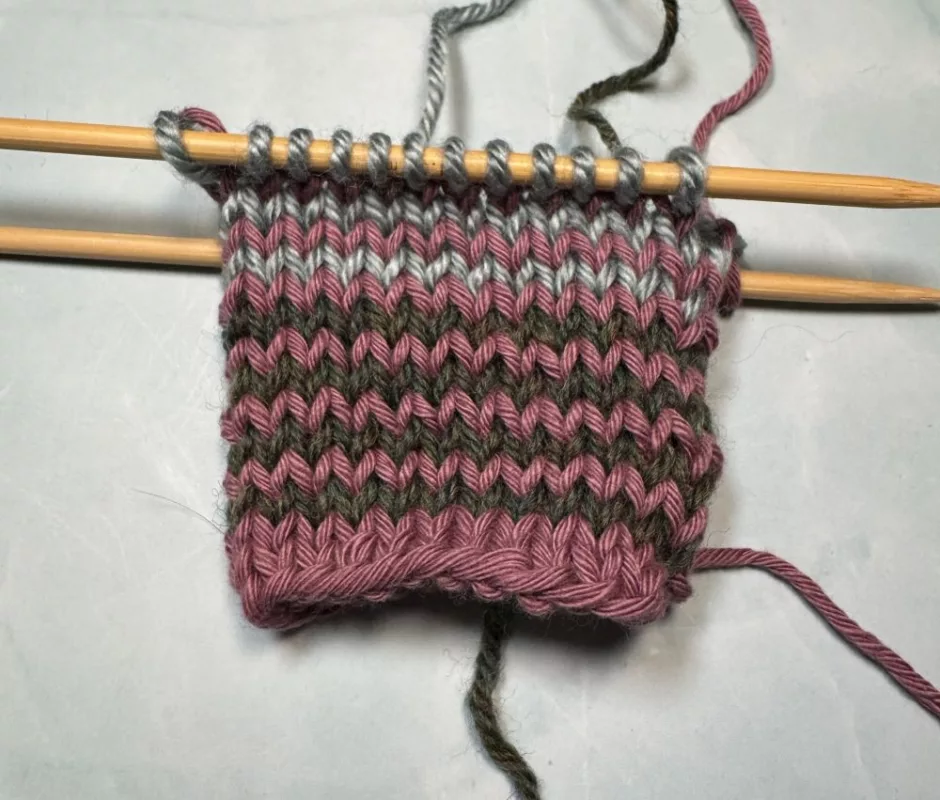
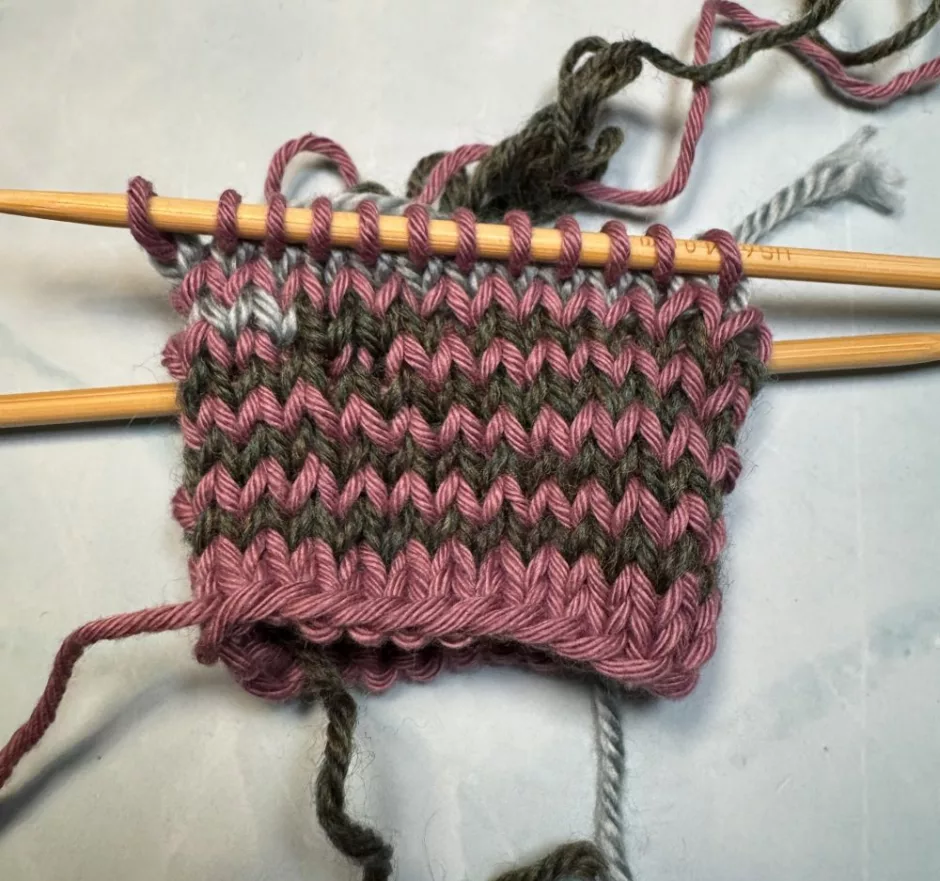
Cast on as many stitches as you like in the first color/color A. Here I have 24. Divide among double pointed or circular needles if needed to prepare for working in rounds.
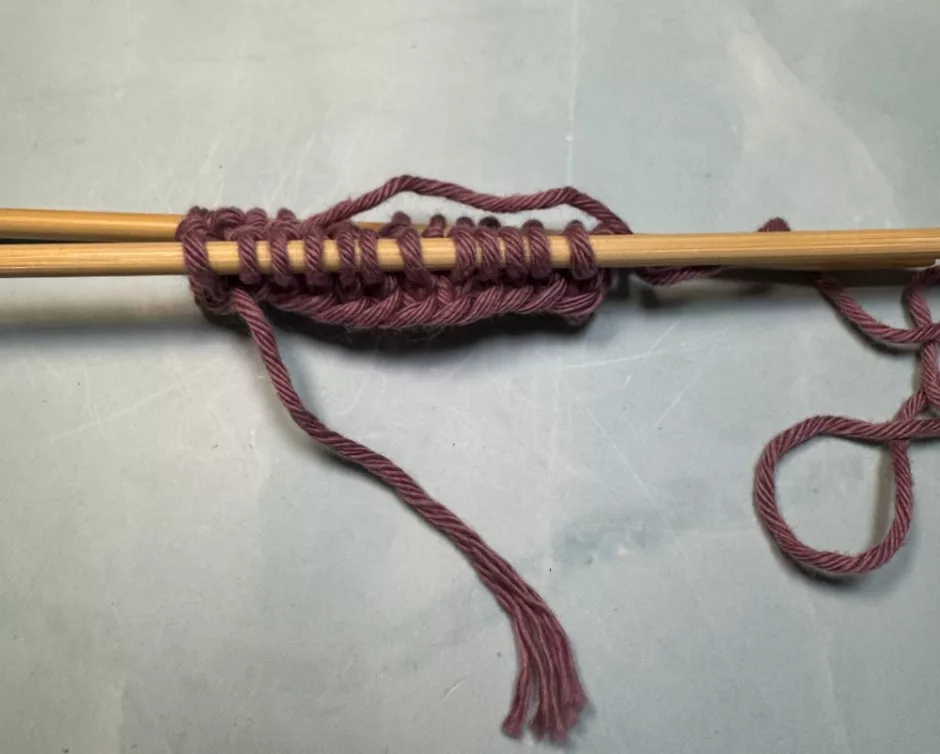
Here I also knit the first row in the first color, but you wouldn’t necessarily have to if you use a cast on (like long tail) that can count as a row/round of knitting.
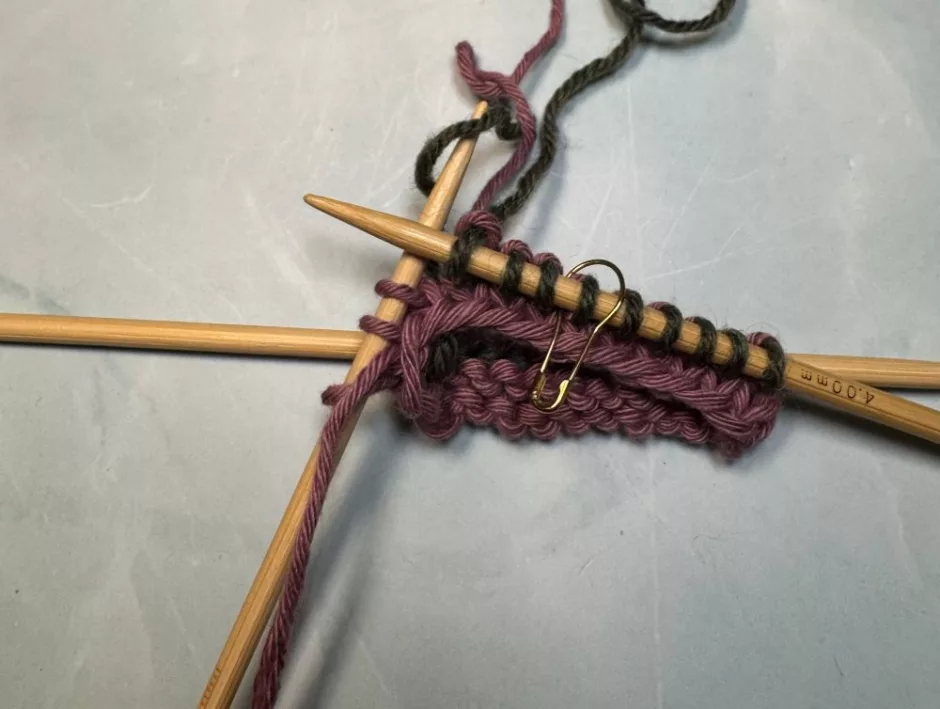
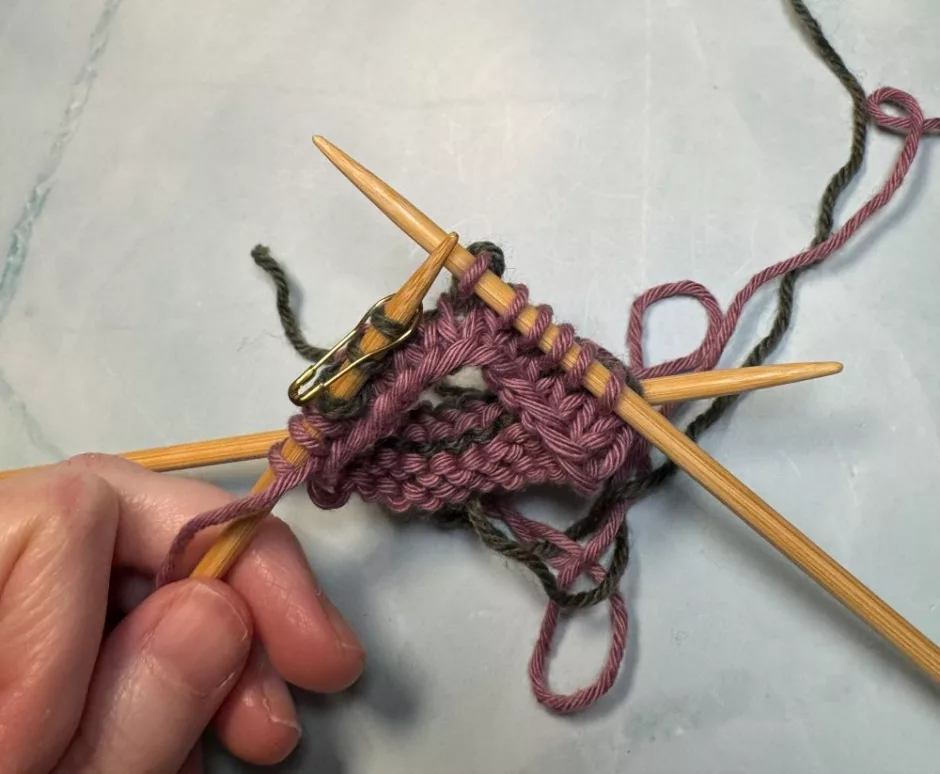
After knitting the first round, change to the second color/color B and knit until 3 stitches before the end of the round. If you want to use a stitch marker, place it 3 stitches before those 3 stitches (before the last 3 stitches worked in color B, as shown above).
Now you’ve got 3 stitches worked in color A and the yarn end is attached to the last one. Slip these 3 stitches one at a time as if to purl.
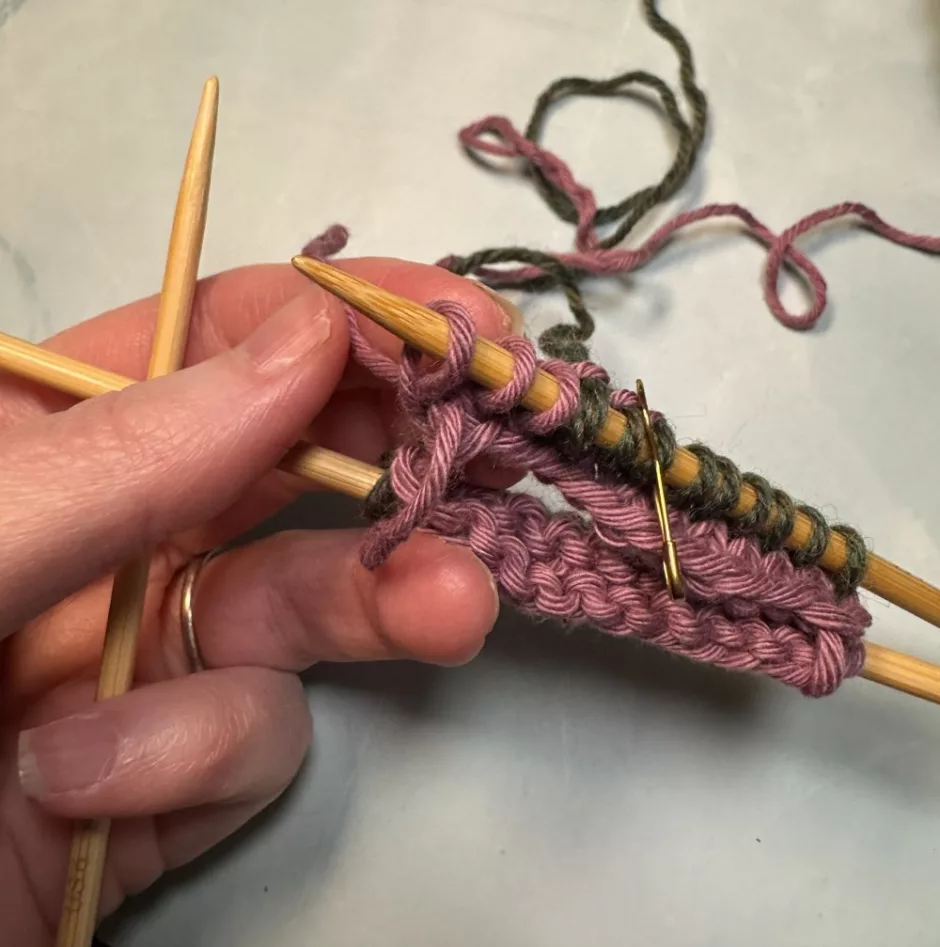
You’re back to the yarn, so knit the next round until you get to the stitch marker, or 3 stitches before the end of the stitches in color B. Move your stitch marker back 3 stitches if you’re using one.
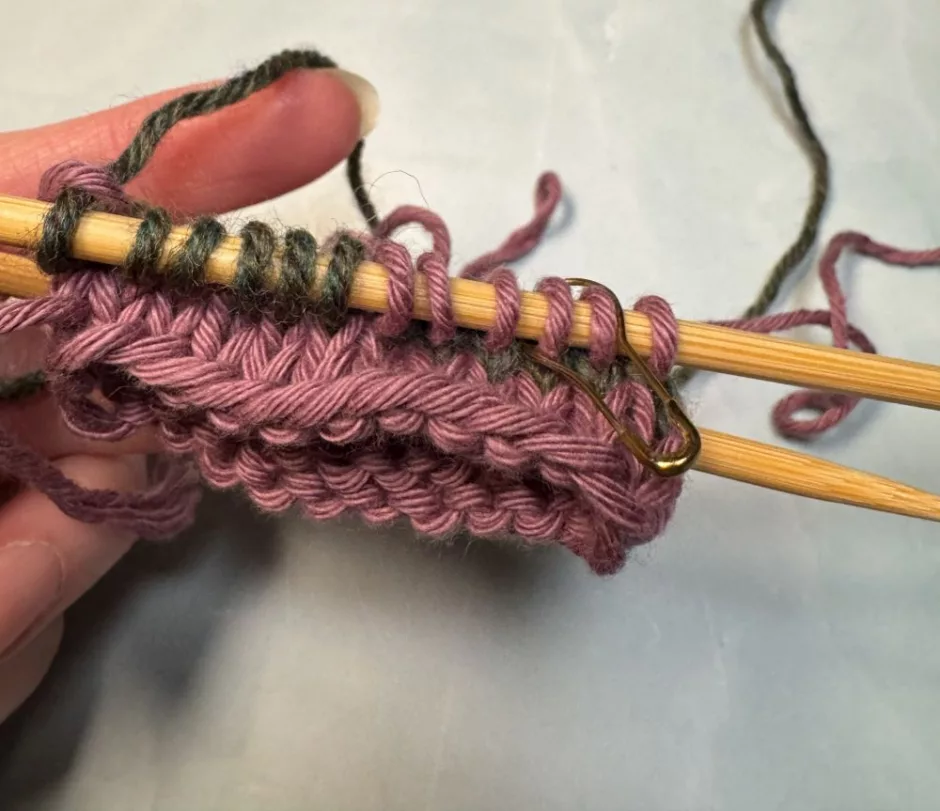
Slip the 3 stitches in color B, pick up the yarn and knit around to the stitch marker/3 stitches before the end of color A.
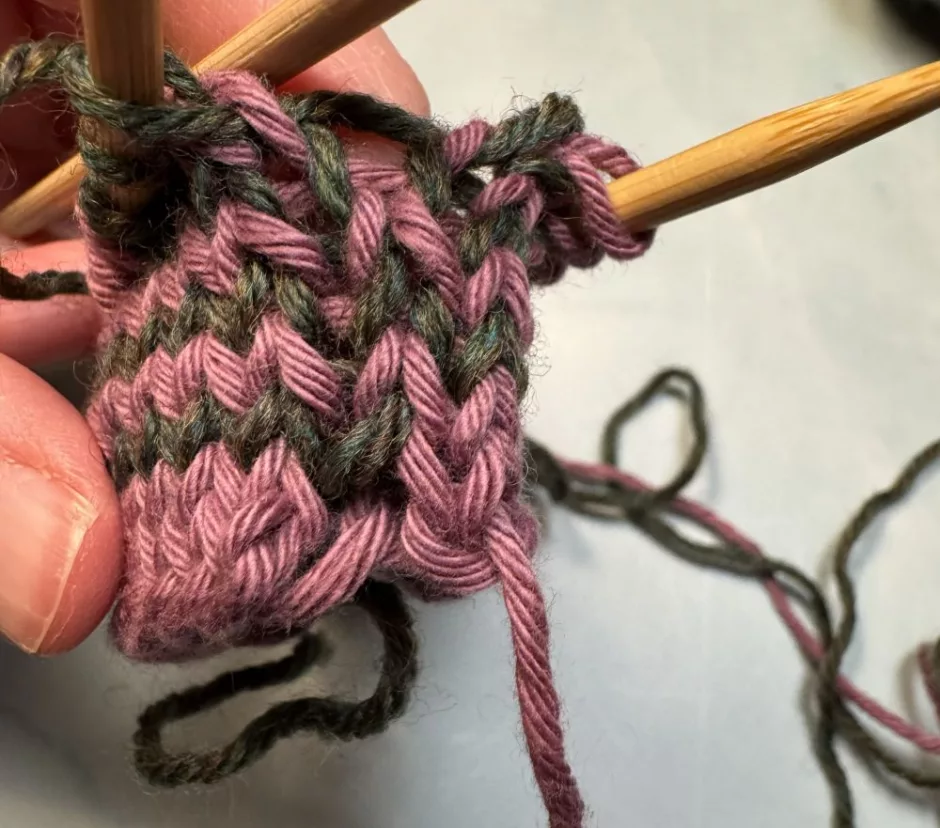
Repeat this sequence to form your stripe pattern.
Changing Colors
If you want to change the colors of one of your stripes, the procedure is just a little different.
When you’re ready to start the round where you will change colors (let’s say it’s color B since that’s what shown here) you’ll finish the color A round as usual. Slip the 3 stitches in color B, join your new color and knit around to 6 stitches before the color change.
Slip the 3 stitches that are still in color B, then pick up color A (which is 3 stitches behind where you are, so don’t pull too tight across the back) and start knitting the next round.
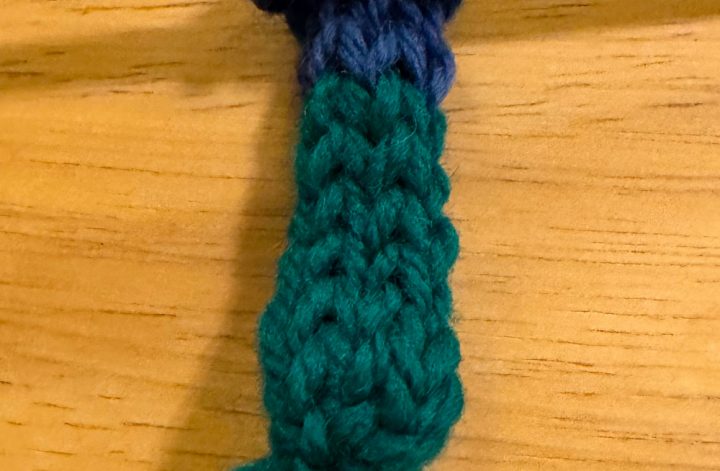
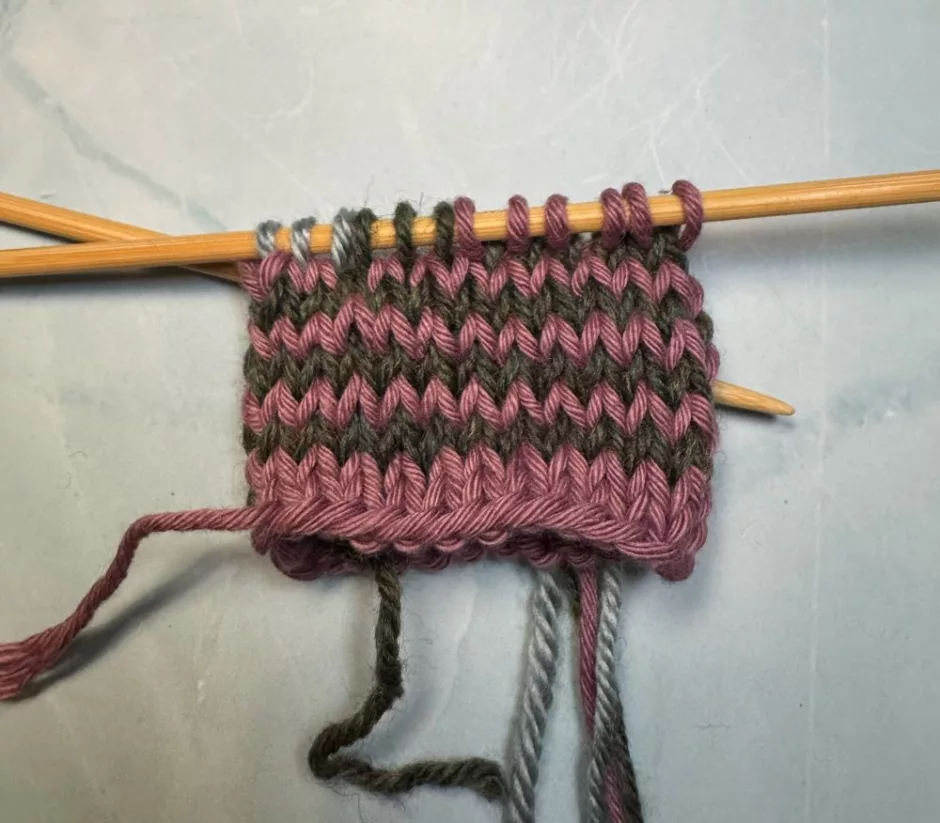
From here on your color changes will go on as normal. There is, of course, a visible spot where the colors change, but the stitches line up nicely with no jog.
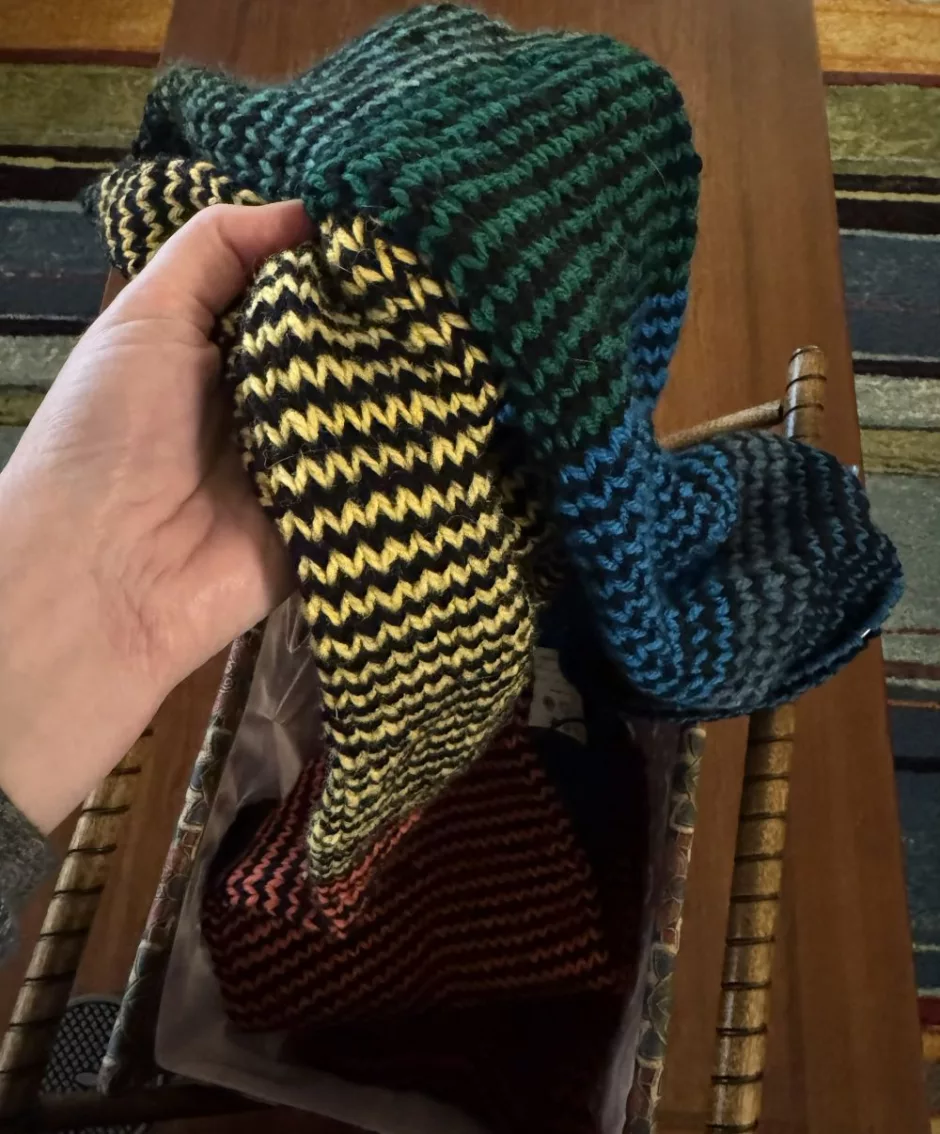
For this scarf project I have black as my color A and have been using different shades of rainbow colors as my color B, changing colors every 12 inches/30.5 cm. So satisfying (and a great stash buster, too!).
Helical knitting is fun to play with even if you don’t have a project in mind, though I bet once you try it you’ll come up with a way to use it.