Affiliate links may be included for your convenience. View our privacy and affiliates policy for details.
Long tail cast on is probably the most common cast on for knitters, but it’s not the easiest. It does have some advantages, and it’s fun to do once you understand it, but there is definitely a learning curve.
What is Long Tail Cast On?
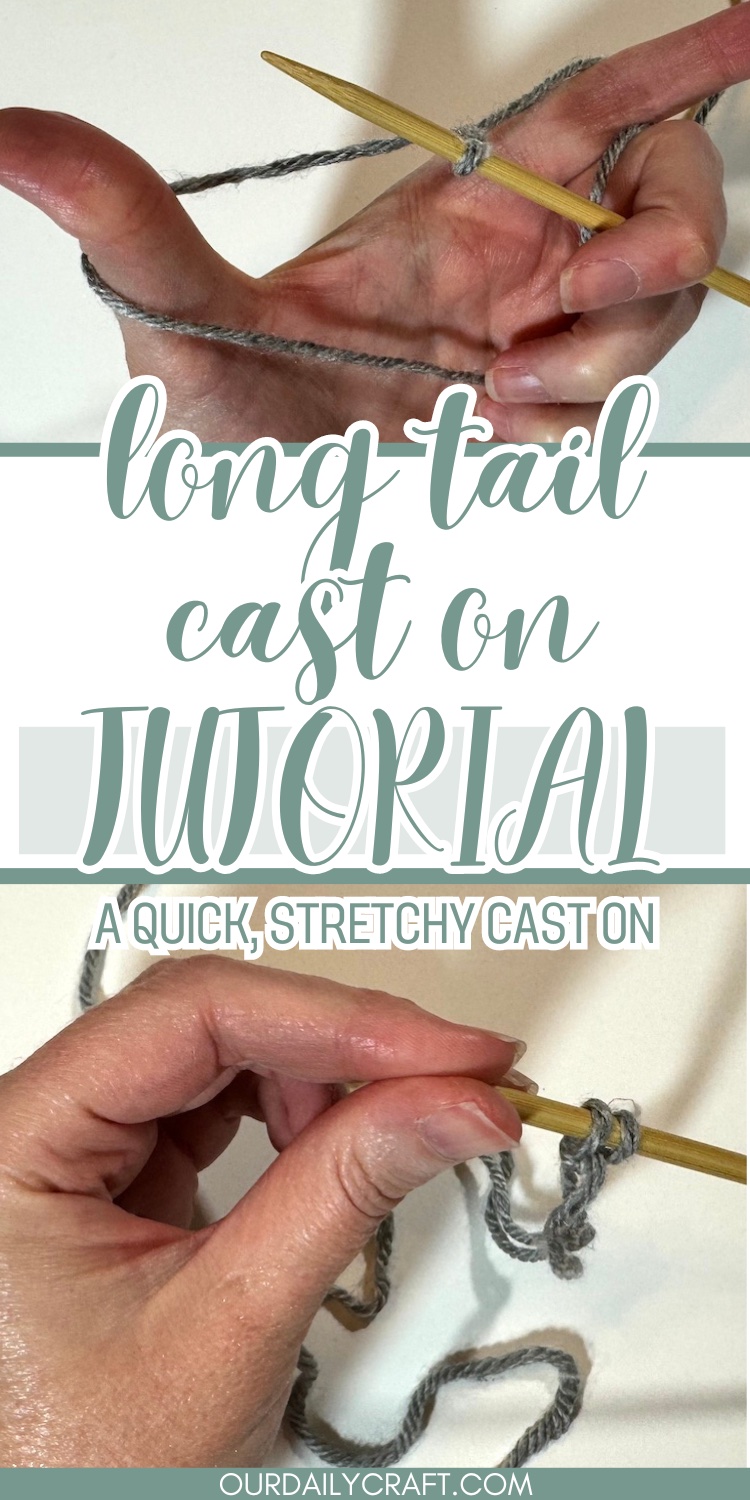
The long tail cast on is also known as the slingshot cast on. It’s worked by placing the yarn around the fingers of one hand like a slingshot and manipulating the needle through the yarn to make a stitch.
Advantages to Long Tail Cast On
Once you know how to do it, it’s quick to do — easily the fastest of the most common cast ons except maybe the wrap cast on. It’s stretchy and looks good on both sides (though you’ll probably have a side you like better that you will want to have facing front on your projects).
This cast on technically counts as the first row of knitting, so if you’re working stockinette stitch in your pattern you can purl the first row after the cast on and go on from there.
Disadvantages of This Method
There is a bit of a learning curve when it comes to working the long tail cast on. It can also produce stitches that are tight and difficult to work for the first row, so be mindful of your tension on the stitches as you make them.
By the way, for beginners I suggest learning the knit cast on first, though you can also get by with the wrap cast on, before trying the long tail cast on.
Any knitter who has used long-tail cast on for a large project knows the frustration on not making your long tail quite long enough and running out before you’ve cast on all your stitches. (More on that below.)
How Long Should a Long Tail Be?
The key part of the long tail cast on, as you might gather from the name, is the long tail. You need two lengths of yarn to work this cast on, so you need to estimate the length of tail you will need for the number of stitches you need to cast on before you get started.
The easiest way to do this is to wrap the yarn around the needle you are going to use to work your cast on as many times as you need to cast on (or, say, 20 times and then multiply that by however many times you need for the number you actually need to cast on).
This always seems to give me way more tail than I need, but rather too much than too little.
Working the Long Tail Cast On
Once you have your tail set, you can make a slip knot or just drape the yarn over the needle. You want the tail end in the front and the ball end in the back. (For reference I’m using Lion Brand Basic Stitch, which is super easy to use for new stitchers.)
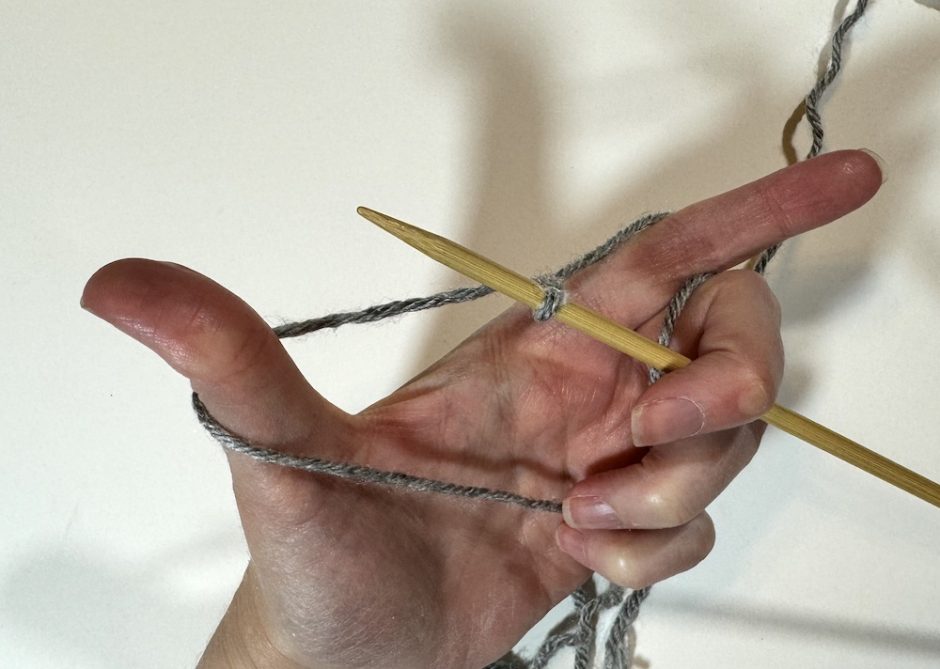
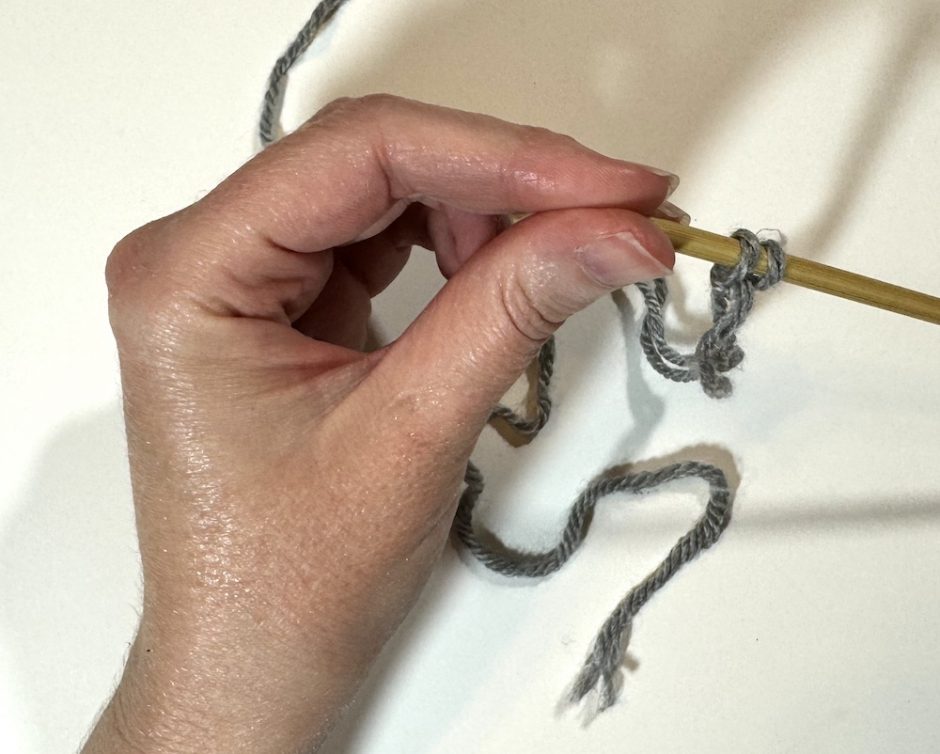
Position the yarn so that it wraps around your thumb and around your index finger as shown. This is with a slip knot so the tail end side wraps around your thumb from back to front counterclockwise and the ball end yarn wraps around your index finger counterclockwise.
To begin the cast on, take the right hand needle underneath the yarn on the front of your thumb and through that loop on your thumb.
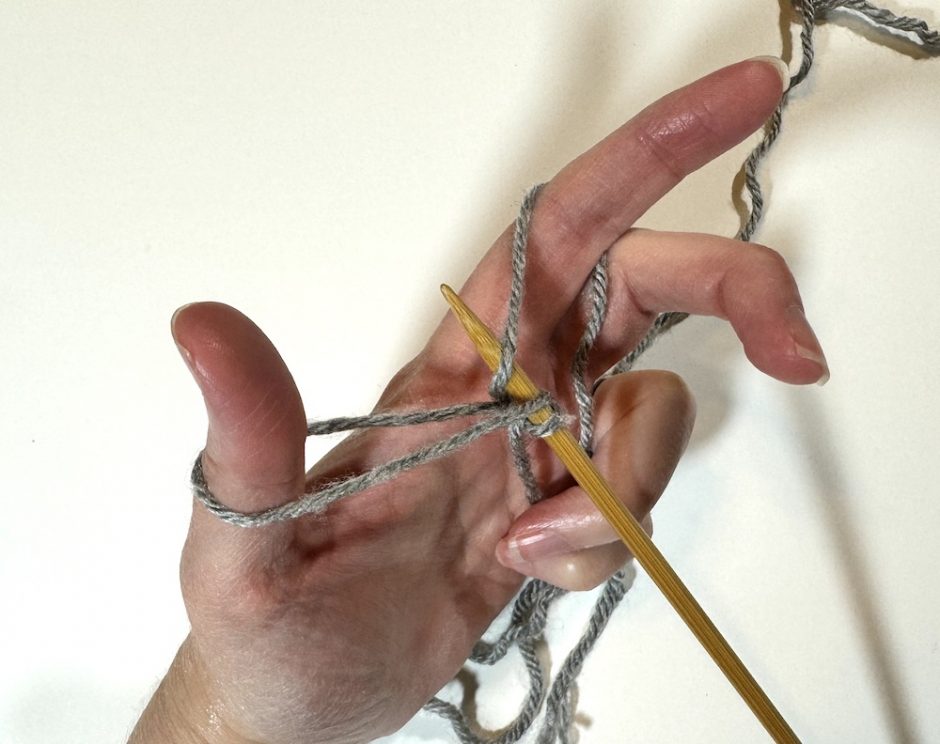
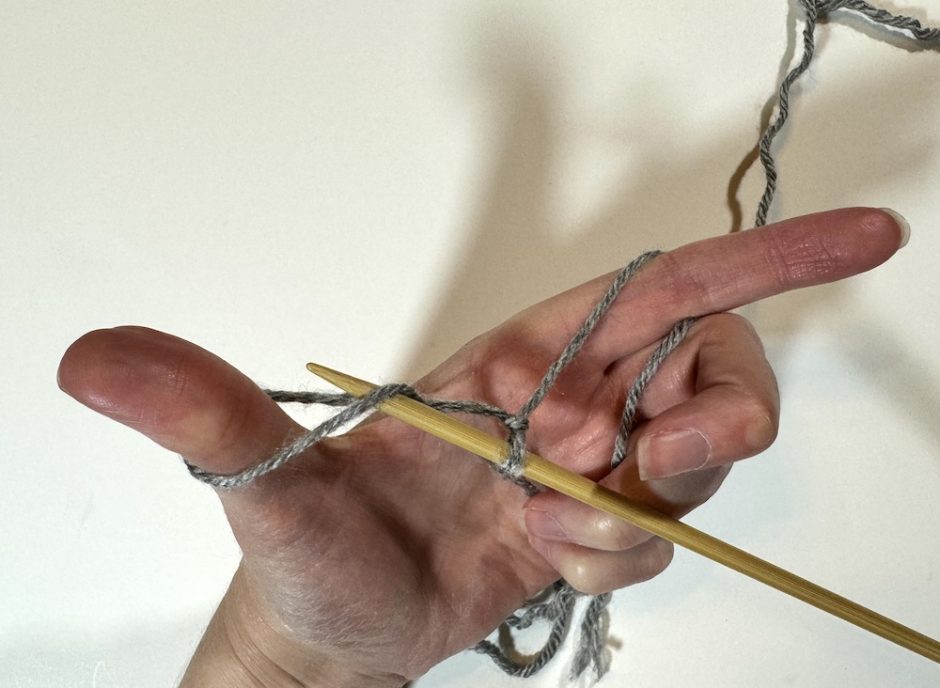
Take the needle to the back, behind the yarn on the front of your index finger. Bring the needle back down through the loop on your thumb.
Slip the loop off your thumb and pull the yarn to make the stitch tighter on the needle. You want it to be loose enough to easily slide on the needle.
Repeat these steps as many times as needed for your cast on.
Casting On Without a Slip Knot
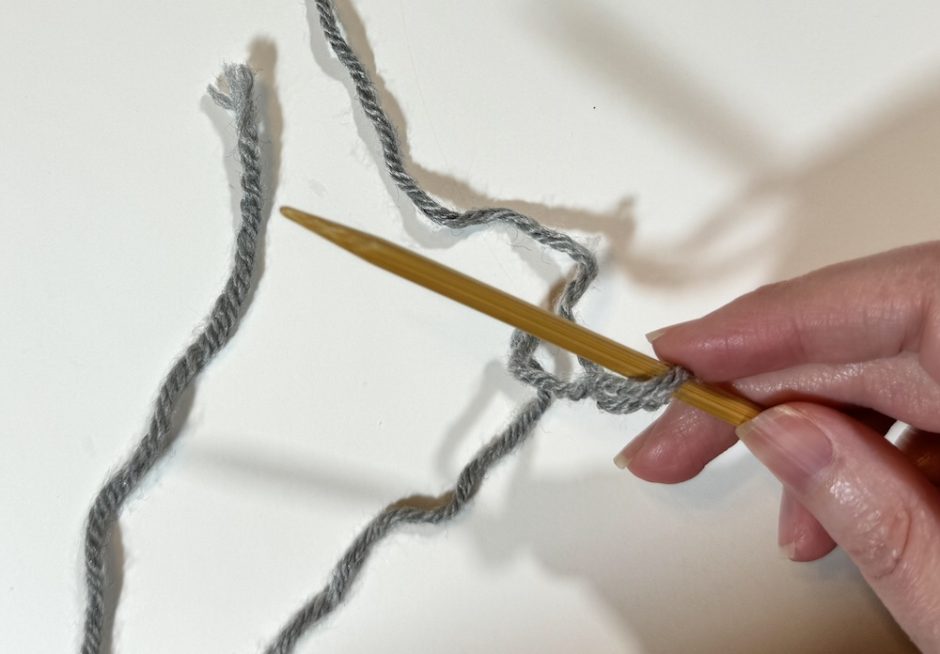
As with many other cast on methods, you can work the long tail cast on without a starting slip knot.
All you need to do is drape the yarn over the needle, with the tail end in front and the ball end in back, and cast on exactly as described above.
Knitting with the Long Tail Cast on
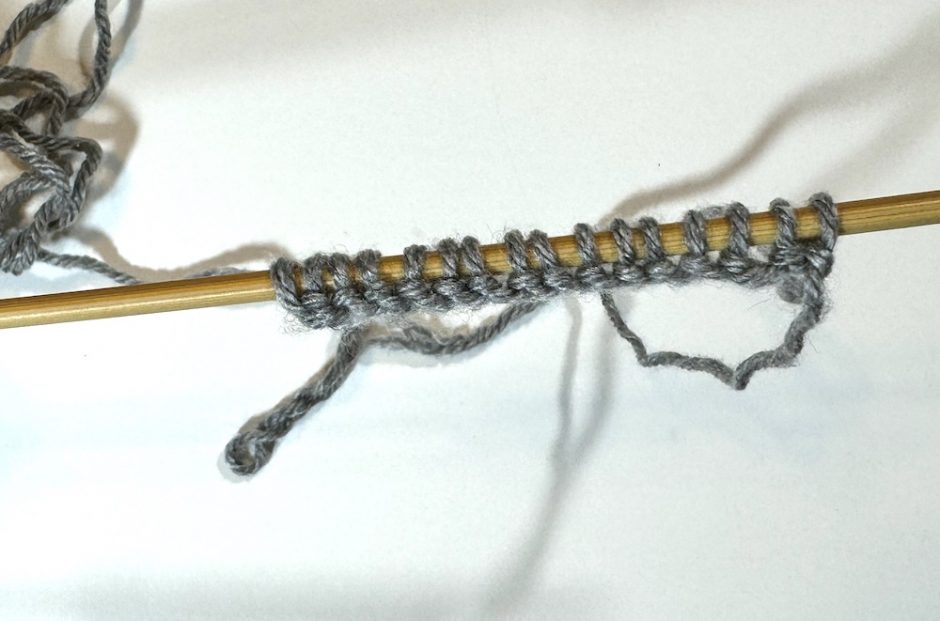
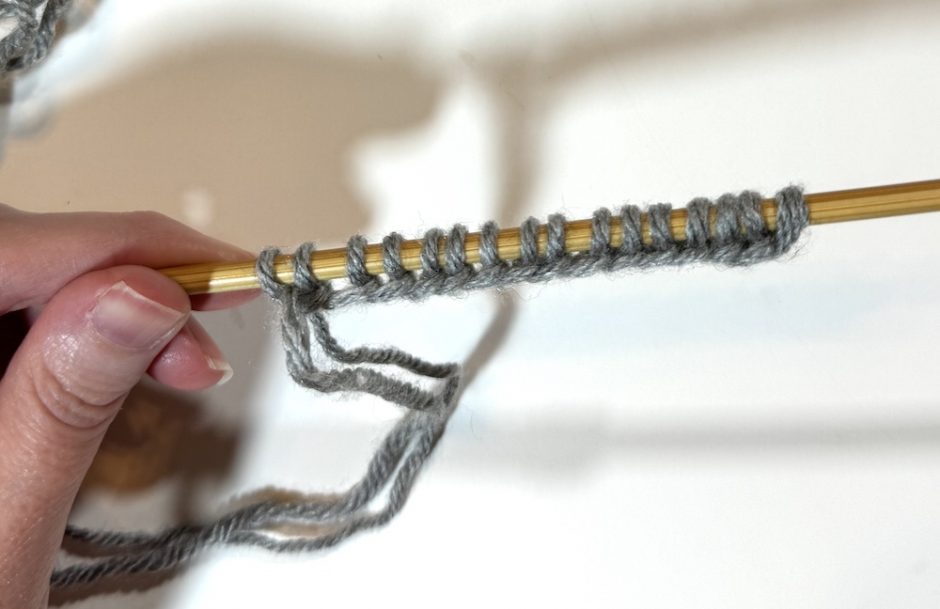
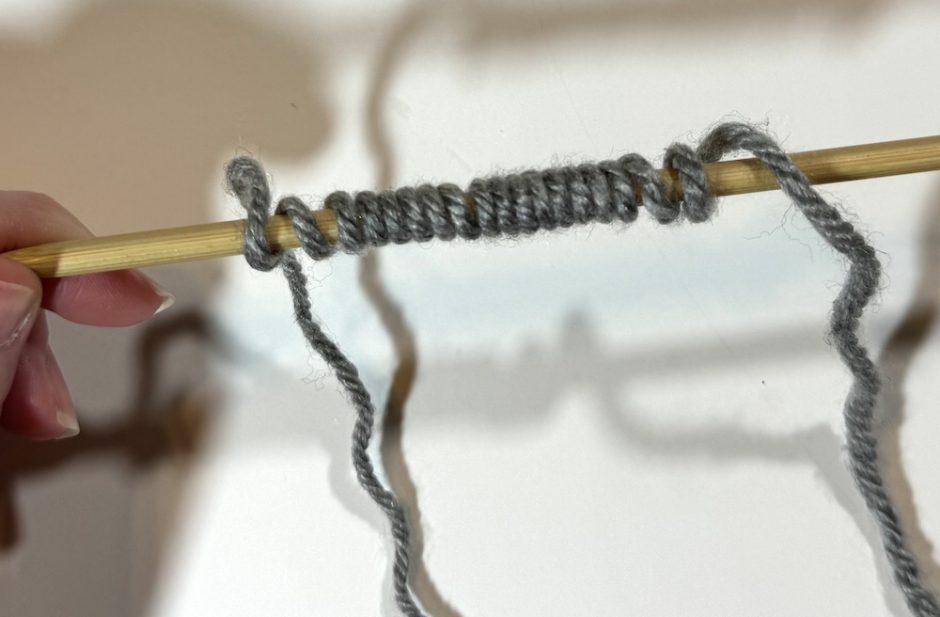
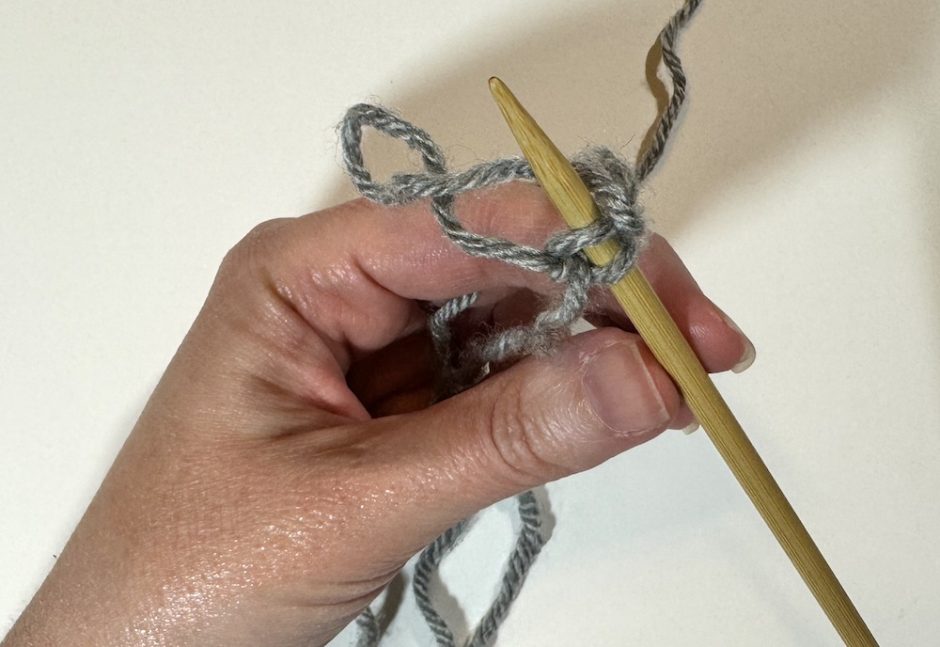
As mentioned above, the long tail cast on counts as a row of knitting. If you look at it closely, it looks like smooth knit stitches on one side and bumpy purl stitches on the other. (The back or purl side is shown above.)
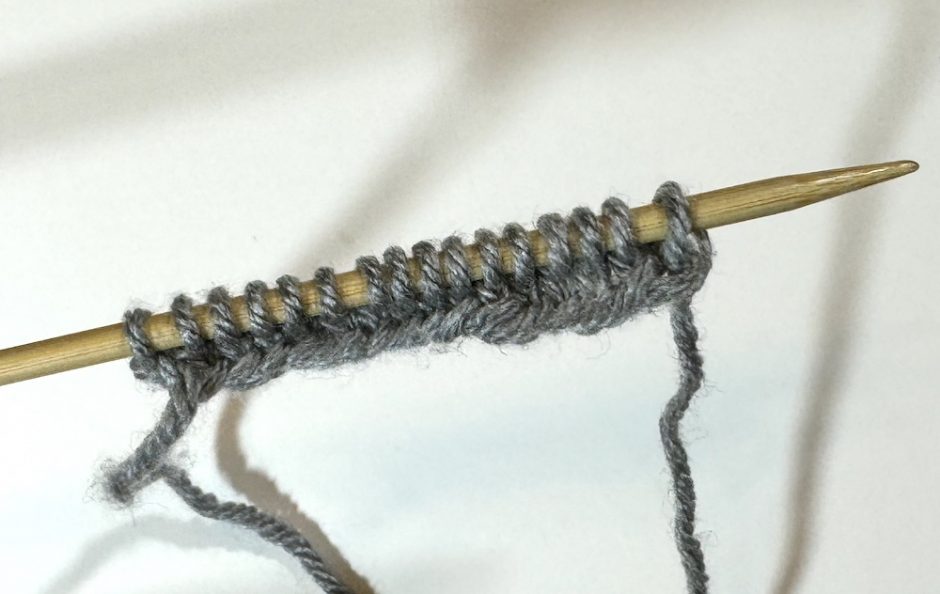
Because of that, if you’re using this cast on with stockinette stitch, you’ll want to start by purling a row. If working another pattern you can start with a wrong side row, or if your pattern is reversible you can decide which side is the front.