Affiliate links may be included for your convenience. View our privacy and affiliates policy for details.
This coiled fabric basket project shows you the basics of using fabric wrapped around a core and sewed together by hand to make a basket. You can use this same technique to make coasters, placemats, even a rug if you keep building on the basic form.
Supplies
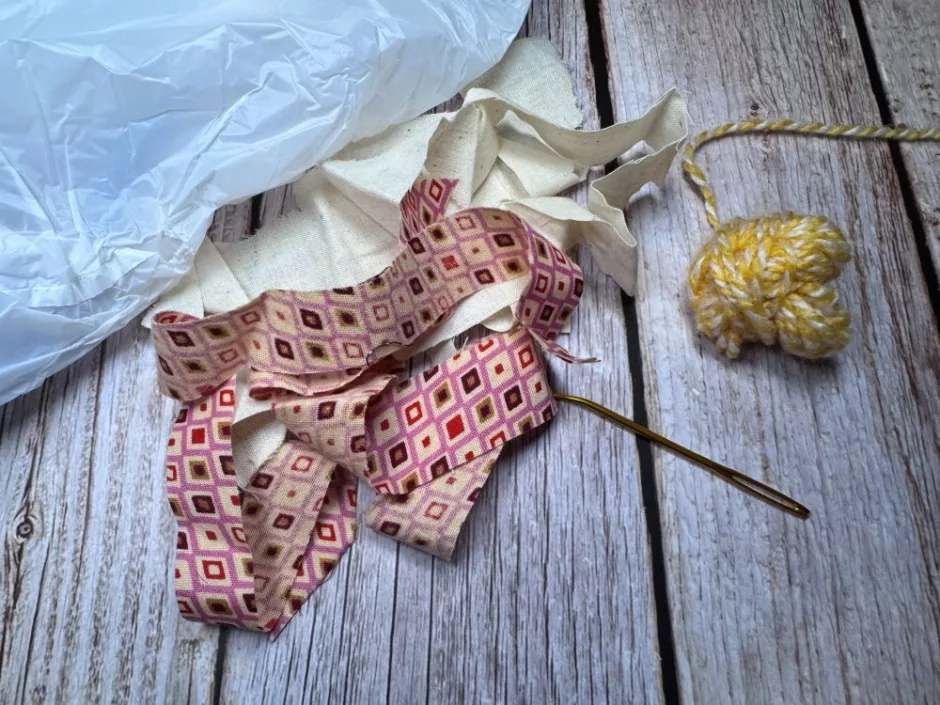
The great thing about these coiled fabric baskets is you probably have everything you need to make them already.
Generally these sorts of projects are made with strips of fabric, yarn or embroidery thread, and some kind of rope or cord like a clothesline as the core. I use plastic shopping bags so this is a total upcycle project. You’ll also need a large sewing needle, but it doesn’t have to be sharp. I like this bent yarn needle.
How much of all of these things you will need depends on the size of your project and how tightly you wrap the fabric around the core.
Regular cotton quilting fabric is the best option for these baskets because it doesn’t stretch, but you could also use strips of old clothing or linens. (Here’s how to make yarn out of fabric or out of a pillowcase if you need to cut strips.) I have lots of little pieces of scrap left over from a group craft more than a decade ago, as well as little scraps from other projects that I used here.
The strips can vary in width and length, but about an inch/2.5 cm wide is a good option.
How to Start a Coiled Fabric Basket
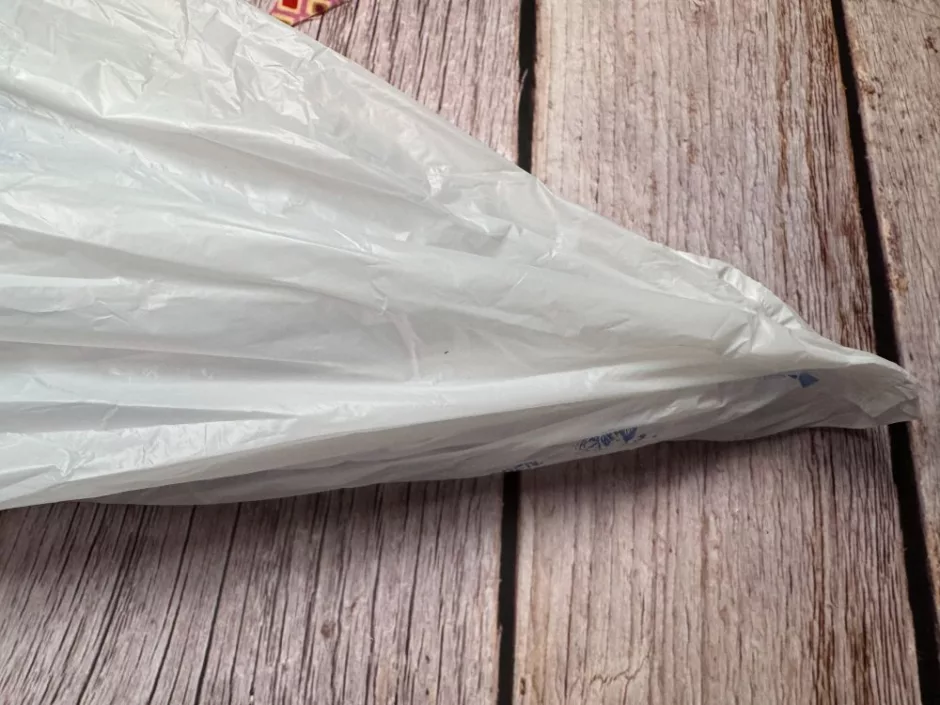
Whether you use plastic bags or a rope or cord as the base of your basket, the process is basically the same. Grab a strip of fabric and a bag or your cord. For the plastic bags you’ll want to start at the bottom of the bag, otherwise air gets caught in the bag as you go. Make the bag sort of rope shaped and start with one corner of the bag.
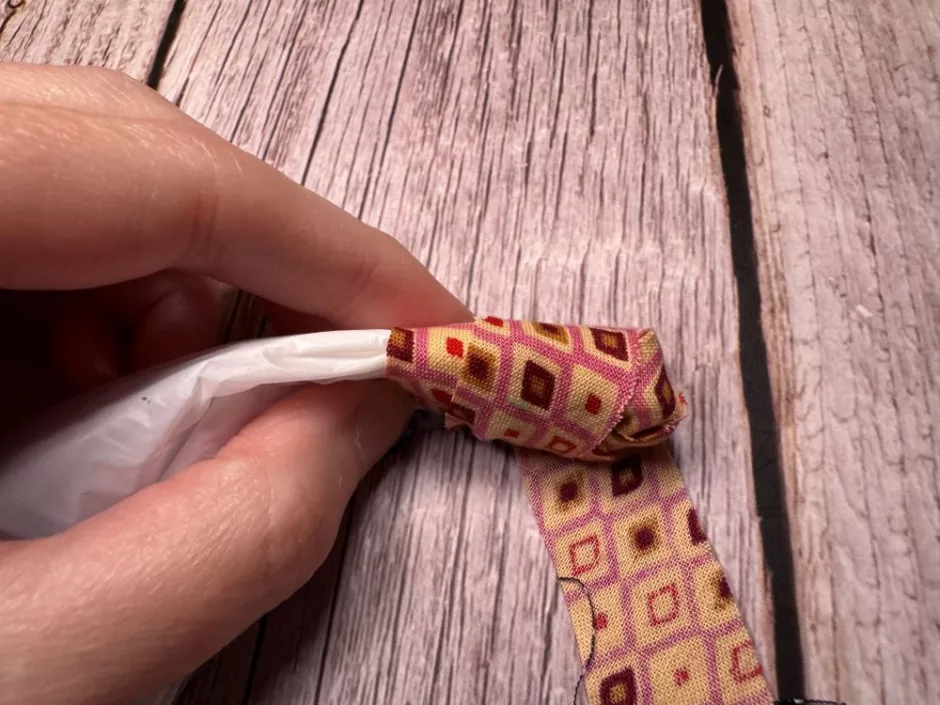
Begin wrapping your fabric an inch or so back from the end of the bag, then wrap to and over the end
Fold the fabric wrapped part in half and wrap down the other direction.
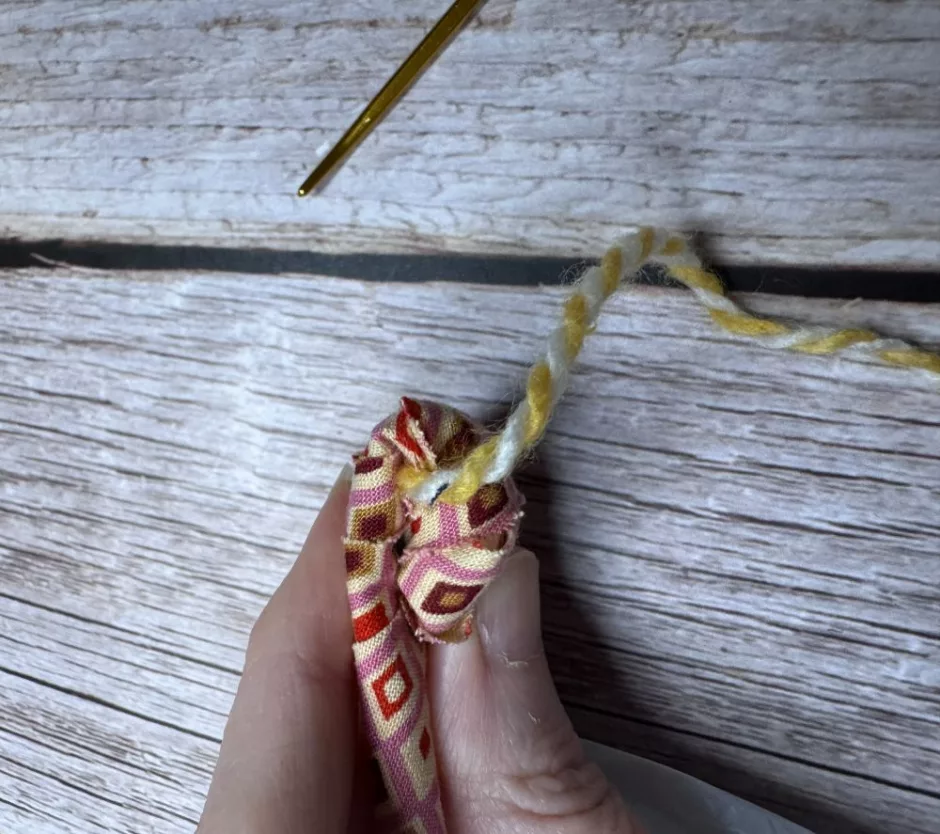
Cut a length of yarn, tie a knot at one end and thread onto your needle. Begin to coil the fabric wrapped portion, and take the needle up through the center of the coil. (If you have a sharp needle you can piece the fabric to help this hold better.)
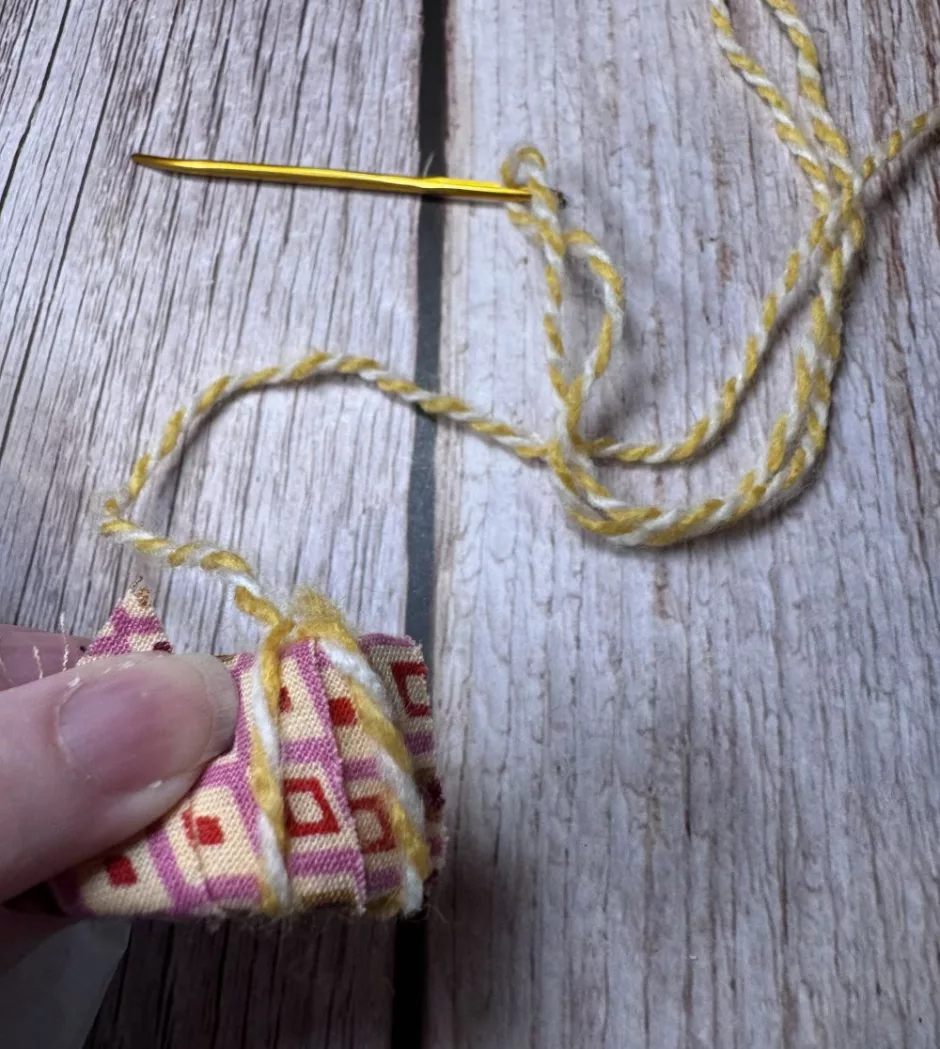
Stitch from the inside again, taking the needle under the outside coil and making sure the yarn is looped around the needle on the outside of the fabric when you make your stitch. This is basically a blanket stitch done in 3D.
Keep wrapping and coiling and stitching.
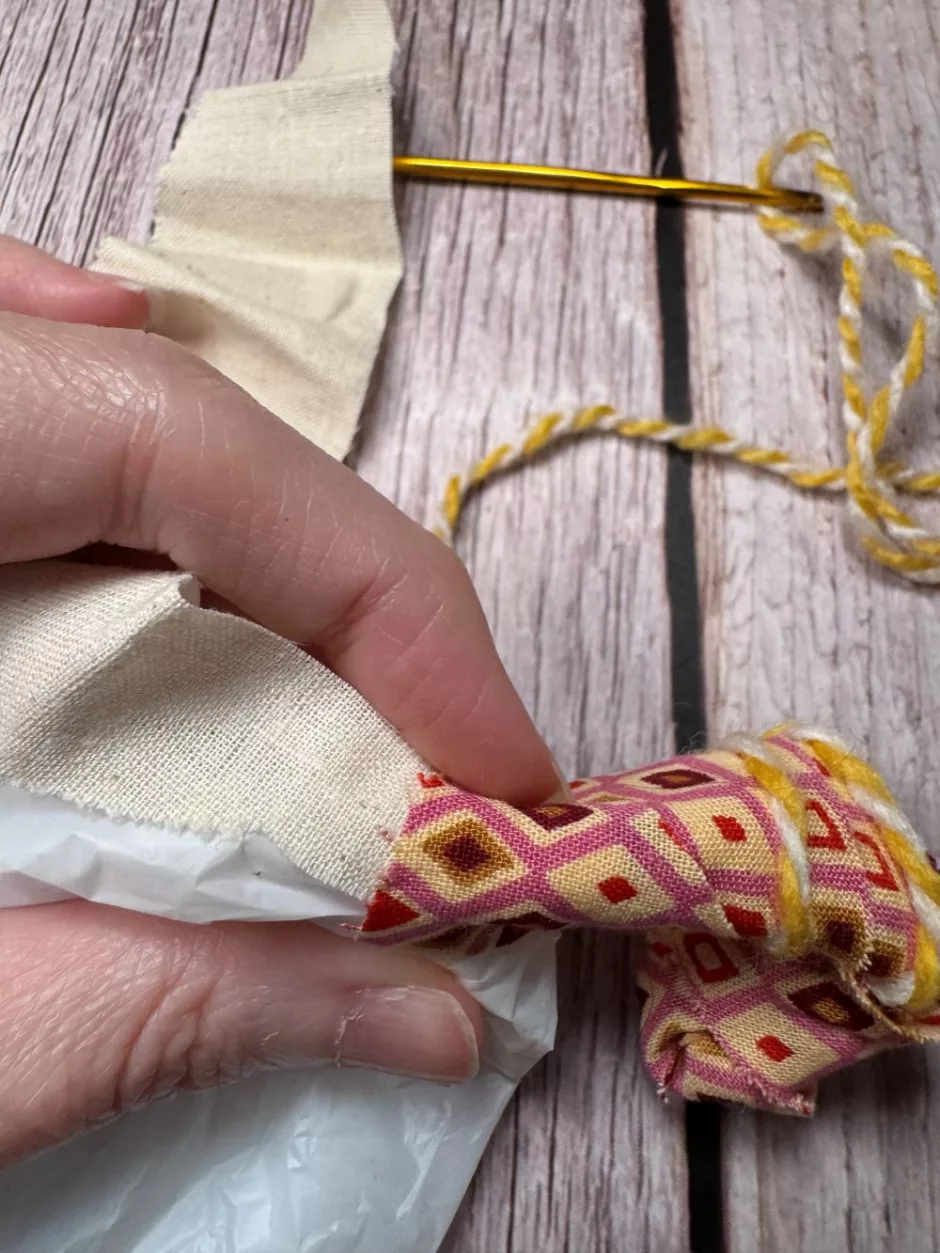
To add new fabric, place the new strip under the edge of the old strip and wrap so the raw edges of both are secured.
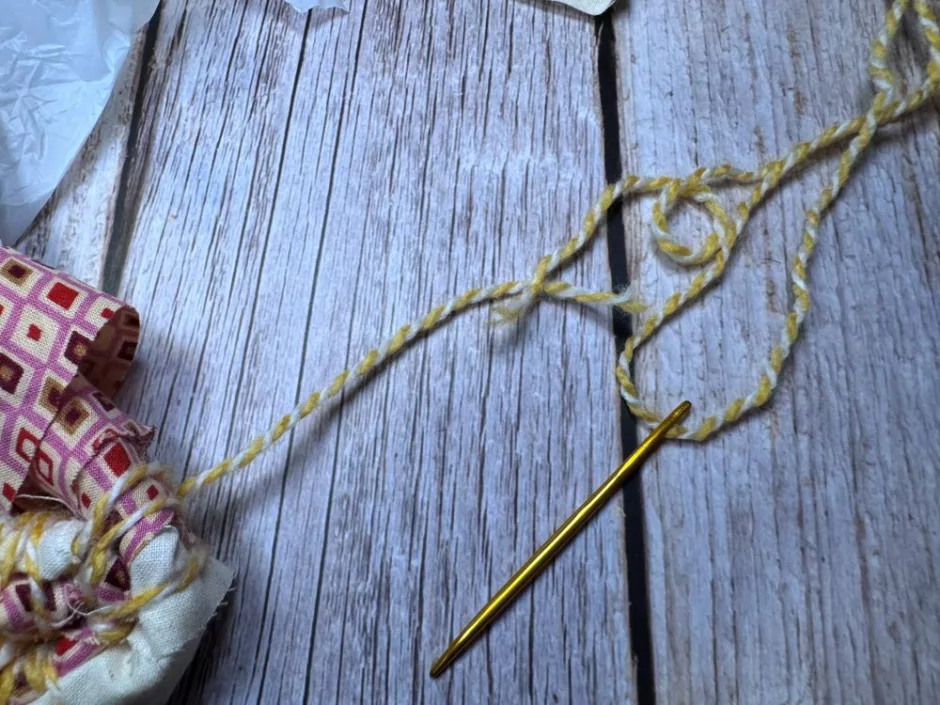
To add new yarn, cut another length, unthread the needle and tie the yarns together. I use magic knots and don’t usually trim the ends, I just try to hide them as I go.
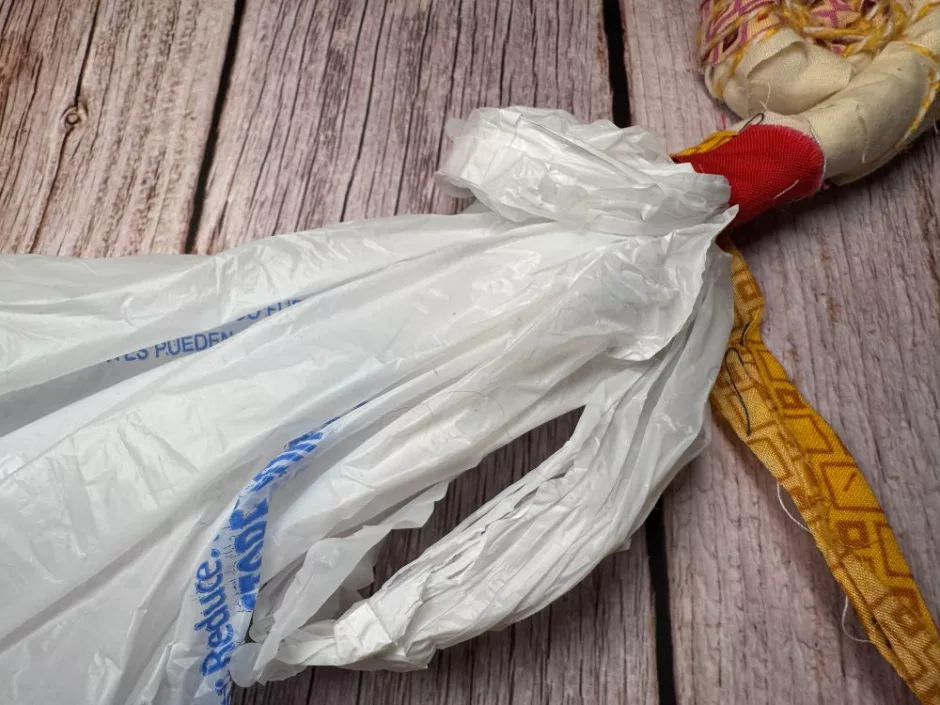
When you need more bag, I tend to have it so I cover one handle most of the way and then stick the bottom of the next bag into the handle from the first bag. Scrunch it all together and wrap it well before stitching.
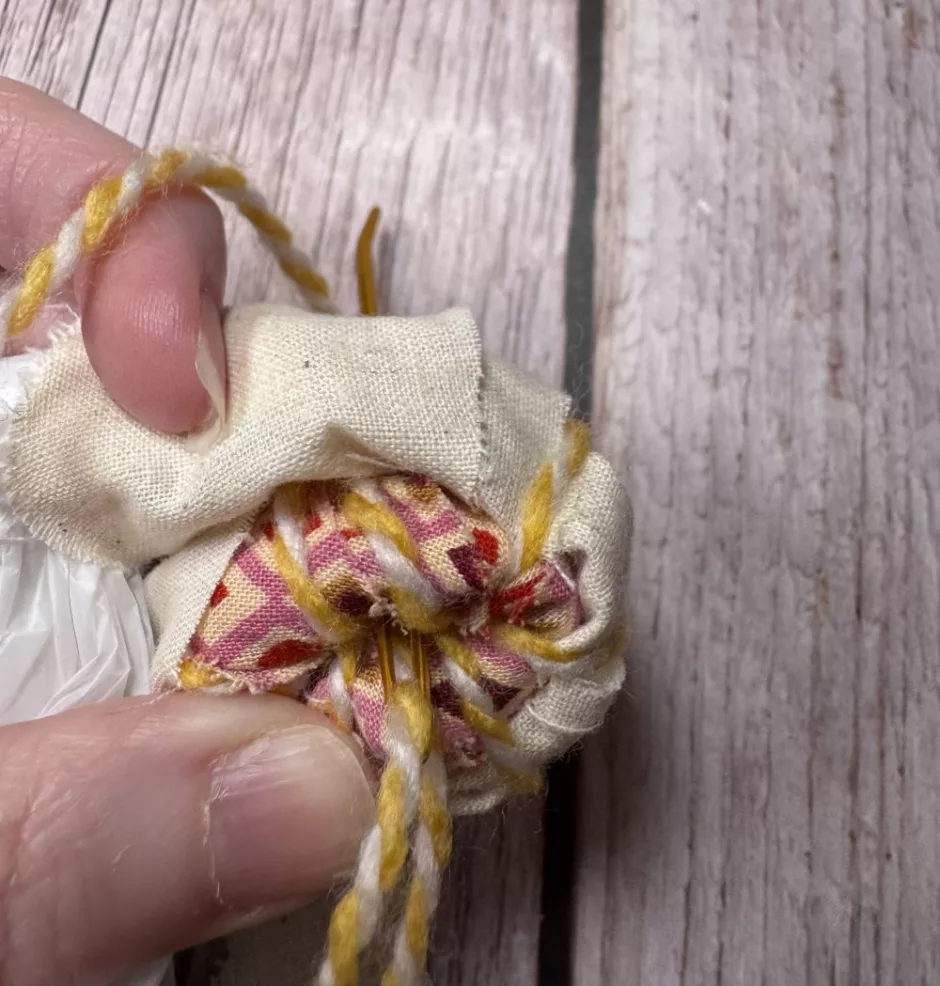
As you stitch around, you want to try to always make your stitches through the last layer of coil, and make the stitches on this row between the stitches from the previous row. Try to keep your tension relatively even as you stitch.
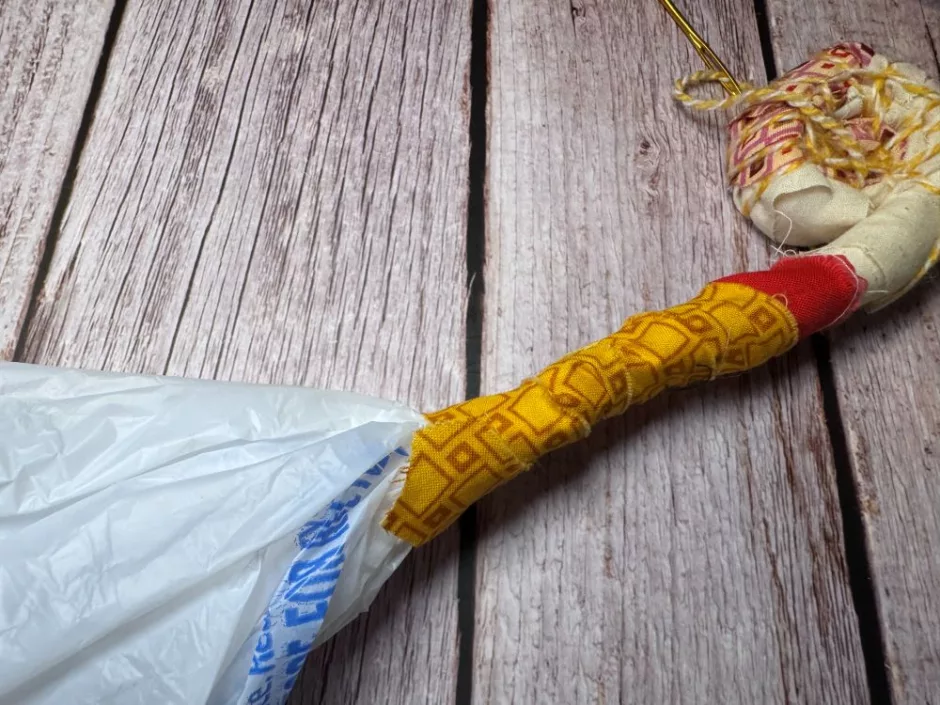
Starting the Sides
When your coiled fabric basket base is as big as you’d like, it’s time to start building the sides of your basket. Mine is about 3 inches/7.6 cm across.
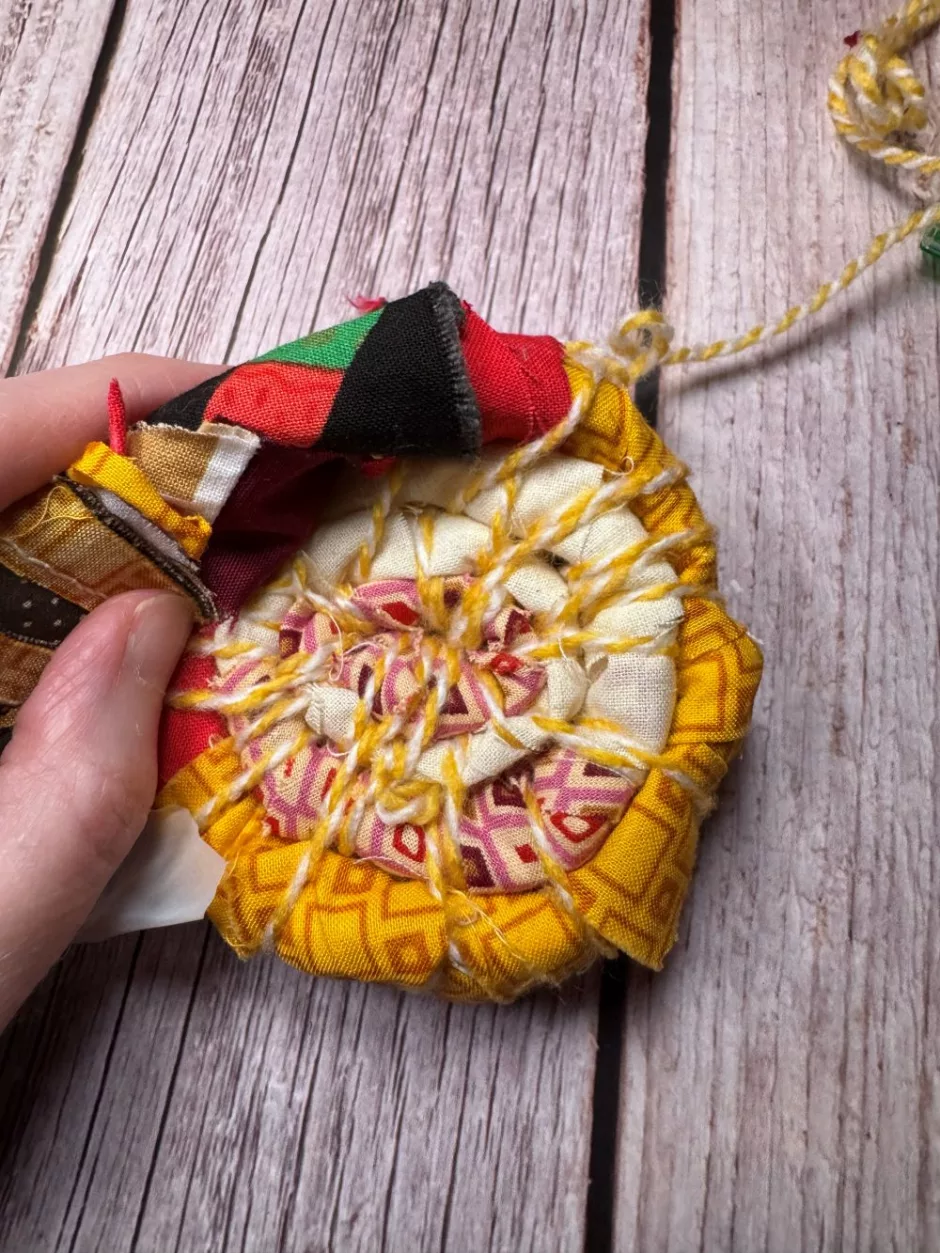
All you have to do to start the sides is keep wrapping and coiling as before, but set the new piece on top of the edge of the old piece. Now you’re stitching down and through the last layer and the stitches will show on the sides.
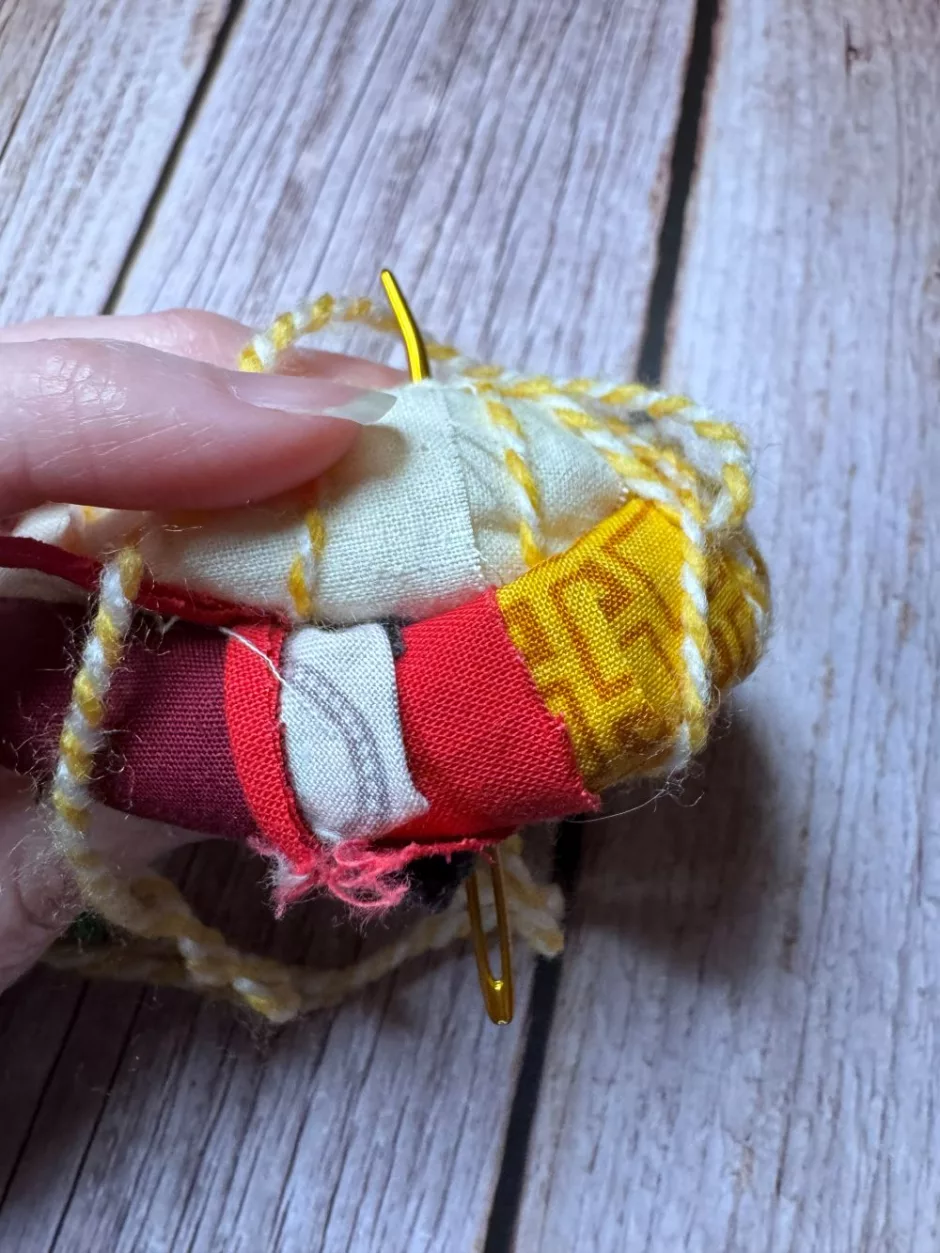
If you’re having trouble getting your needle to poke through, stick your finger where you need your stitch to go and then put the needle through.
Here again we’re staggering the stitches compared to the round below and changing fabric, bags and yarn as needed.
Finishing Your Basket
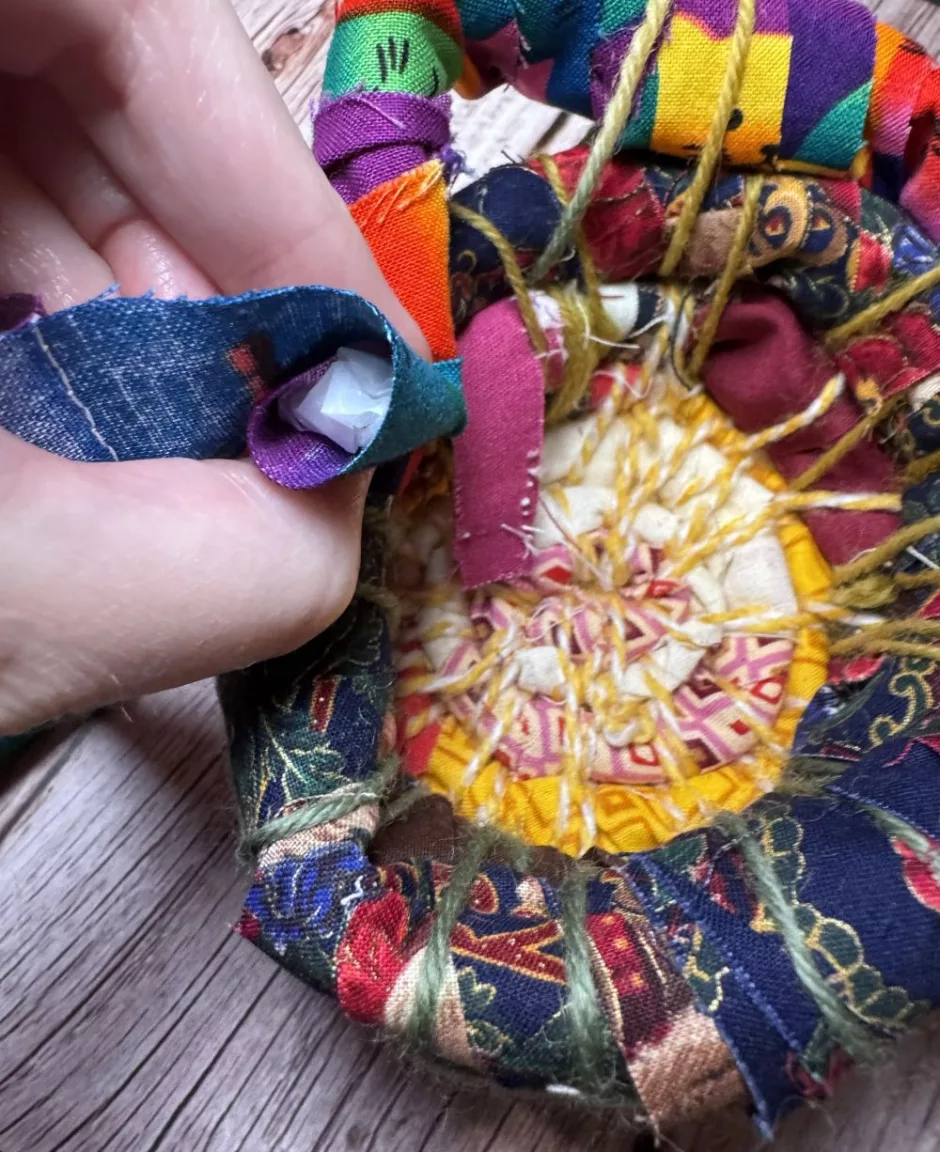
I like to finish a coiled fabric basket at the end of a plastic bag so I don’t have to cut them, but you can stop whenever you want. When you get to the end of the bag, wrap the fabric all the way to the end so you can’t see any bag underneath. Cut any extra fabric.
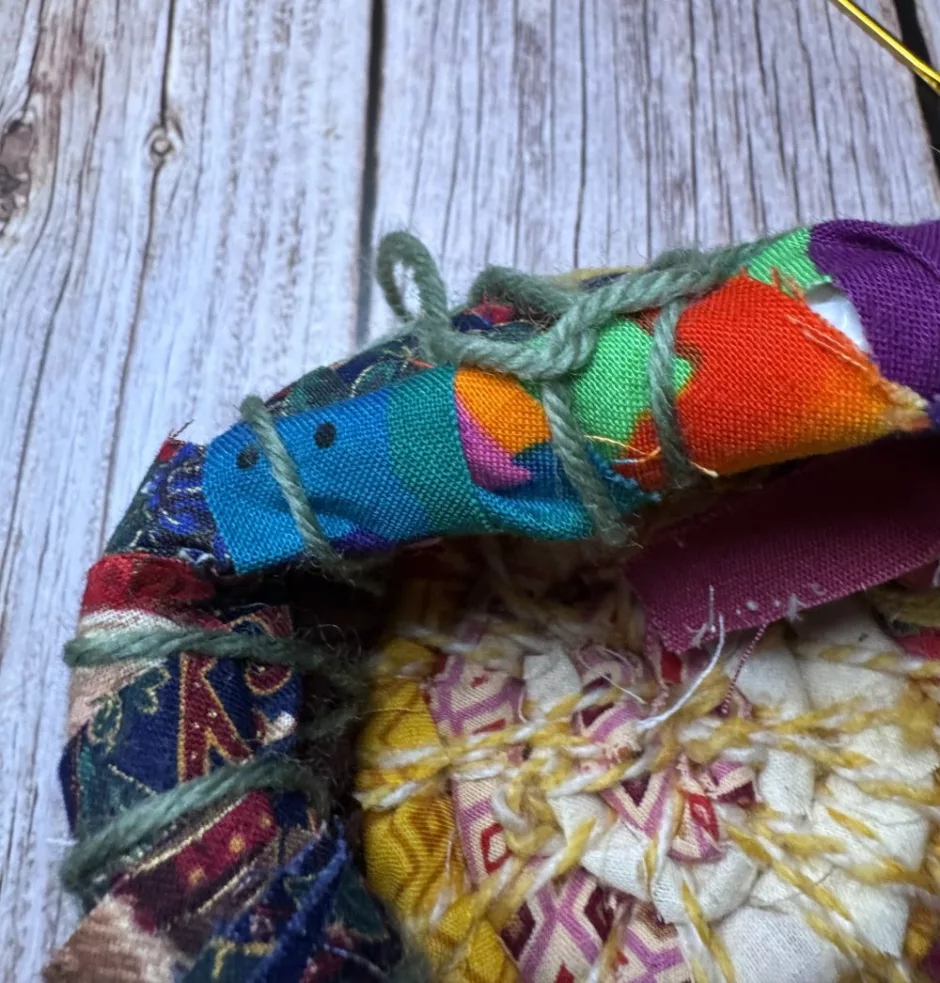
Tuck the end under the nearest stitch from the round below and finish stitching this layer.
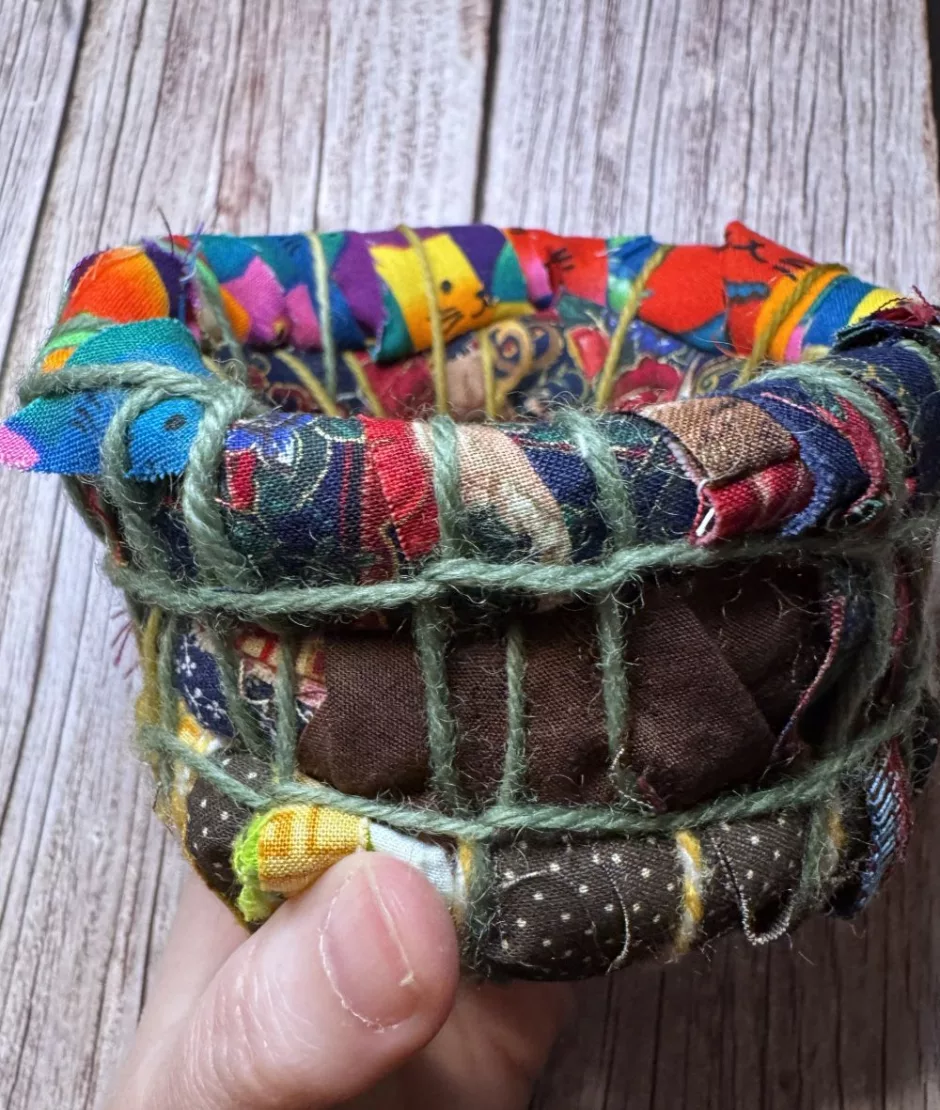
Tie the yarn to itself inside the basket or hide the yarn end in the basket wall.
Here one side of the basket is taller than the other but you can stretch and squish and shape the sides as needed to get a look you’re happy with.
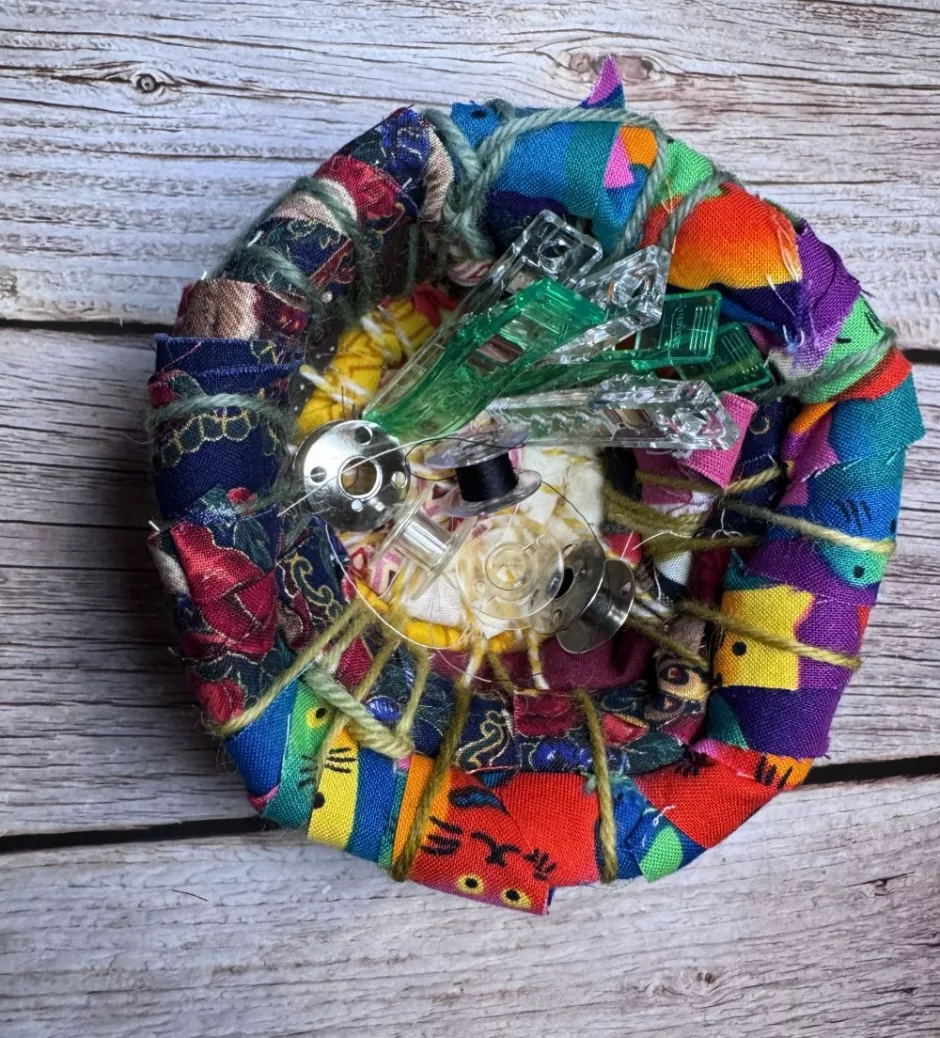
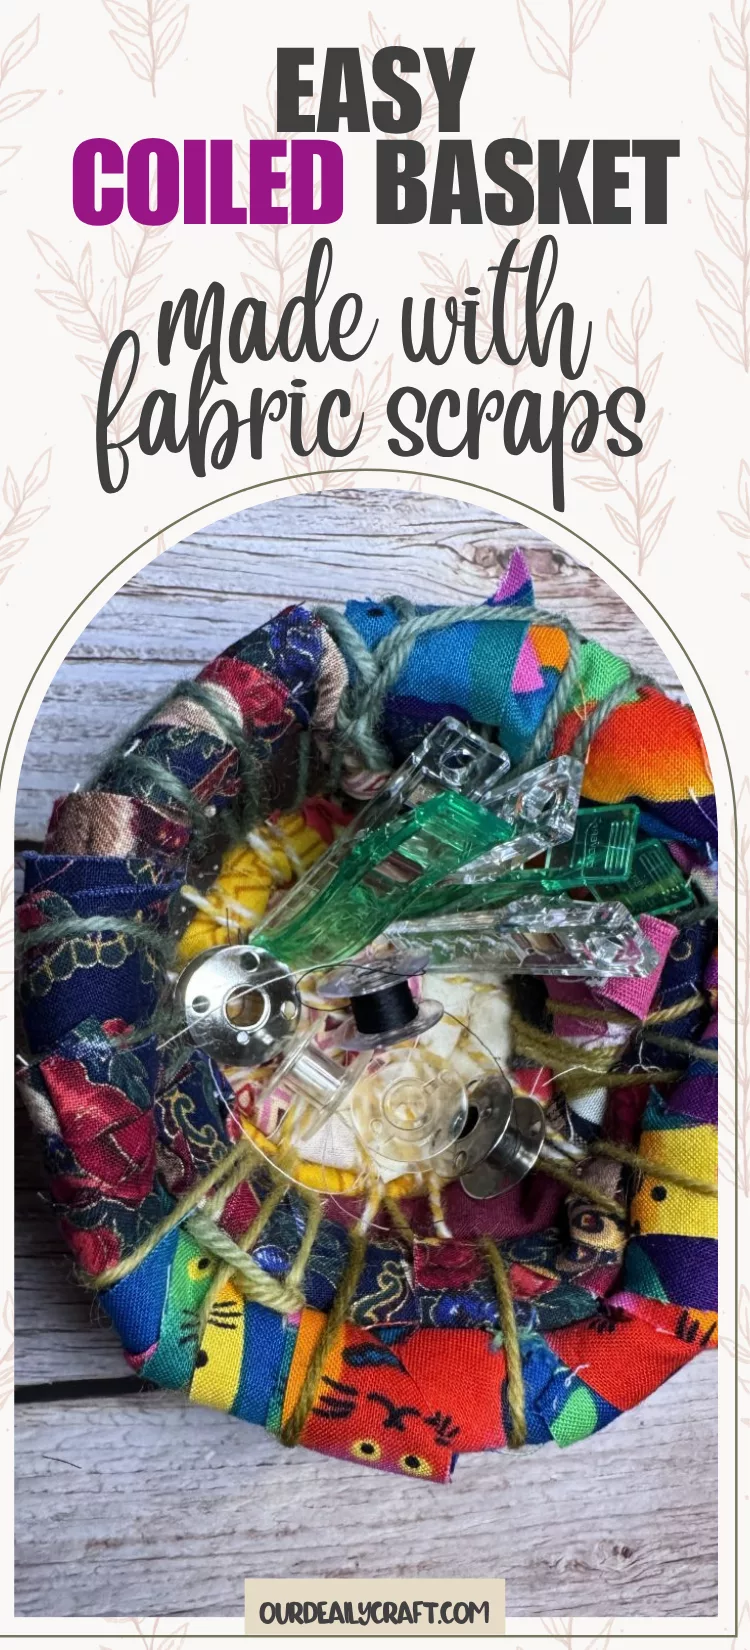
This little basket is perfect for holding bobbins and sewing clips.
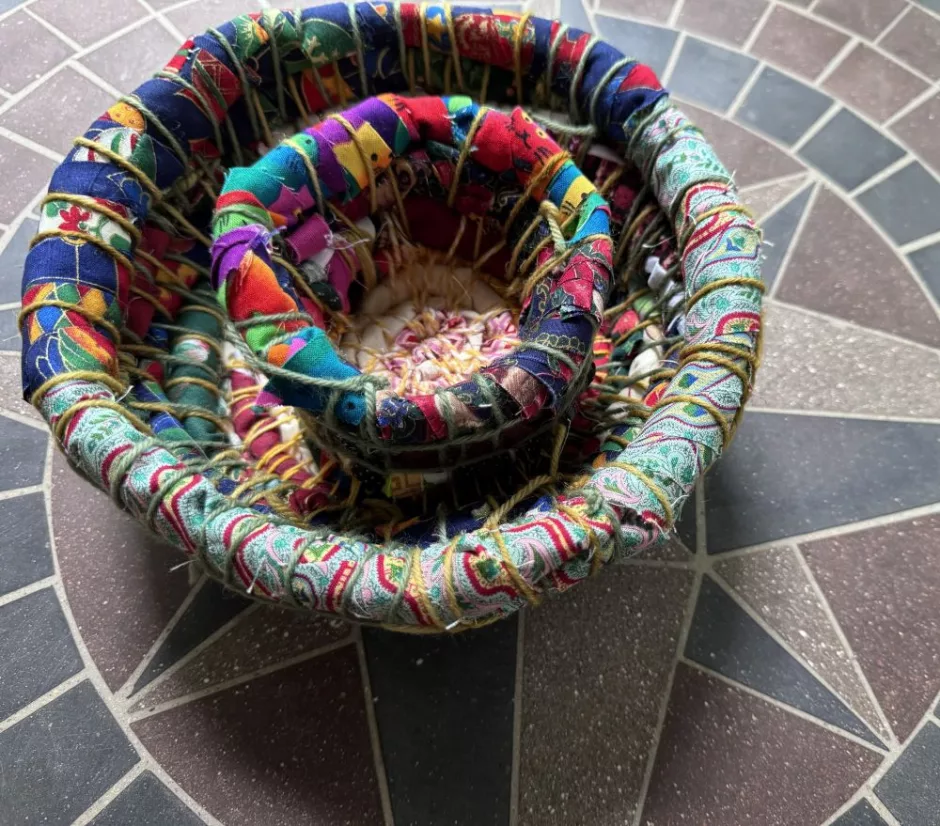
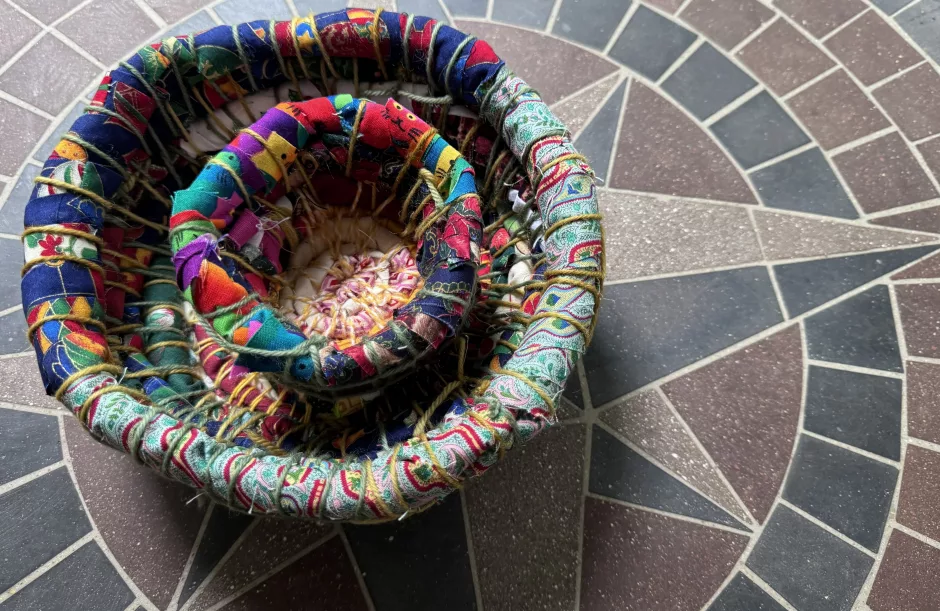
I also made a bigger one (the base on that one is about 7 inches/17.78 cm) and I love how they nest together!
Once you make one coiled fabric basket you’ll probably want to make a bunch and use all your scraps and leftover yarn and old shopping bags.