Affiliate links may be included for your convenience. View our privacy and affiliates policy for details.
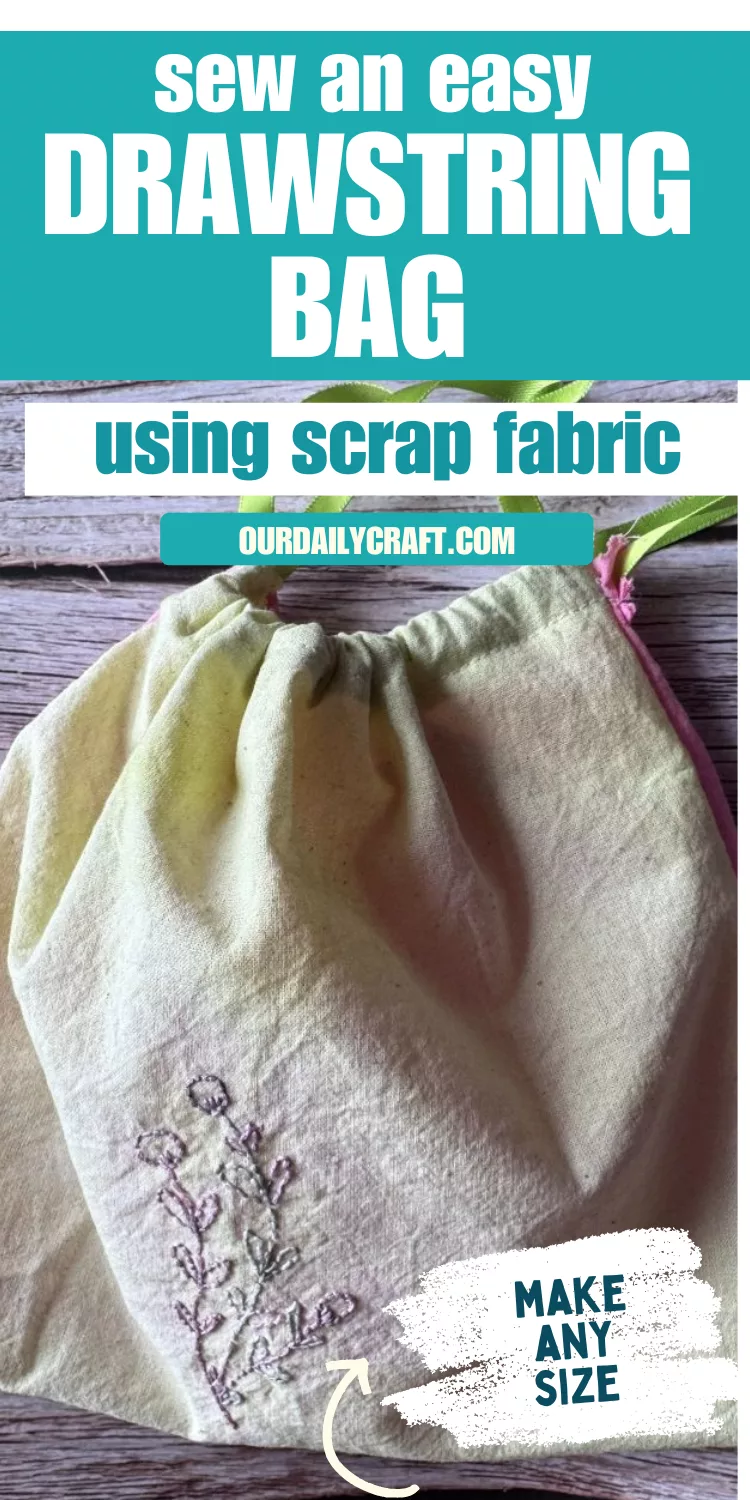
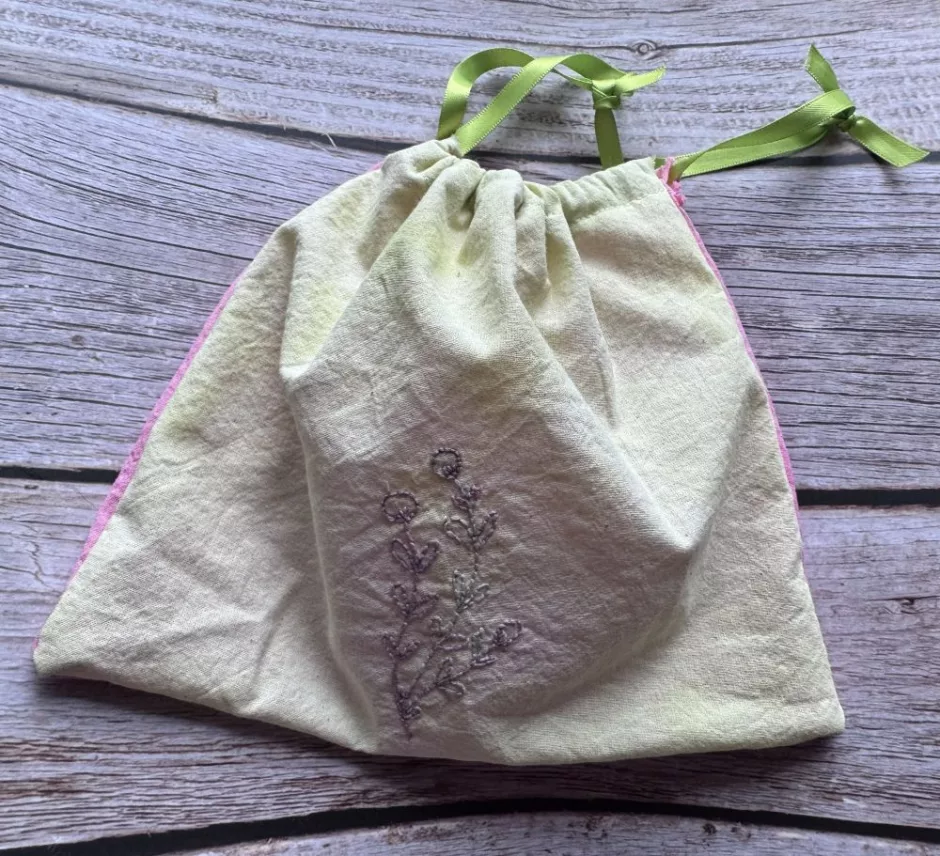
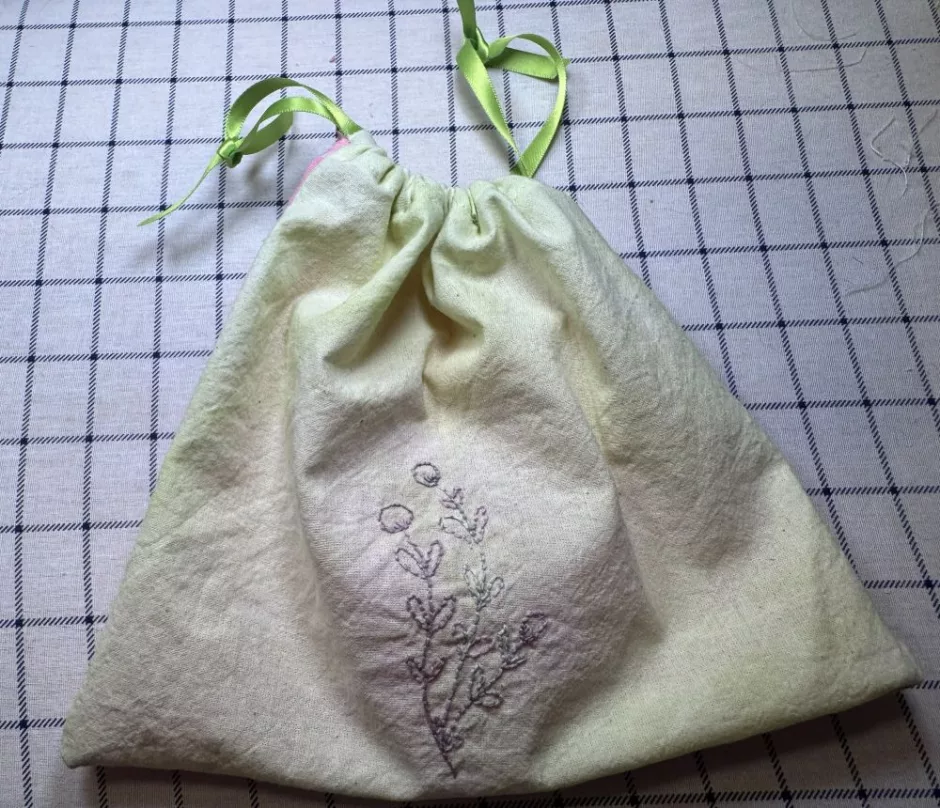
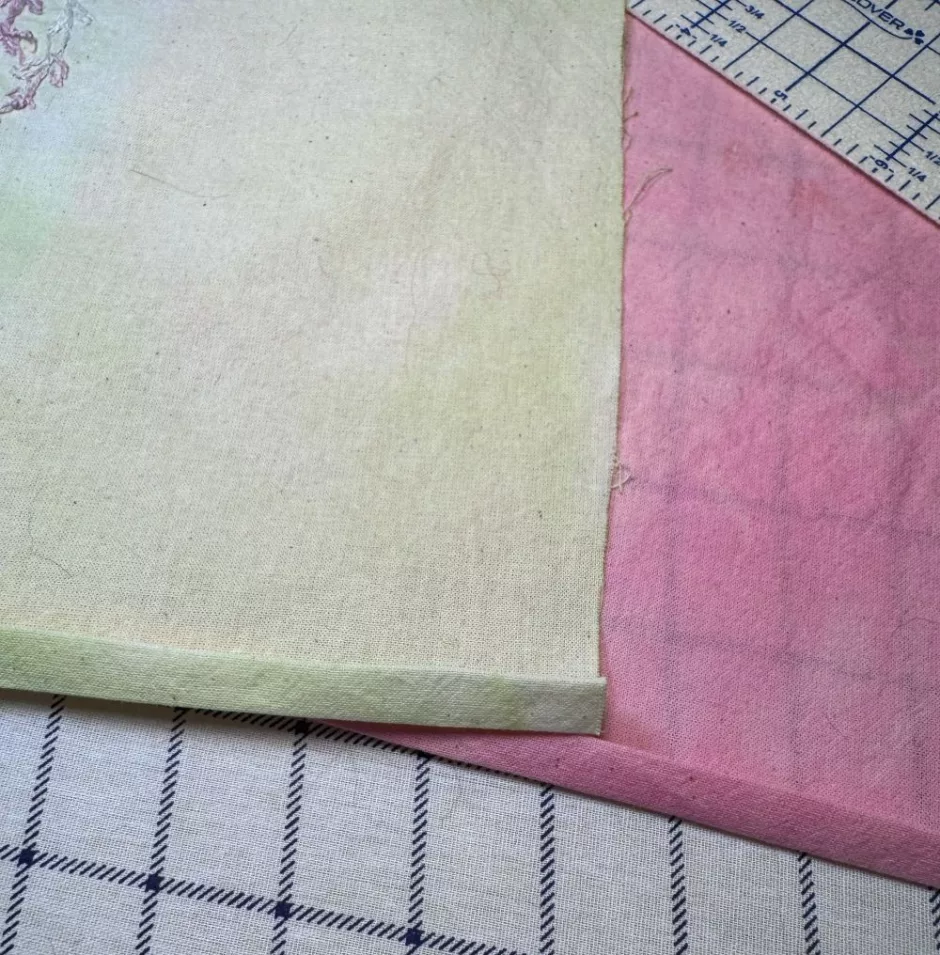
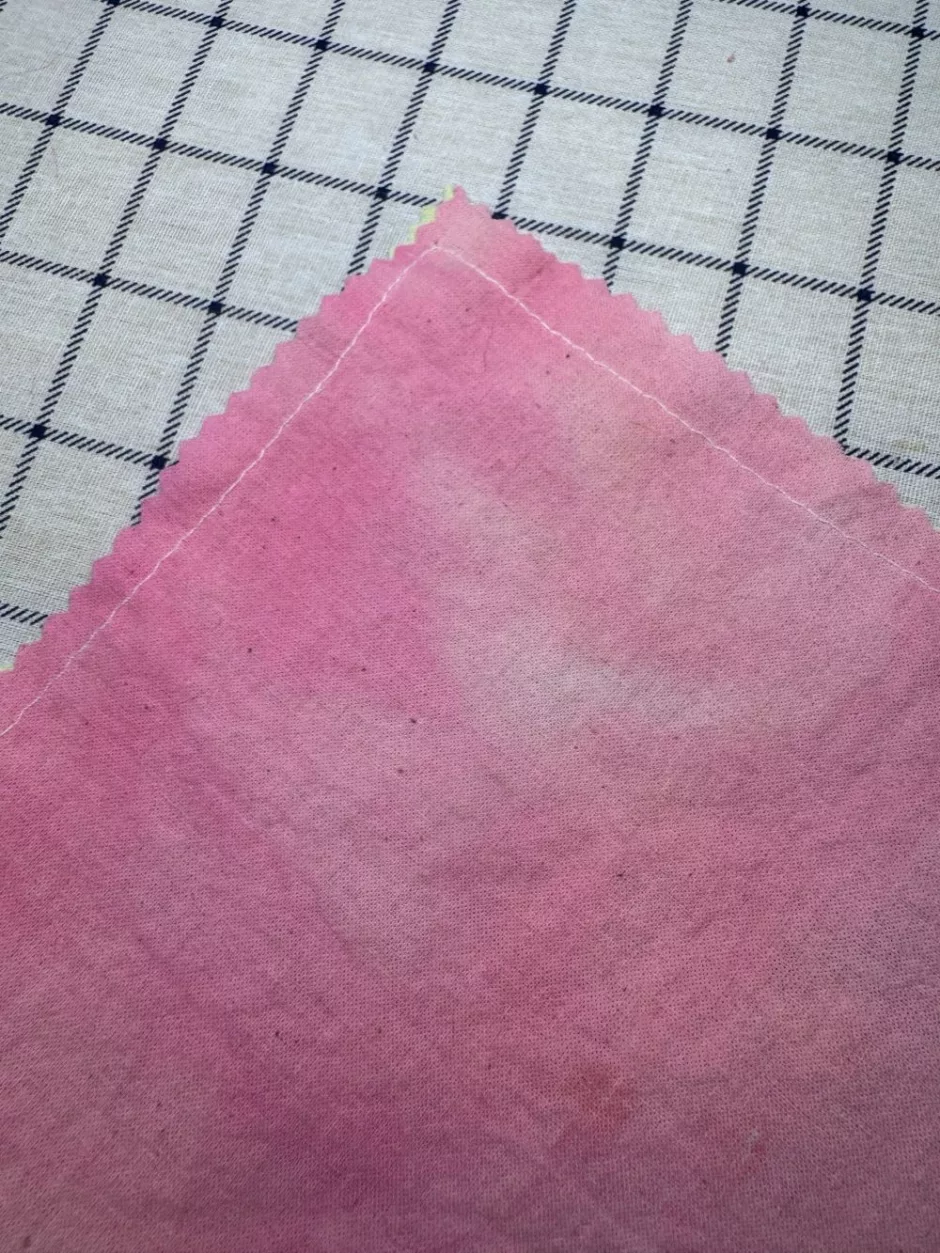
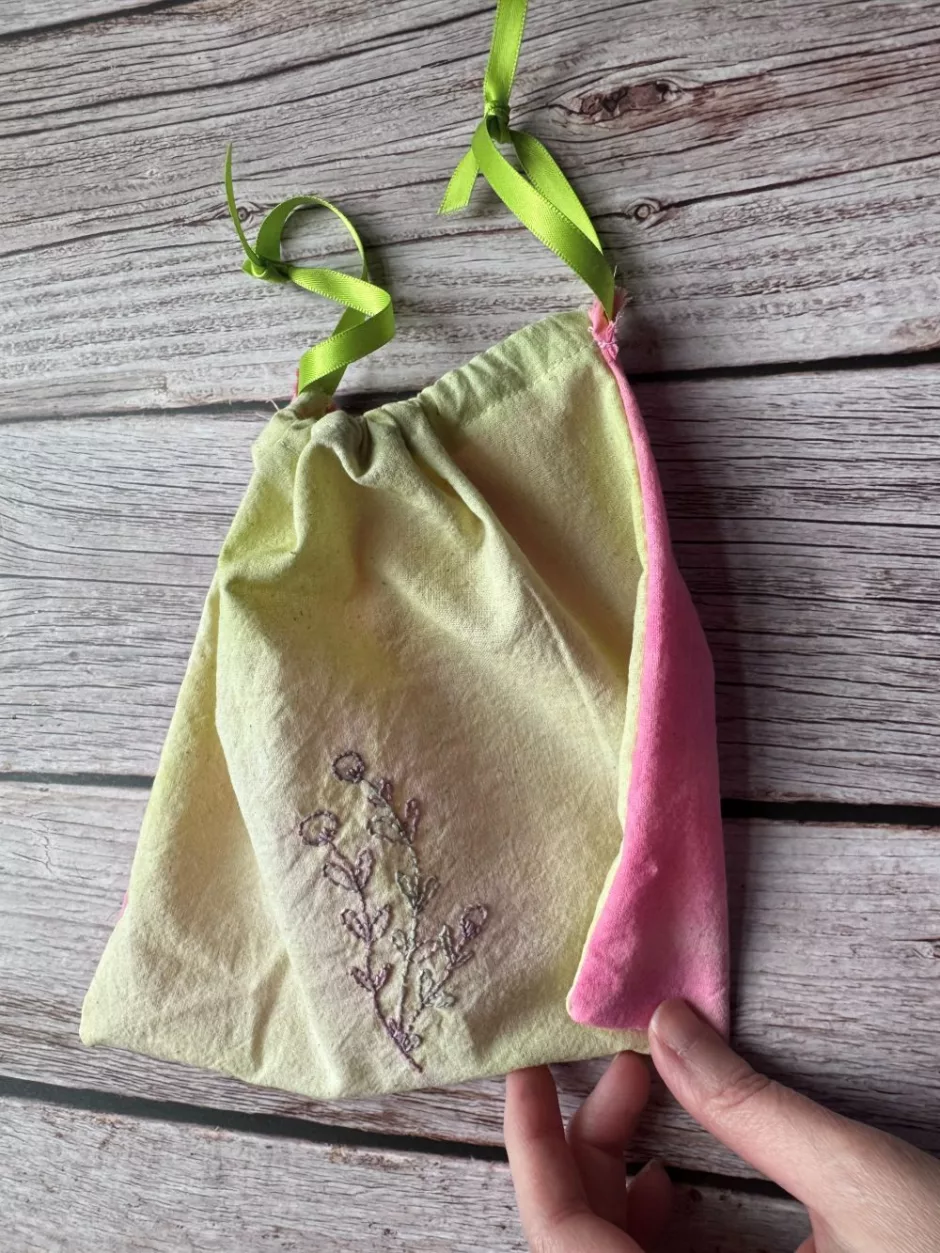
This easy sew drawstring bag is the perfect thing to make with a couple of leftover pieces of fabric. This fabric was some I dyed with Easter egg dye and I knew I wanted to make a little bag out of some of it, so here’s what I did.
(You can see another piece in the needle felted strawberry hoop art project.)
Materials
To sew a drawstring bag, all you need are two pieces of fabric and some kind of cord or ribbon to use as your drawstring. I used a sewing machine for mine but you could also sew it by hand if you wanted.
Either way you’ll need basic sewing supplies including a sewing machine if you’re using it or a sewing needle, thread and scissors. I also used pinking shears on this project. Some sewing clips or pins will also come in handy. And I used an iron to help me make the drawstring channel. A hot ruler is nice to have but you can use a regular ruler instead.
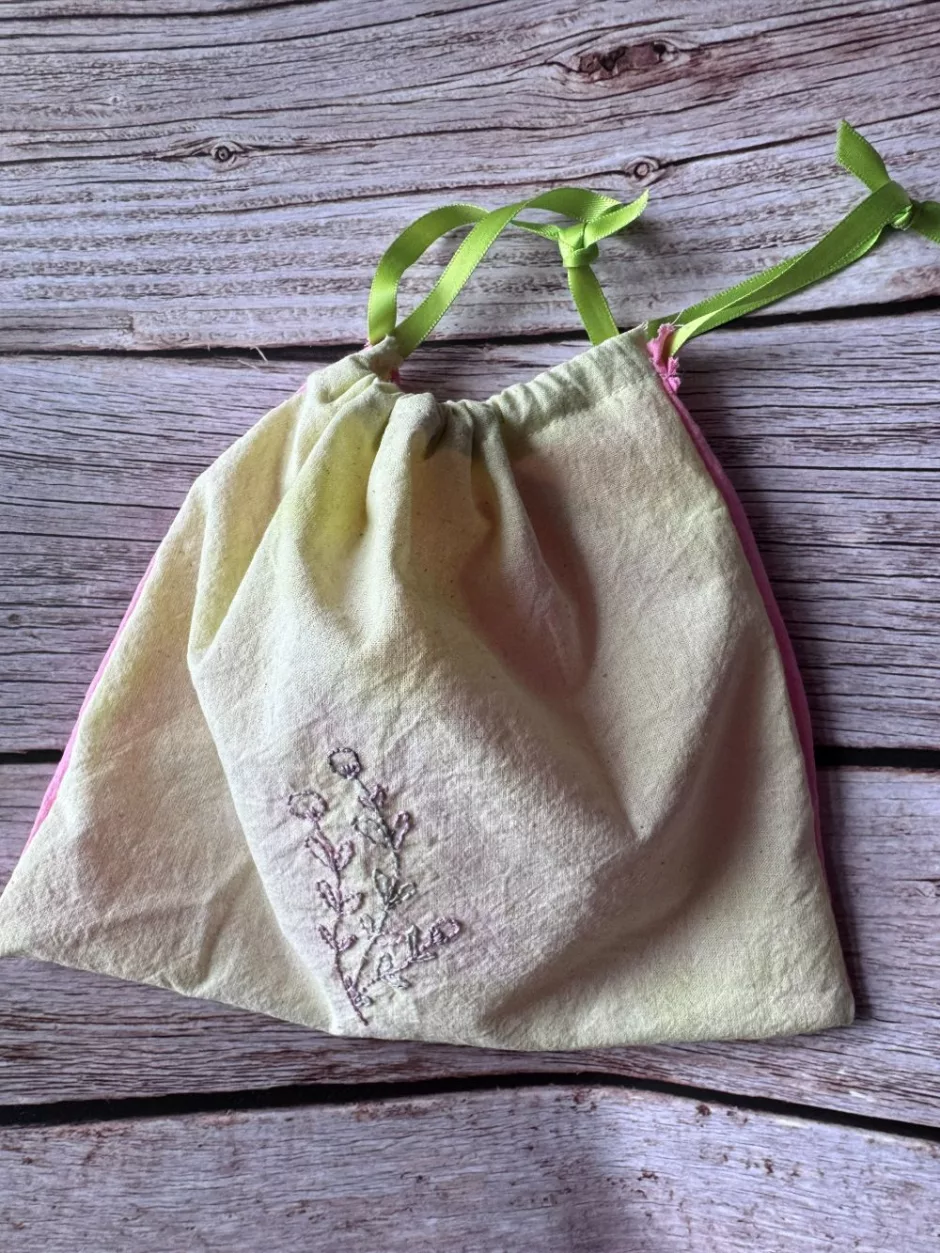
I added a little embroidery to mine so you would also need supplies for that if you want to do the same.
Size
You can make your drawstring bag whatever size you like. Because I was starting with precut fabric I didn’t really care what size mine came out, but it is about 8 inches/2.3 cm wide and 7 inches/17.78 cm tall. I think the fabric was roughly 9 inches/22.8 cm square before I started sewing.
How to Sew a Drawstring Bag
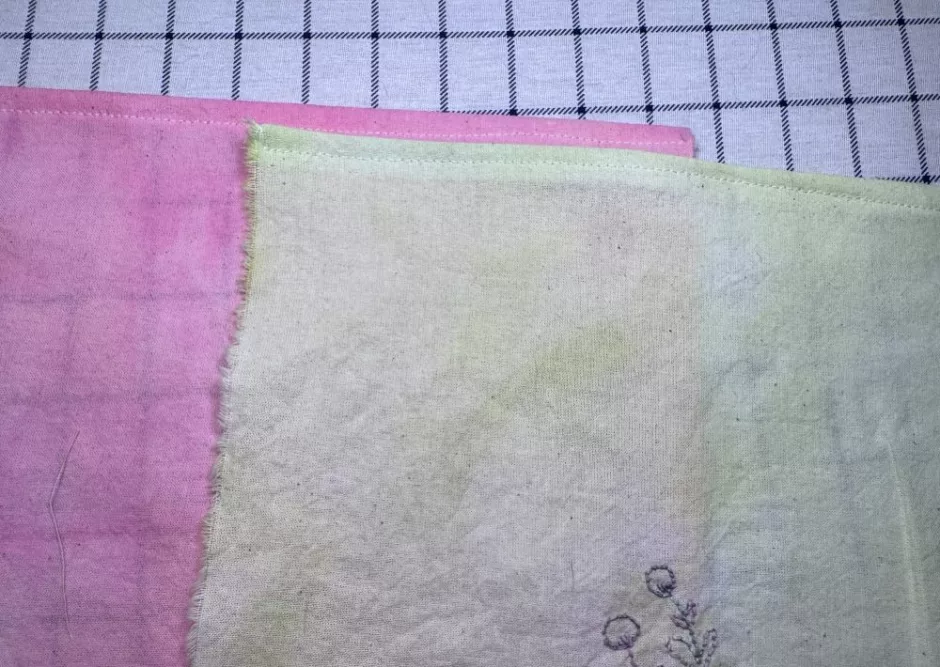
First, if you want to add any embellishments before you get down to drawstring bag sewing, now’s the time.
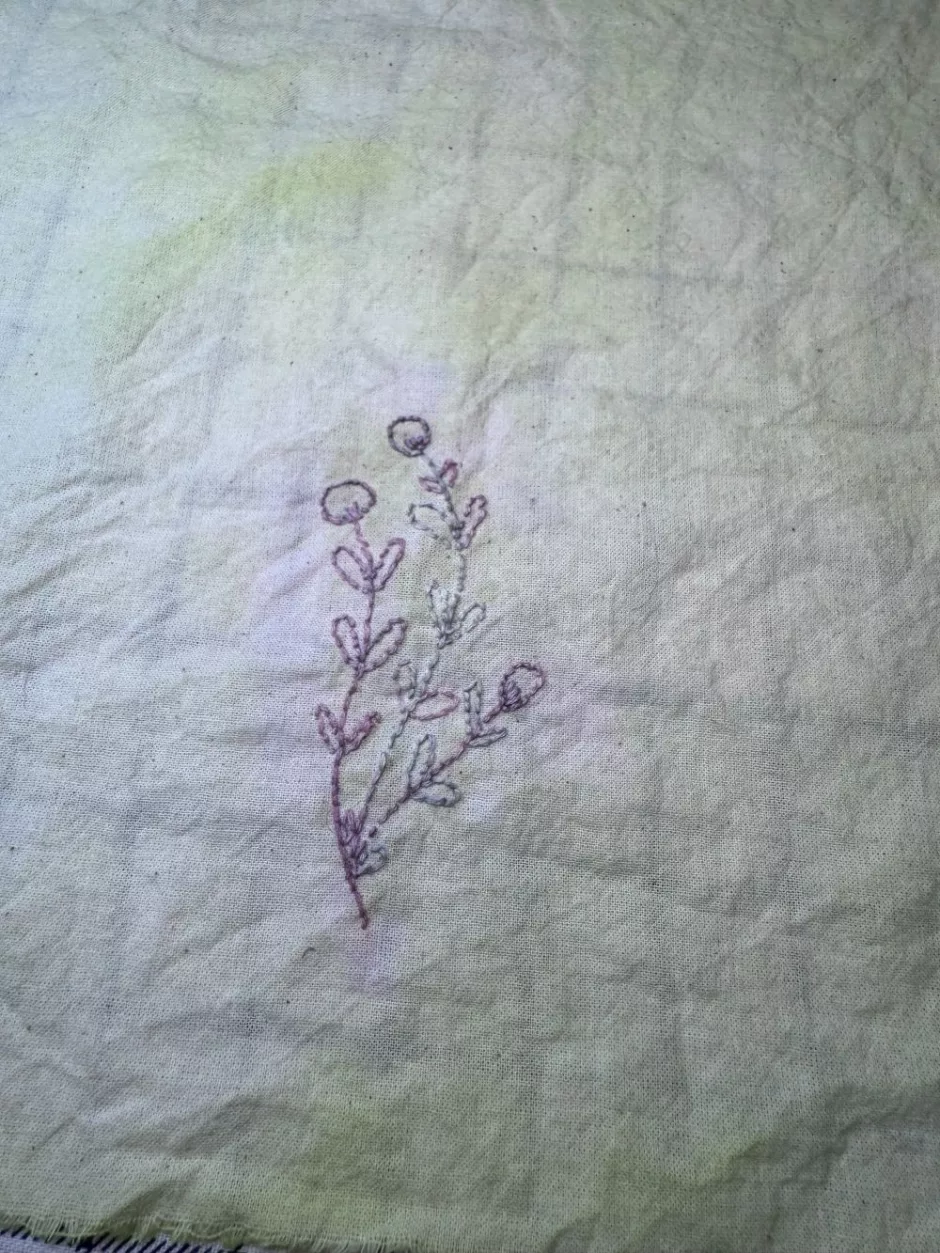
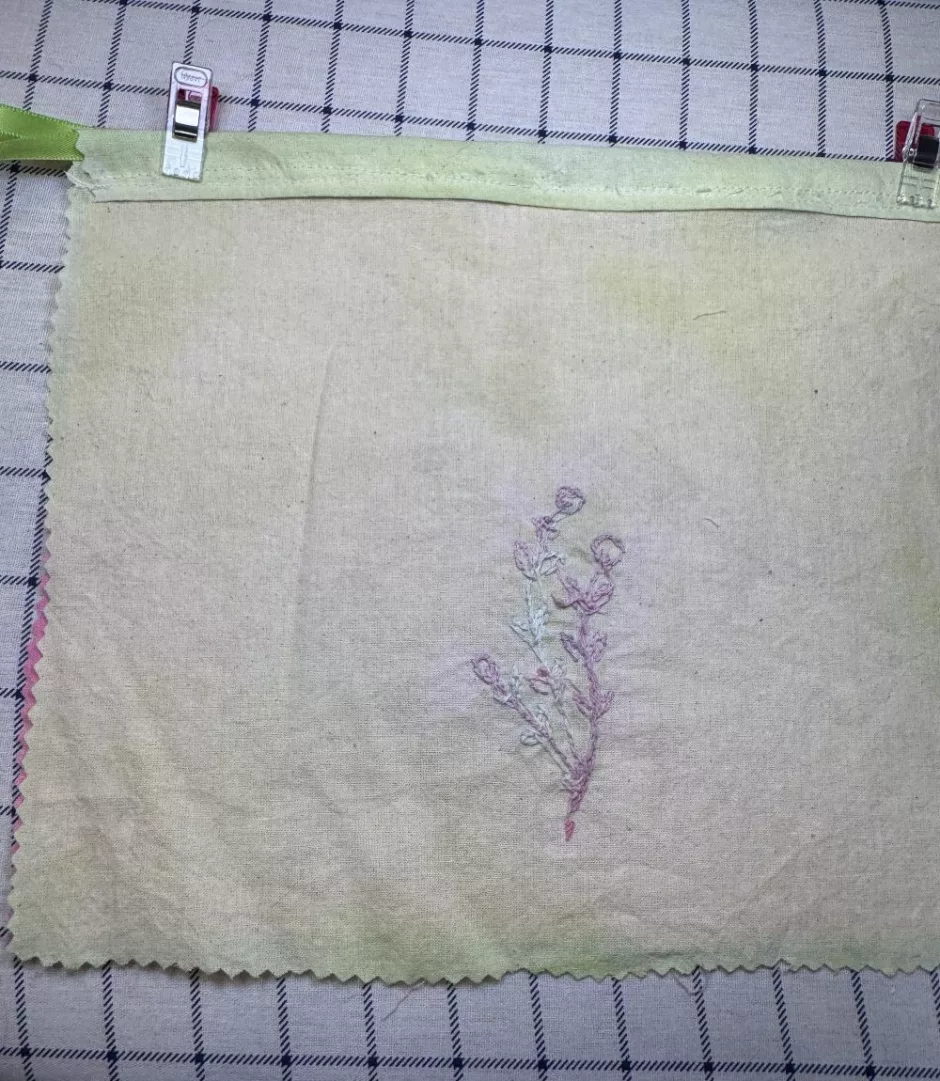
I used a peel and stick flower on water soluble paper (like I used in the post on adding embroidery to a T-shirt) and stitched it with a pink variegated floss using back stitch.
I accidentally used hotter water than I should have when washing off the paper and it looks like both the fabric and the floss bled a little but I don’t mind. Allow your fabric to dry before sewing.
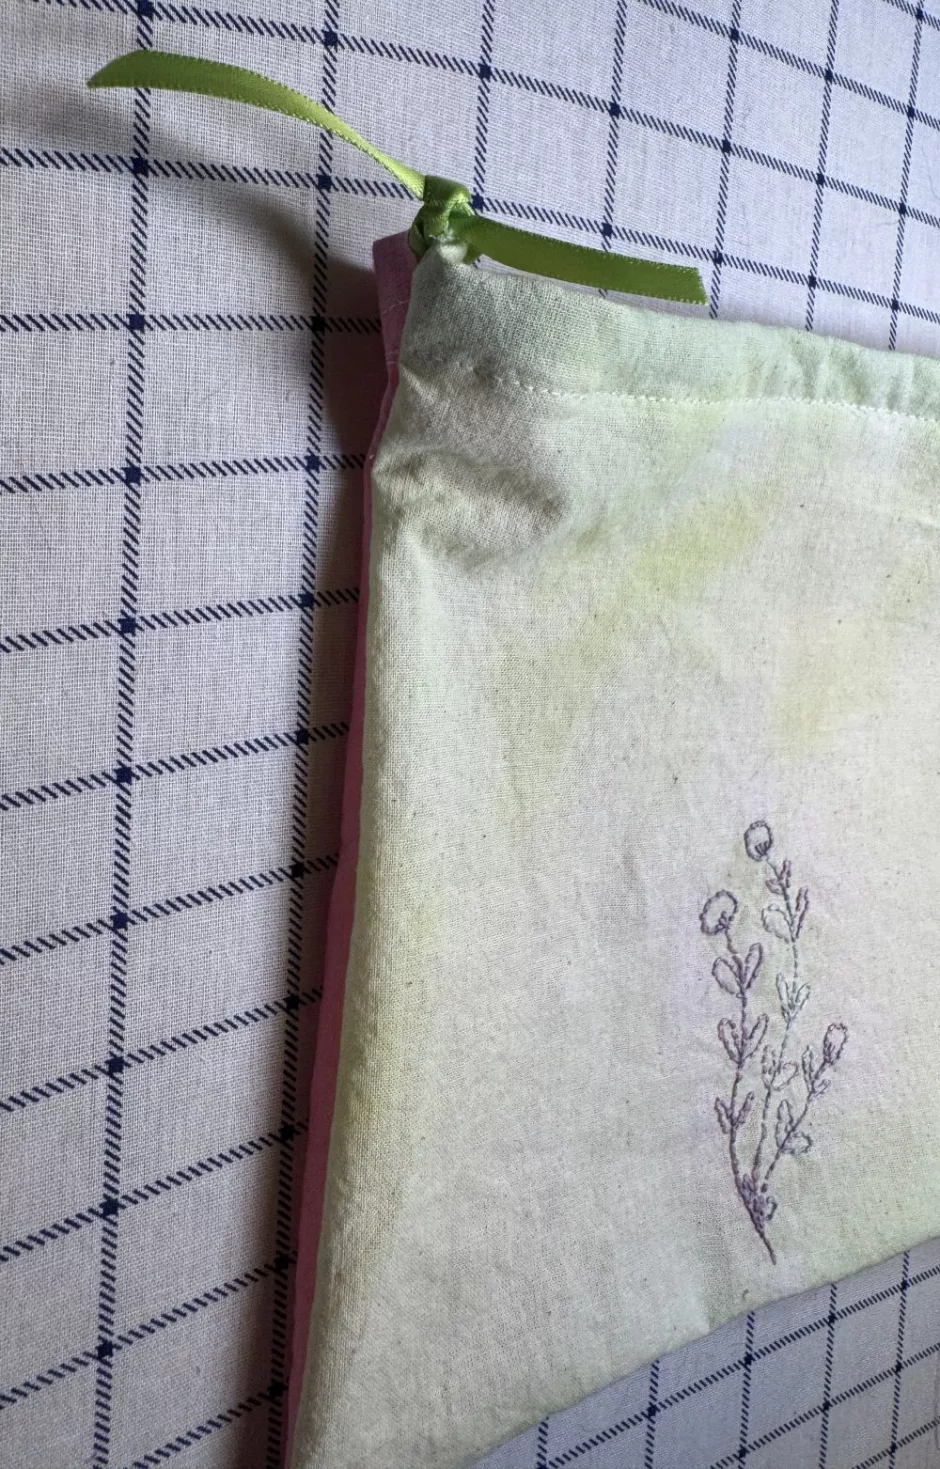
This drawstring bag sewing pattern is super simple and doesn’t take long to make. I started at the top by folding over a small amount of fabric and pressing it down (the hot ruler makes this easier), folding down and pressing again to cover that raw edge and then sewing that closed on both pieces of fabric.
Cut whatever you are using for your drawstring (I have green ribbon) to a length that looks nice for the size of your bag.
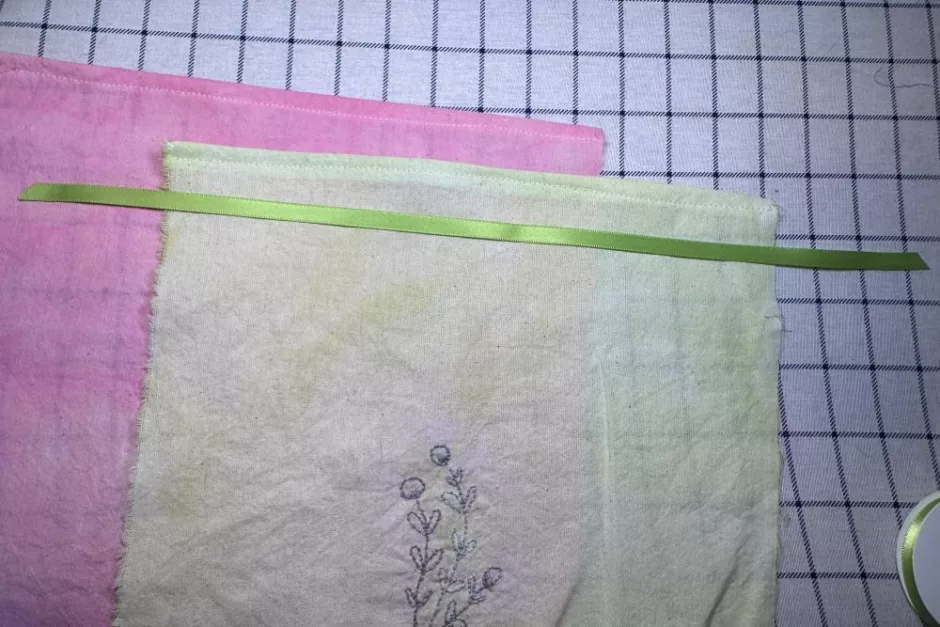
Use the ribbon/cord as a guide to see how far to fold over the top for the drawstring casing.
Clip or pin into place with the string still inside.
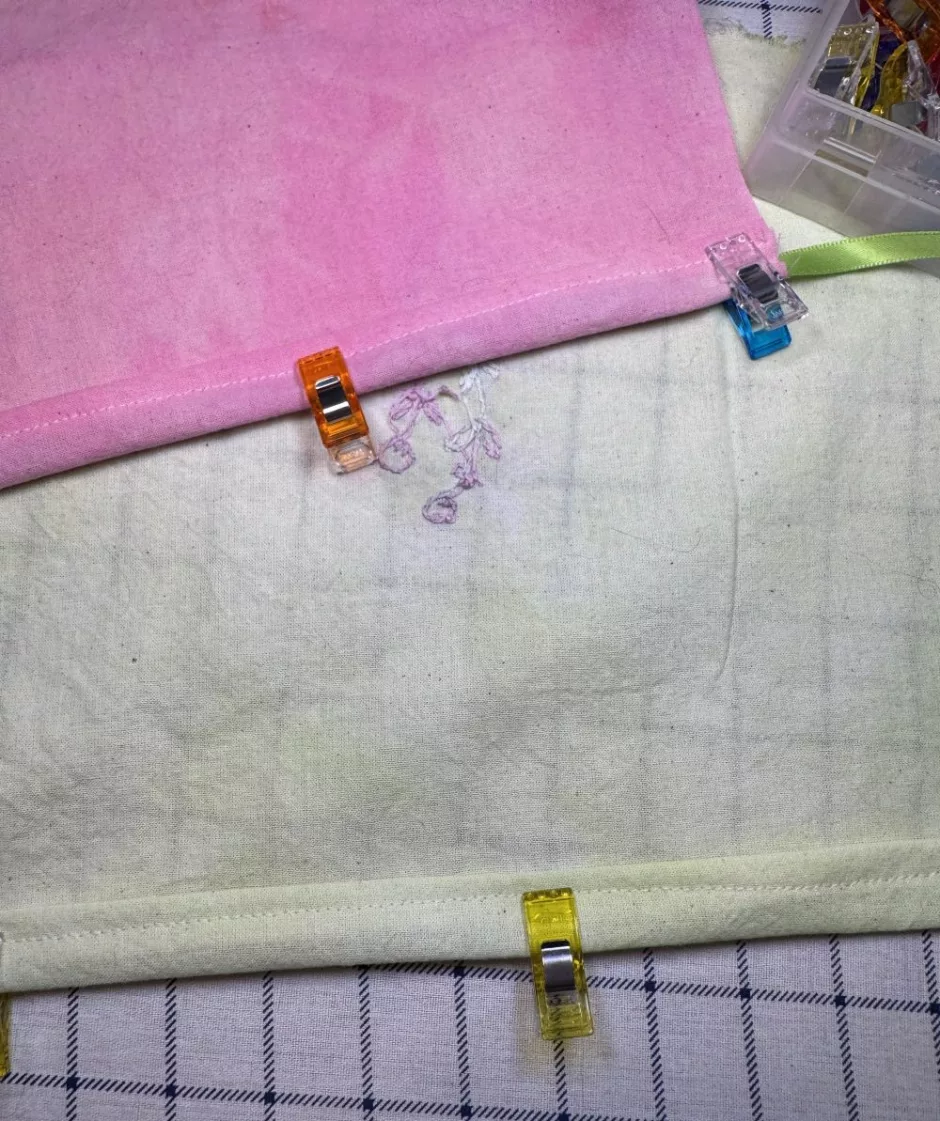
Sew this line of stitching on both pieces, and then tug on the cord to make sure you didn’t sew over it. Use pinking shears to finish the other three edges.
Place the front and back of the bag right/front/outsides together and sew along the side, bottom and other side, making sure you don’t sew over the drawstring casing. Just get as close to it as you can.
Flip the bag right/front side out and tie the pieces of cord to each other.
Using Your Drawstring Bag
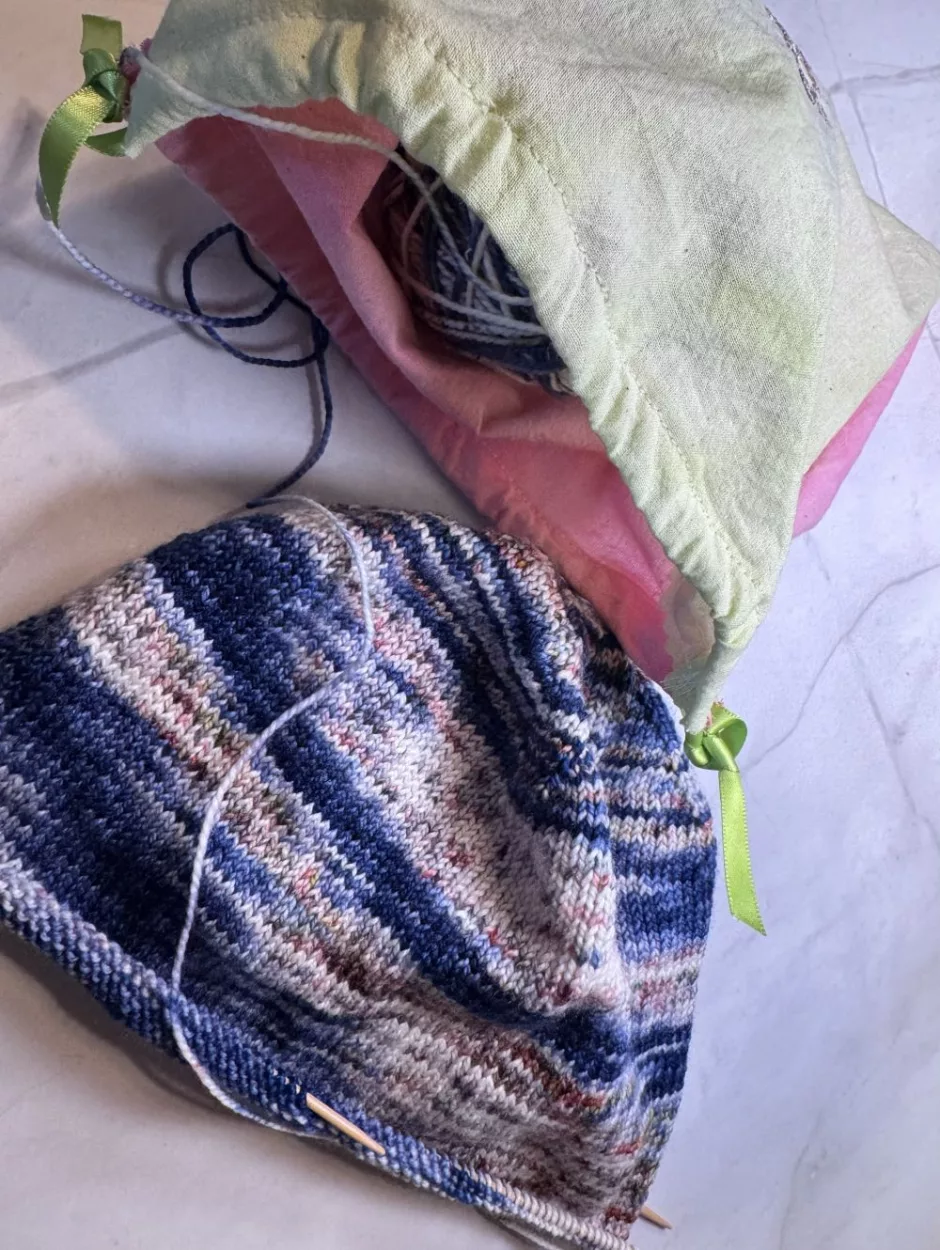
Depending on the size and the kind of fabric you used (mine is muslin) you can use these sewn drawstring bags for anything from holding a knitting project to holding produce from the farmer’s market.
They would make cute little gift bags that you can give for the person to reuse as part of the gift.
This smallish one would also be good as a reusable snack bag (see other options for snack bags you can sew).
Note: if you have trouble pulling on the string to get the bag to close (which I do since my “string” is ribbon) you can push the fabric toward the center manually. Maybe it’s a draw-fabric bag instead of a drawstring bag? Either way, now you know how to sew a drawstring bag for any occasion or use.