Affiliate links may be included for your convenience. View our privacy and affiliates policy for details.
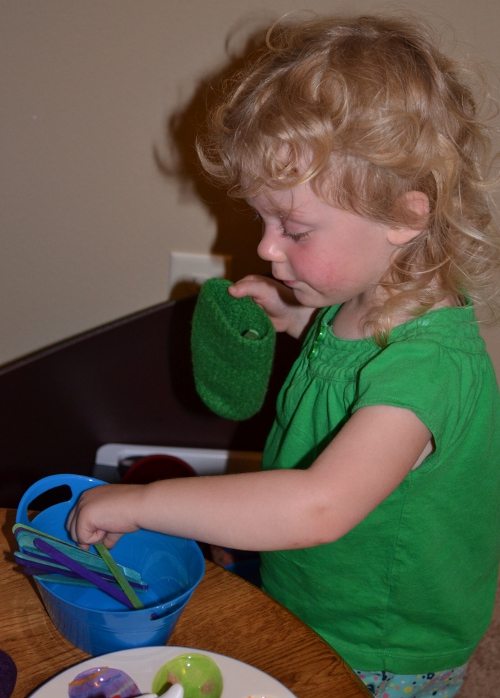
As I mentioned yesterday, as much as the Bit loves every kind of paint, she hasn’t quite gotten the concept of using cake watercolors. She usually plays with the water more than the paint, and when she does get paint on her brush she then dips it in the water instead of putting it on the paper. Because of that, and because I thought it would be fun, too, I sought out a recipe for liquid watercolors, which take the water part out or the equation.
I found a nice write up about the liquid watercolors at Three Sneaky Bugs, and I figured while she was sick was a great time to try them out.
What You’ll Need

The good news is these paints are incredibly easy to make and you have everything in the house you need for them. Promise.
- 1 tablespoon vinegar (for some reason I couldn’t find any white vinegar so I used apple cider; it makes no difference)
- 1 cup boiling water
- food coloring
- containers for mixing and storage (mine are old glass spice jars)
What You’ll Do
- Because I had four colors, I used four containers. I put about 10 drops of food coloring into each container and measured out my vinegar while the water boiled.
- Mix the boiling water with the vinegar, then distribute that mixture into the containers. Put the lids on and shake gently to combine.

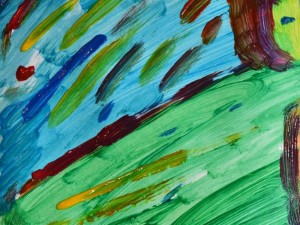
Oooh, pretty watercolors! - Let cool, then paint.

I tried the paints out first; this is basically two passes with the paint, so it came out darker than you might expect.
Making Art
The first time the Bit used these liquid watercolors, she wanted a piece of pink construction paper because I’d shown her mine and she wanted to do the same thing. As we covered yesterday, she brushed a little and poured a little. But the end result still came out really pretty.

The next time I gave her a bigger piece of paper. This was billed as finger-painting paper, and it wasn’t up to being soaked with paint and then brushed. So there’s a big hole in this one, but again, still pretty.

The latest time she used the paints we gave her some heavier drawing paper her daddy had. This stood up well, and I gave her even less paint so it didn’t soak through as much, but still did. This one has fold marks because they recently made butterflies at school where you paint one side and fold it over to make a mirror image, and she’s been very into that lately. But it helped distribute some of the paint, so it actually worked pretty well.

I think these paints are a lot of fun, though they can be messy if your kid likes to dump like mine does! I would definitely make them again when we run out, though (and I’ve got my eye on some different recipes, too).
Have you tried liquid watercolors? I’d love to know what you thought.
Thanks for visiting, sharing and commenting.
This post is linked to For the Kids Fridays at Sun Scholars, Freestyle Friday at Happy Hour Projects, Friday Flair at Whipperberry and the Kids’ Co-op at NurtureStore. You can also find it at Creative with Kids, which featured the Bit’s “dot project” in its roundup this week. Thanks! Visit them for tons more great crafting and creating ideas.

3 Comments
I was lucky as my kids never thought to dump! But I’m glad you gave it a whirl. It’s fun to give different types of paints a try. (for us and for them)
Yes! I enjoyed playing with it, too. It’s a good reminder that the art supplies are for us, too. 🙂
My son adores experiments! Always great to try out new things.
Thank you for sharing on Kids Get Crafty! Great to see you there!
Maggy & Alissa