Affiliate links may be included for your convenience. View our privacy and affiliates policy for details.
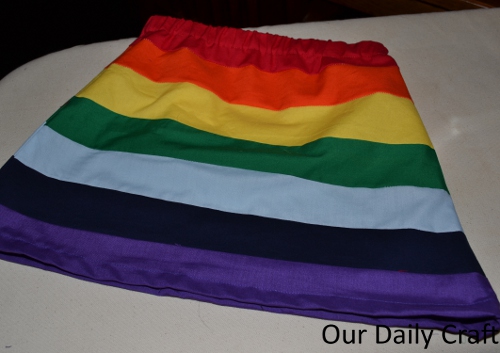
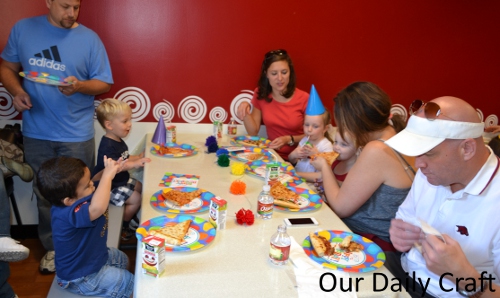
When I asked the Bit what sort of theme she wanted for her birthday, she said rainbows. I hadn’t bought her anything special to wear (the theme of her party last year was actually based on the dress I’d bought at Rhea Lana’s) so I decided it would be cute to make her a rainbow skirt.
My original intention had been to make it for her big birthday party, which is still a couple of weeks away. But I decided almost at the last minute (Monday night when her birthday was on Wednesday) that I would go ahead and make it for her actual birthday so she could wear it to her party at school, too.
It felt a little crazy, required an early morning trip to the fabric store and took every possible minute I had available, but I got it done.
There are flaws that wouldn’t be there had I taken more time (chiefly, the stripes don’t line up on the side seams) but it’s still really cute and she liked it, though she insisted on wearing it with a party dress so you could only see the bottom stripes. Oh well. Maybe next time she’ll show it off a little better.
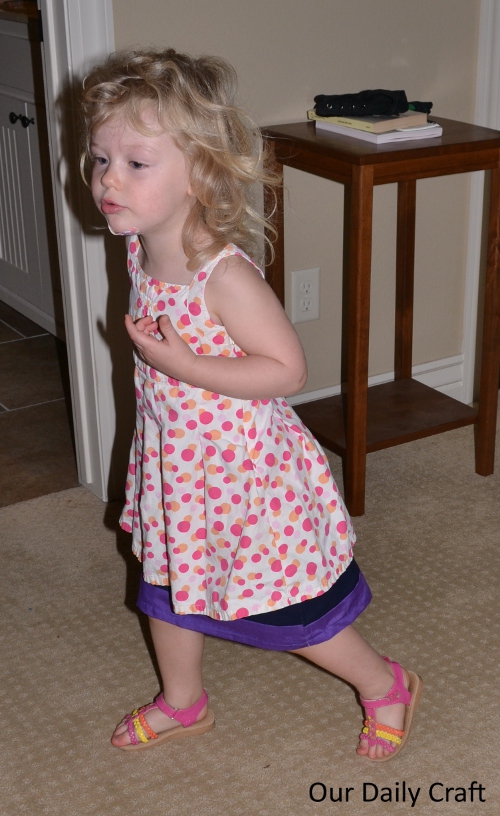
To make your own, you need strips of fabric in the seven colors of the rainbow, a piece of elastic (I used three-quarter inch, but whatever you have is fine) about the same length as your child’s waist measurement, a sewing machine, thread, pins and scissors.
Pattern Drafting
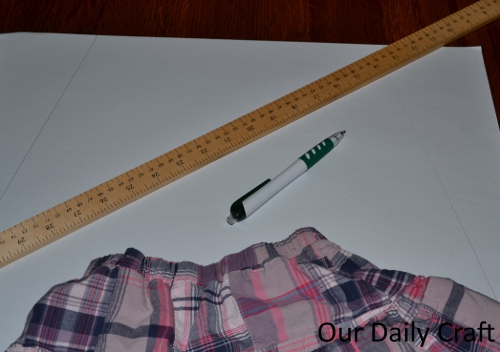
This is one of those projects that is so simple you don’t need a real pattern. If you have a skirt the right size and shape for your child, you can just trace it on a big piece of paper and use that as your pattern.
My girl is moving into 3T right now and I wanted this to fit for a while, so I made the waist bigger than I normally would (and, frankly, a little bigger than I should have, but it turned out fine).
I started thinking it should be 21 inches at the waist, but I went up to 22 because the math is easier. That makes 11 inches per side, or 11.5 with seam allowances.
I got a piece of easel paper and marked that width in the center, then angled my yard stick down to the corner to make a sort of A-line shape.
I cut it out, folded it in half and trimmed it so the sides had the same angle. Easy, right?
The Stripes
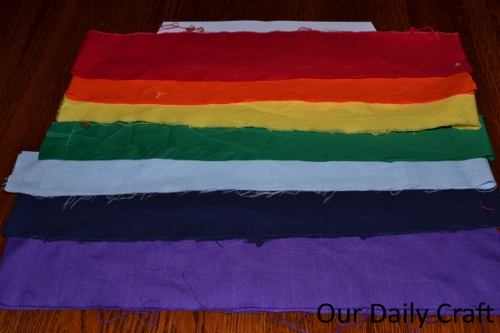
Initially I was thinking about making a patchwork rainbow, but then I decided I wanted all the stripes to be solid colors. Thus the trip to the fabric store.
I decided on 2-inch stripes because, with seven of them (red, orange, yellow, green, blue, indigo and violet) that would make the skirt about 14 inches long, which is fine for a 3-year-old. You can make your stripes wider or narrower depending on how long you want the skirt to be.
Of course the top and bottom stripes need to be cut wider for the elastic and the hem. I made the others 2.5 inches with seam allowances and these two 3.5 inches, though really the top one should have been even wider to make the elastic installation a bit easier (there was almost nothing to fold over to make a neat edge because I had three-quarter inch elastic).
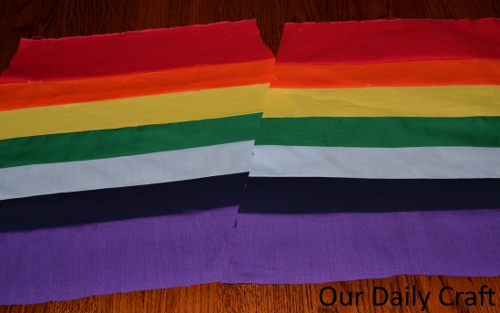
I decided to make long strips of each color, sew them together and then cut out the pattern pieces. Adding seam allowances and room for error, I made all my strips 39 inches long, which well covered the widest point of the skirt.
Making the Skirt
From here it’s smooth and quick sailing.
- Sew strips together in color order mentioned above (remember ROY G. BIV) using whatever color thread you like. I used beige, but something darker might have been better.
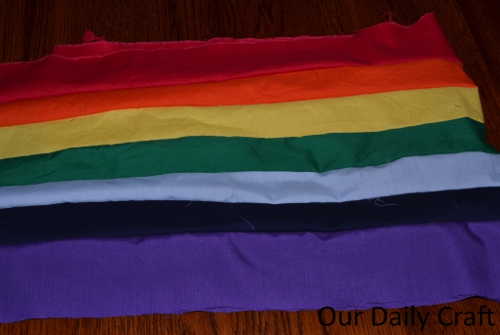
- Press seams to the side with the darker color. Finish with zig-zag or pinking, or just use your serger in step 1.
- Cut out two pattern pieces, aligning the top of your pattern with the top edge of the red stripe. If your pattern piece is longer than your fabric piece, just stop wherever you are.
- Align pieces right sides together, pin and sew side seams. Press the seams open.
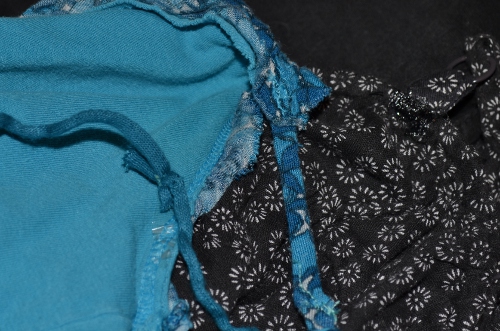
- While you’re at the iron, press your elastic casing and your hem. You’ll want to fold a tiny bit down so your edges are sewn in, then make the casing big enough for whatever elastic you have and your hem as deep as you want.
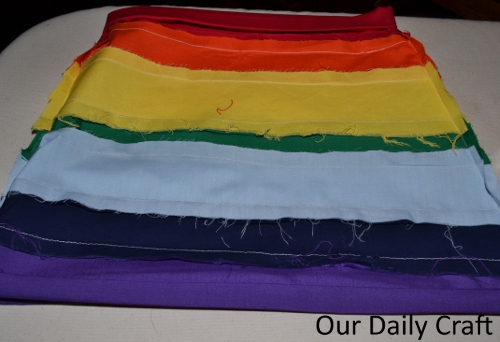
The skirt with the top and bottom pressed and ready to be sewn. - Change to red thread to sew the casing. Leave a bit of the casing open, slide your elastic in, then sew it into a loop and sew the rest of the casing closed.
- Change to purple thread to sew the hem.
- Trim all your stray threads, give it a good press and you’re done!
If you try this one I’d love to know how it turns out!
Thanks for visiting, commenting and sharing.
This tutorial is linked to the Blog Link Party at Somewhat Simple, Hookin Up with House of Hepworths and a Crafty Soiree at Katie’s Nesting Spot. Check them out for tons more crafty ideas!
1 Comment
Love it! I also like the patchwork idea! 🙂
But I especially appreciate your using all seven colors of the rainbow. Most people think there are only six. Thanks!