Affiliate links may be included for your convenience. View our privacy and affiliates policy for details.
The Bit had a three-year-birthday celebration that lasted a good three weeks (with three parties!), and we finally finished up with her big party with friends at Boingo Bounce, a local indoor place full of inflatables. She’d originally said she wanted a party at home with friends, which I was totally down with, but Boingo was fun, too. It’s a really easy place to have a party because they are the entertainment and they have party rooms of various sizes that have tables and seating. You just bring whatever food and drinks you want and you’re done.
Even though kids don’t really care about decorations (as Lela says, if there’s cake the kids will think the party was a roaring success) I couldn’t help but make a little something, especially since she wanted a rainbow theme (for the record, she did not wear her adorable rainbow skirt to her party. Whatever.)
Being rather lacking in time these days, I decided to make rainbow pom-pom garlands for the tables. I knew there were four tables, and there are seven colors in the rainbow, so I had to make 28 pom-poms. Not too hard if you have a pom-pom maker.
The Easy Way to Make Pom-Poms
There are lots of different ways to make pom-poms, I know. You can cut out circles or rectangles and wrap the yarn around them. You can wrap the yarn around your hand, as my Internet buddy (wish we were real-life buddies!) Vickie Howell recently explained. Or you can use a pom-pom maker.
I have the Clover Large Pom Pom Maker (that’s an affiliate link if you want to support good crafting), and it looks pretty strange but once you remember how, it’s super easy to use and has the added benefit of making consistent pom-poms — an important consideration when you’re making 28 of them.
What you do is open up one side of the maker and wrap yarn around it. You want it to be full, but try not to cross the yarn over itself in a really haphazard way. 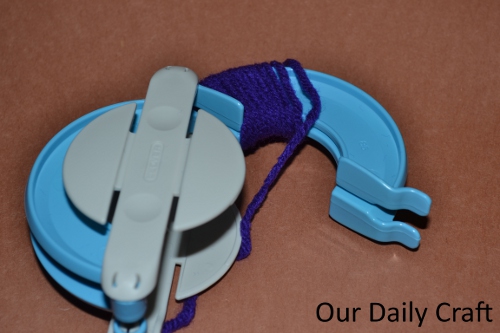
Cut the yarn and repeat on the other side. 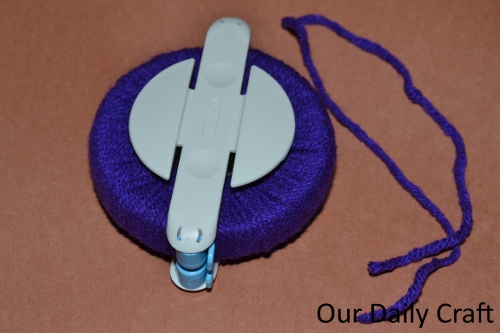
Cut the yarn and cut a string to tie the pom-pom with (mine were kind of long because I wanted to use them to tie the pom-poms to the garland).
Cut the strands of yarn between the two arms of the maker, all the way around. 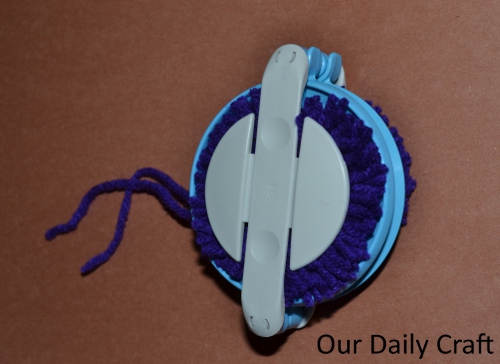
Tie it off with the yarn strand. I do a knot on one side, then wrap the yarn around again and tie it on the other side for extra security. 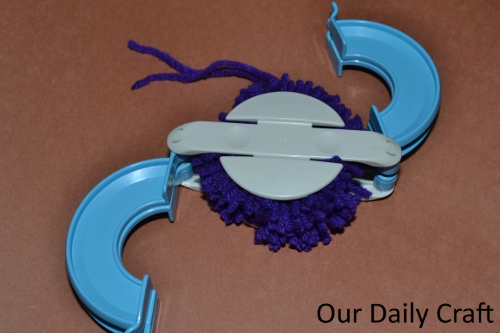
Pop the arms out, lift the pom-pom maker off and fluff your pom-pom, trimming any extra-long pieces.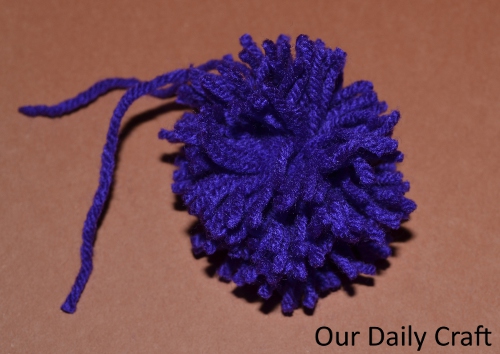
Repeat. Again and again. In all the colors of the rainbow (if your knowledge of science is a bit rusty, that’s red, orange, yellow, green, blue, indigo and violet). Mine are all Red Heart yarn because I had most of the correct colors in my house, but you can use whatever yarn you like. 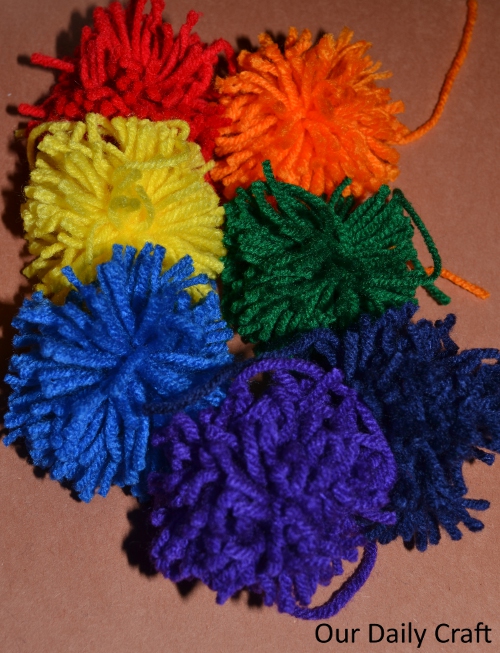
Making a Pom-Pom Garland
Once you have all your pom-poms assembled, it’s a simple matter of tying them to something to make your garland. I just used hemp cord I had for jewelery making, but you could use a ribbon, more yarn, whatever you’ve got lying around.
The spacing will depend on the ground you need your garland to cover. I wasn’t sure how big the tables were so I spaced mine about 6 inches apart. They were a little short but still cute.
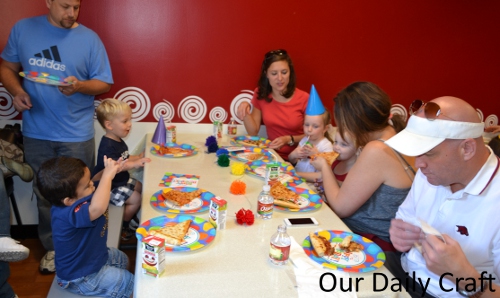
I think all the kids had a great time bouncing and eating pizza and cake. (Even though the Bit told me she didn’t have a good time because another kid blew out her candles. Luckily the dad is quick with a lighter and they were lit again before the song was over.) Here’s a gratuitous shot of my kid. Isn’t she awesome?

Have you ever crafted decor for a birthday party? I’d love to hear about it.
Thanks for visiting, commenting and sharing!
This post is linked to Get Your Craft On at Today’s Creative Blog, Take a Look Tuesday at Sugar Bee Crafts and Tip-Toe Through Tuesday at Crayon Freckles. Visit them for more great crafting ideas!


1 Comment