Affiliate links may be included for your convenience. View our privacy and affiliates policy for details.
Every year for the past few years I have picked a word that’s supposed to help guide me thinking and focus through the year. Simplify has proved to be harder than I thought (ha!) because I needed to start with simplifying my schedule and I seem to just be adding things instead.
But one word that has always been important to me — and that was, in fact, my first little word — is create.
As I have been thinking about adding more color/personality/creativity to my office space, I wanted to do some word art to hang over my desk. So naturally the word that came to mind was create.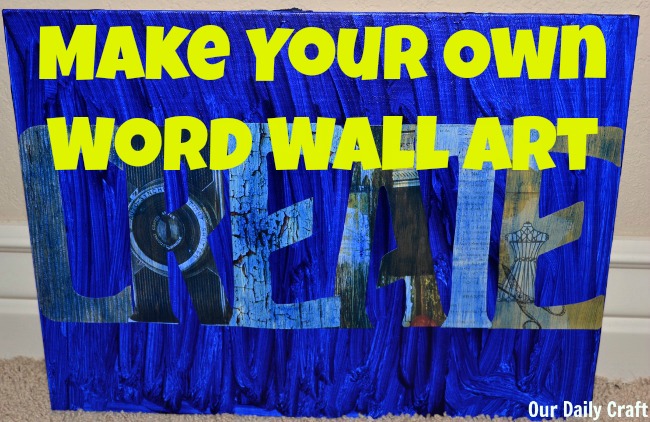
This is really easy to do with a shortish word (or a bigger canvas). The part that took the longest was cutting out the letters.
What You’ll Need
- 12×16 canvas panel
- acrylic paint (I used Liquitex Basics in Ultramarine Blue)
- paint brush
- scrapbook paper
- scissors
- glue stick (optional)
- Mod Podge
- foam brush
What You’ll Do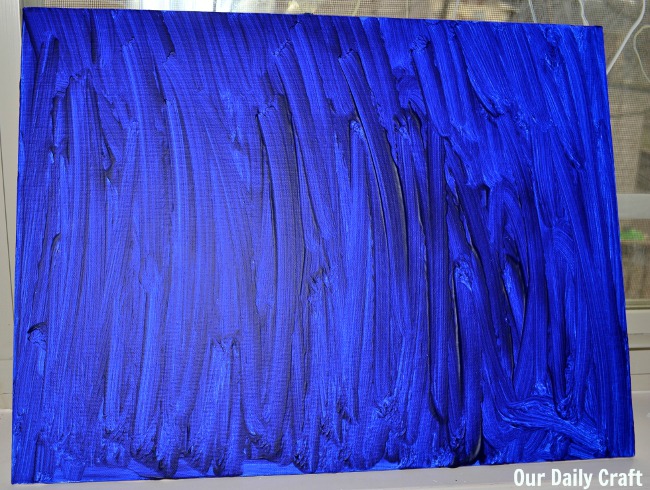
Paint the canvas the color of your choice. I just squirted the paint on and spread it around with a small brush, leaving visible brush strokes. Allow to dry.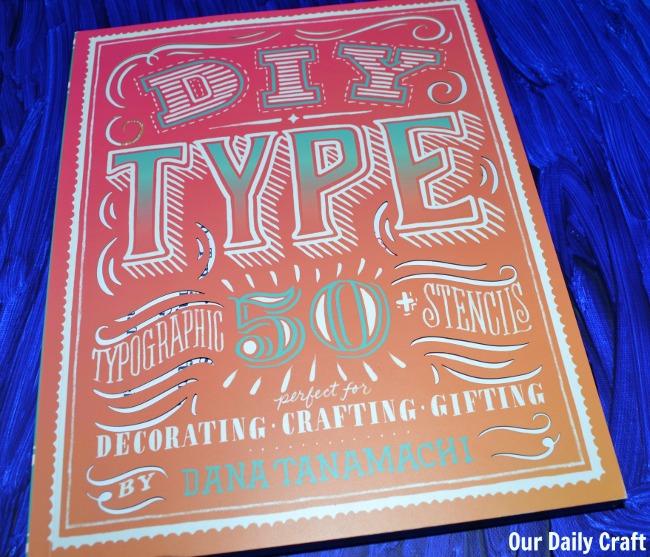
Choose your word and what letters you want to use. You can pick a font on your computer and print it out in a really huge font, or use stencils. Mine came from the book DIY Type by Dana Tanamachi, which includes stencils for letters in a couple of fonts as well as some flourishes and ideas for how to use them.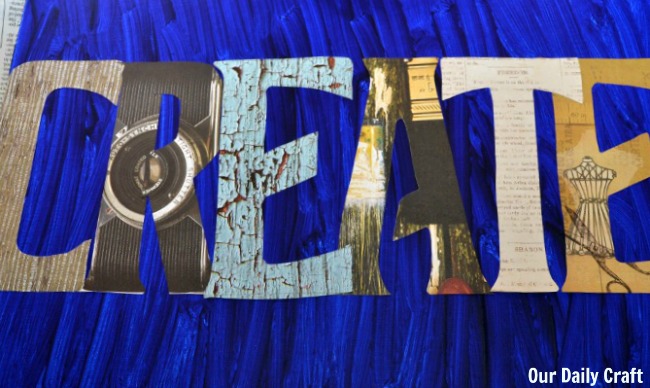
Cut the letters out of scrapbook paper. I just happened to have this amazing Colorbök pattern pack called Vintage Treasures, which had all these great papers for a maker, including vintage cameras, one with a dress form, paint brushes, words, cool textures…so many great papers.
Decide how you want to arrange/space the letters. My word was just a little big for my canvas, so I ended up closing the space up in the R and overlapping the letters a bit.
Stick the letters down with glue stick. This is optional, and it’s probably really better to use Mod Podge underneath, too, but I wanted to make sure I placed the letters correctly so I glued them down with glue stick first.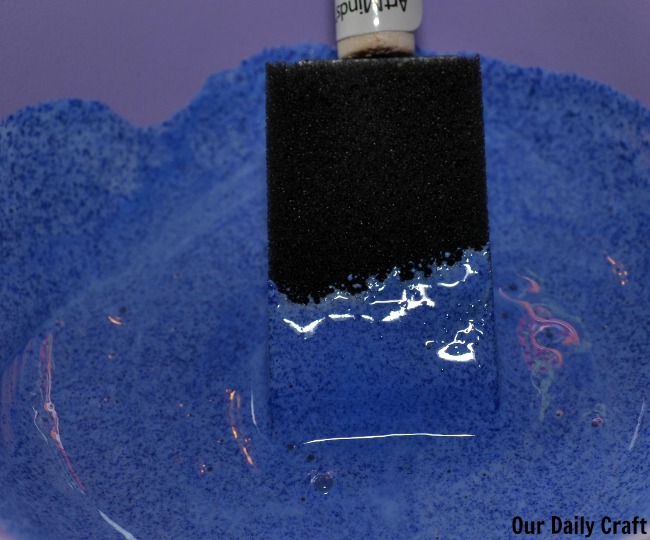
Cover the canvas with Mod Podge. Optionally, you can do what I did and add a little paint to the Mod Podge to create a color wash over the paper. I may have liked this effect more in my head than I do in reality, but it’s still pretty cool.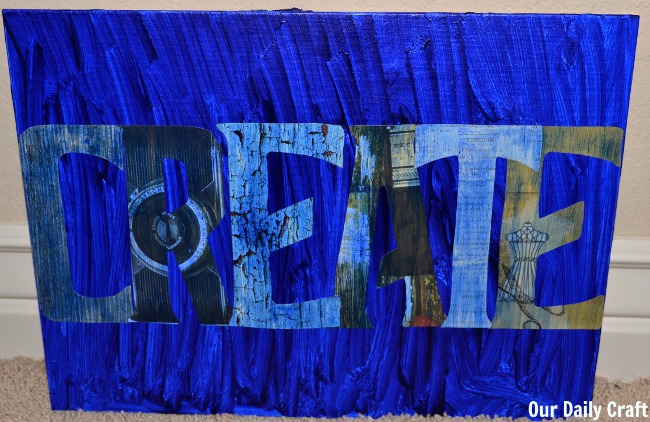
This would be a great project for a kid’s room, using their name or your family name, too.
Do you ever decorate with words? I’d love to hear about it!
1 Comment
What a fun idea! I’ve seen the diy pantings using tape for create designs but I like incorporating your word instead. A great and pretty way to keep reminding your of your mantra