Affiliate links may be included for your convenience. View our privacy and affiliates policy for details.
Now that we’ve made it to February, I will have no idea what say of the challenge we are on the rest of the year (I actually messed up numbering twice last month, and the number was just the day). But that’s OK. I’m actually really proud I made it through the whole month posting every day (and the some), and I’ll be writing more about that soon.
If you thought yesterday’s paper weaving was old school kid craft stuff, today we are really throwing it back by making a potholder on a potholder loom. 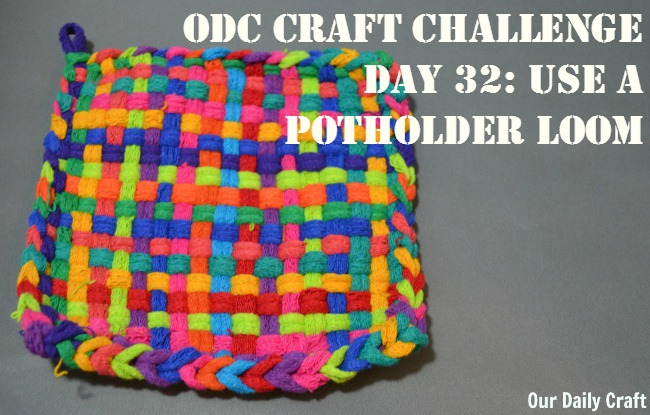
I know every kid of my generation and beyond has done this before, and guys, it’s actually so much fun. If you don’t already have one of these looms for you kids, you should get one — even if you don’t have kids. The reward of making this cheery, colorful little thing is well worth the price of admission.
How to Use a Potholder Loom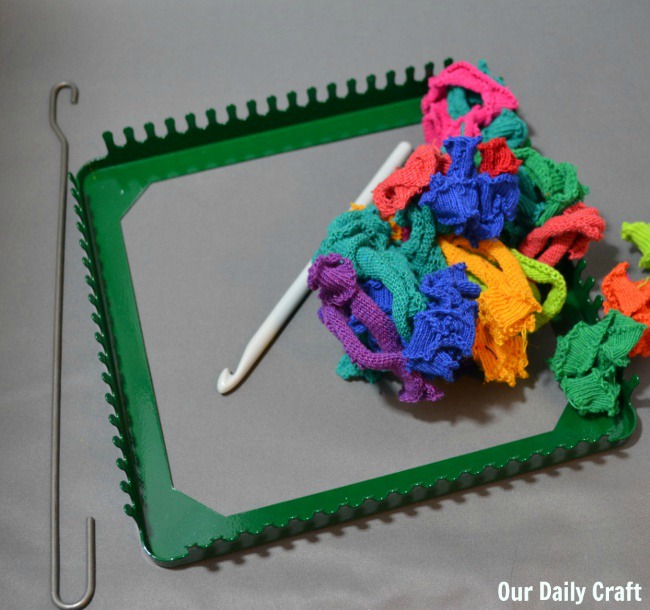
It’s super easy to set up and weave with a potholder loom. They (usually) come with a bunch of jersey strips (like cut up loops of T-shirts), which are what you actually use to do the weaving. 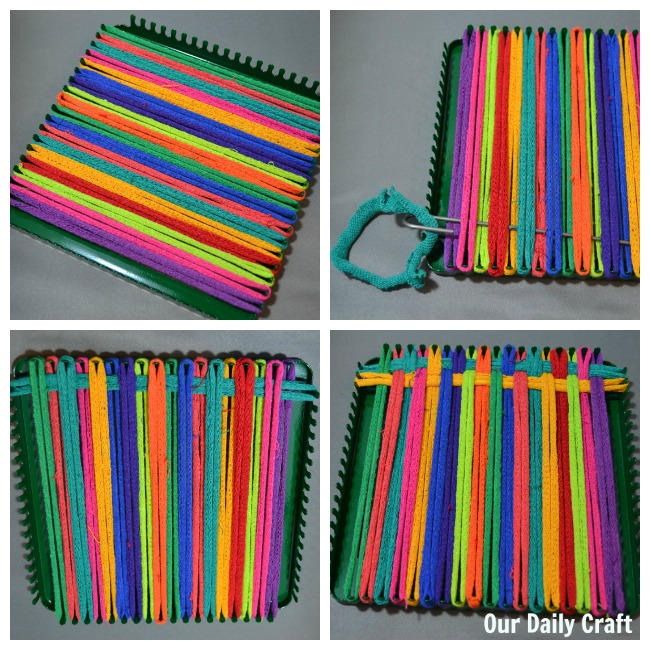
First, you set up your warp by putting a loop on each of the pegs, stretching across to the other side, all the way across. You’ll have to pull kind of firmly to get them to stretch.
To do the weaving, you use the provided hook tool to weave over and under the warp loops. Slide a new loop onto the first peg on one of the sides that doesn’t have loops on it already, then pull the hook through, turning as needed to get it to pull the loop through. Hook the other end of the loop onto the corresponding peg on the other side.
Repeat with the next set of pegs and a new loop, remembering to alternate how you go through the warp loops compared to the first row (so under, over if you went over, under the first time). 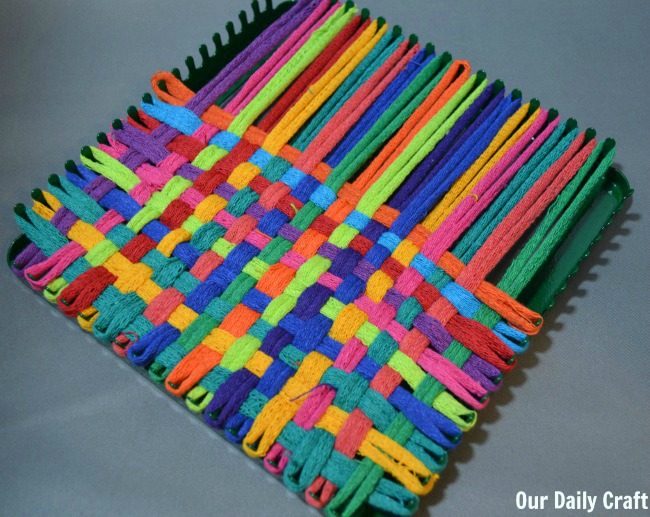
As you go you’ll need to push the weft loops down so they’re straight across.
This is actually a pretty quick project until you get to the end. There was so much tension on the loops and that last row is such a tight space that I kept popping the warp loops off as I tried to get the hook tool in place. I ended up using a combination of crochet hook and fingers to get the last loop in place.
Finishing Your Potholder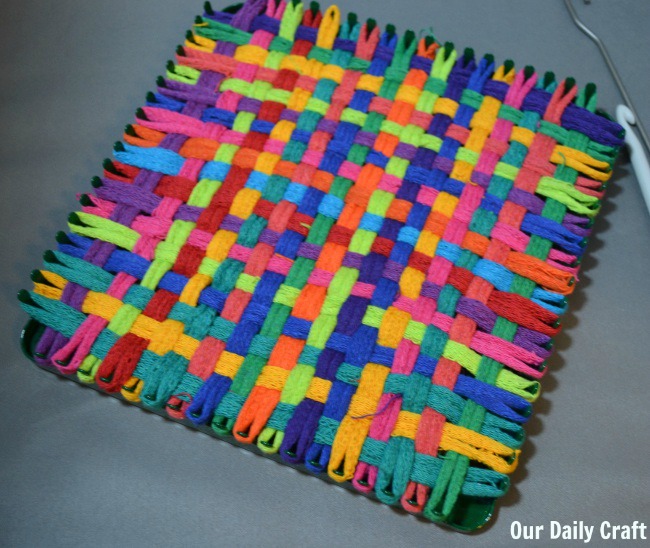
Once your potholder loom is full of loops, it’s time to finish the edges. It’s sort of like binding off in knitting, but with a crochet hook. 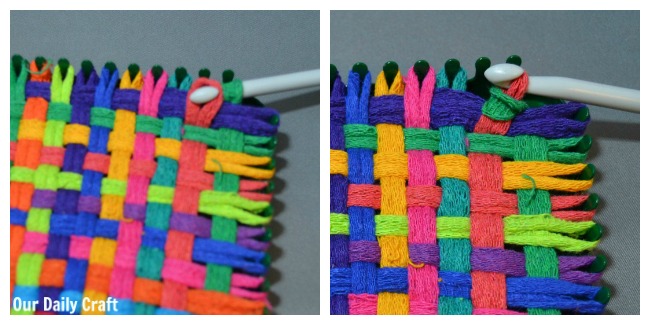
You start by sliding the first loop at the top right corner onto the crochet hook. Then slide the second stitch on and pull the second stitch through the first.
Slide the third stitch on and slip it over the second and so on around.
This got a lot easier about halfway through the first side, though by the end so much tension was released it just fell off the loom. If that happens to you just make sure to pick the loops up in the right order and going correctly over or under the warp at the edge. 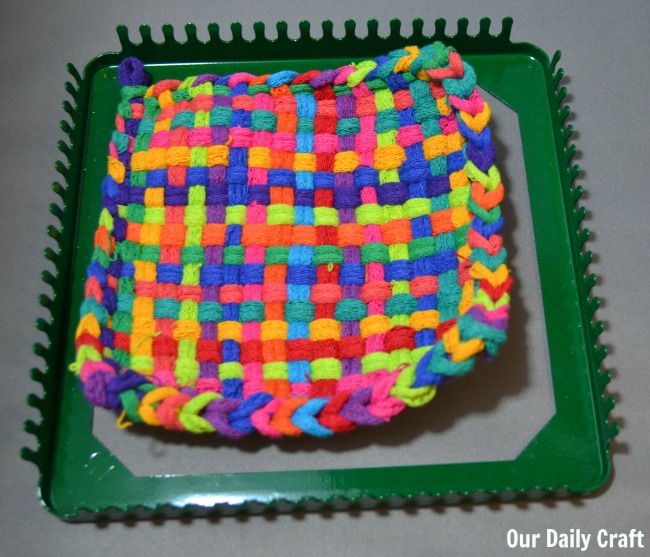
You can see when the potholder is off the loom how much smaller it is than the loom itself. Because it’s held in a lot of tension, it can be a little difficult for your hands as you work against that pressure to make the weaving work.
But the results are well worth it: an awesome throwback craft for your kitchen. And yes, your kids will want to make one, too.
Do you remember using a potholder loom when you were a kid? I’d love to hear about it! And if you make a potholder as a grownup (or get your kids to make one!) I’d love to see the results, just tag #ourdailycraft.
