Affiliate links may be included for your convenience. View our privacy and affiliates policy for details.
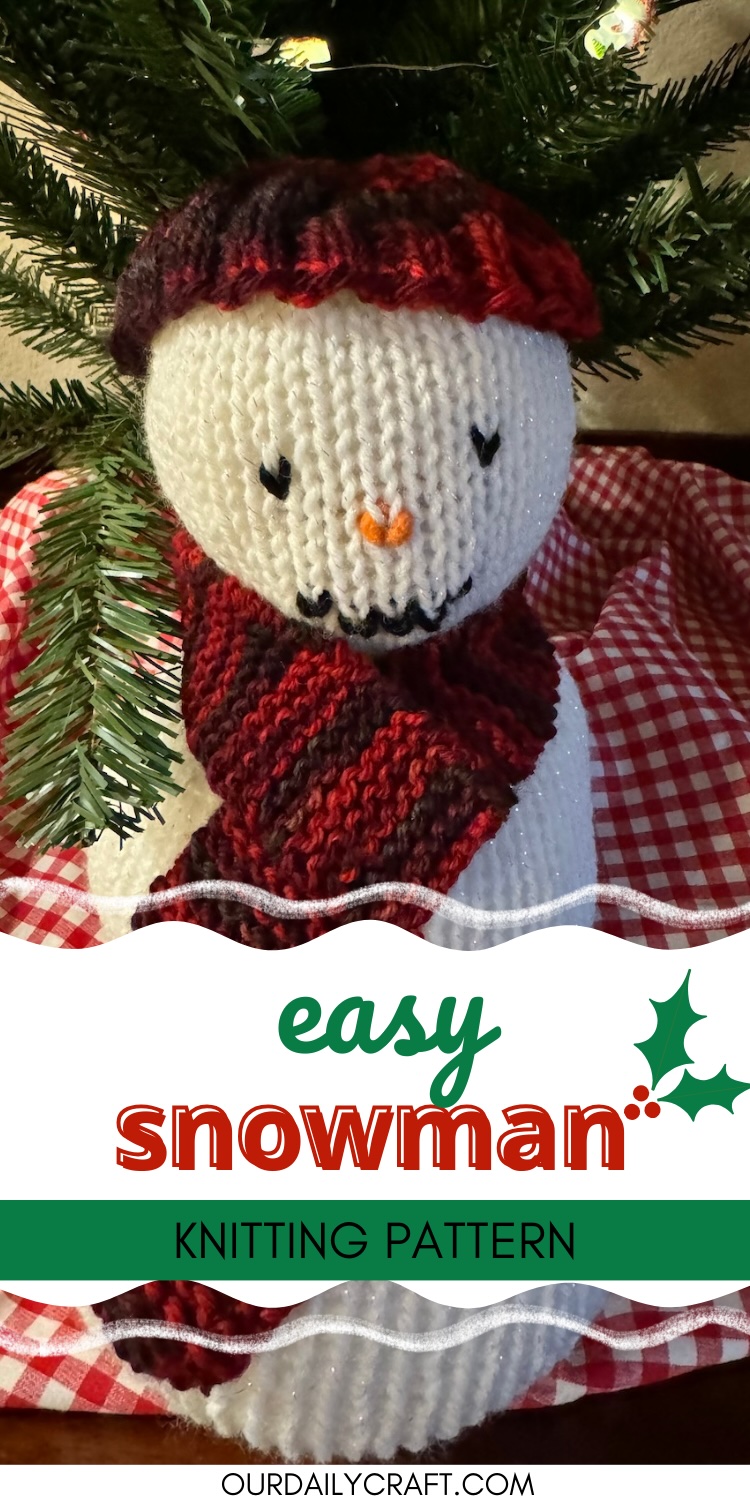
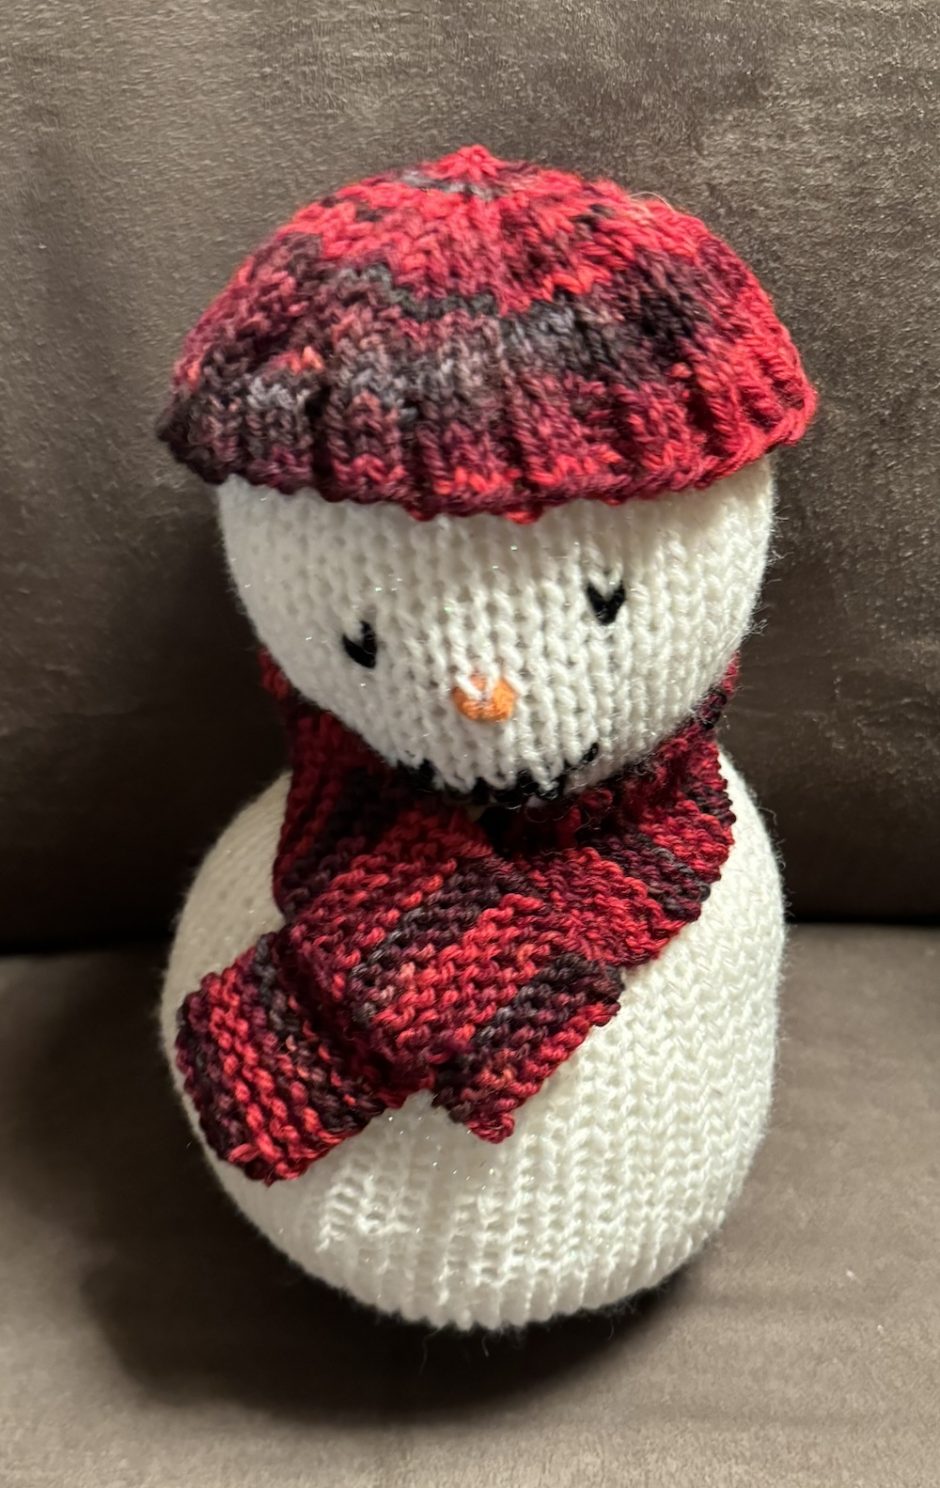
This easy snowman knitting pattern can be worked on a circular knitting machine or by hand. I knit the snowman’s body with a machine and then knit the accessories by hand, but you can do any combination depending on what you have available.
Knitting a Snowman on a Circular Knitting Machine
I’m in a couple of different Facebook groups for circular knitting machines, and one of the popular items I’ve been seeing for Christmas is a knit snowman. This is a really easy project to do because it’s a single short tube; the finishing is what turns it into a snowman.
I decided to try making a snowman on the circular knitting machine (I happen to have a Sentro 40 pin, but you can use whatever size you have to make snowmen of different sizes) since I happened to have the perfect yarn for it.
This is Caron Simply Soft Party, which has a bit of a sparkle and was honestly so easy to use in the machine. I was worried the glitter would catch (and have had that problem using other colors of this yarn) but this project was nice and smooth for me. Maybe because I was going slowly to count rounds since my machine doesn’t have a counter? I don’t know.
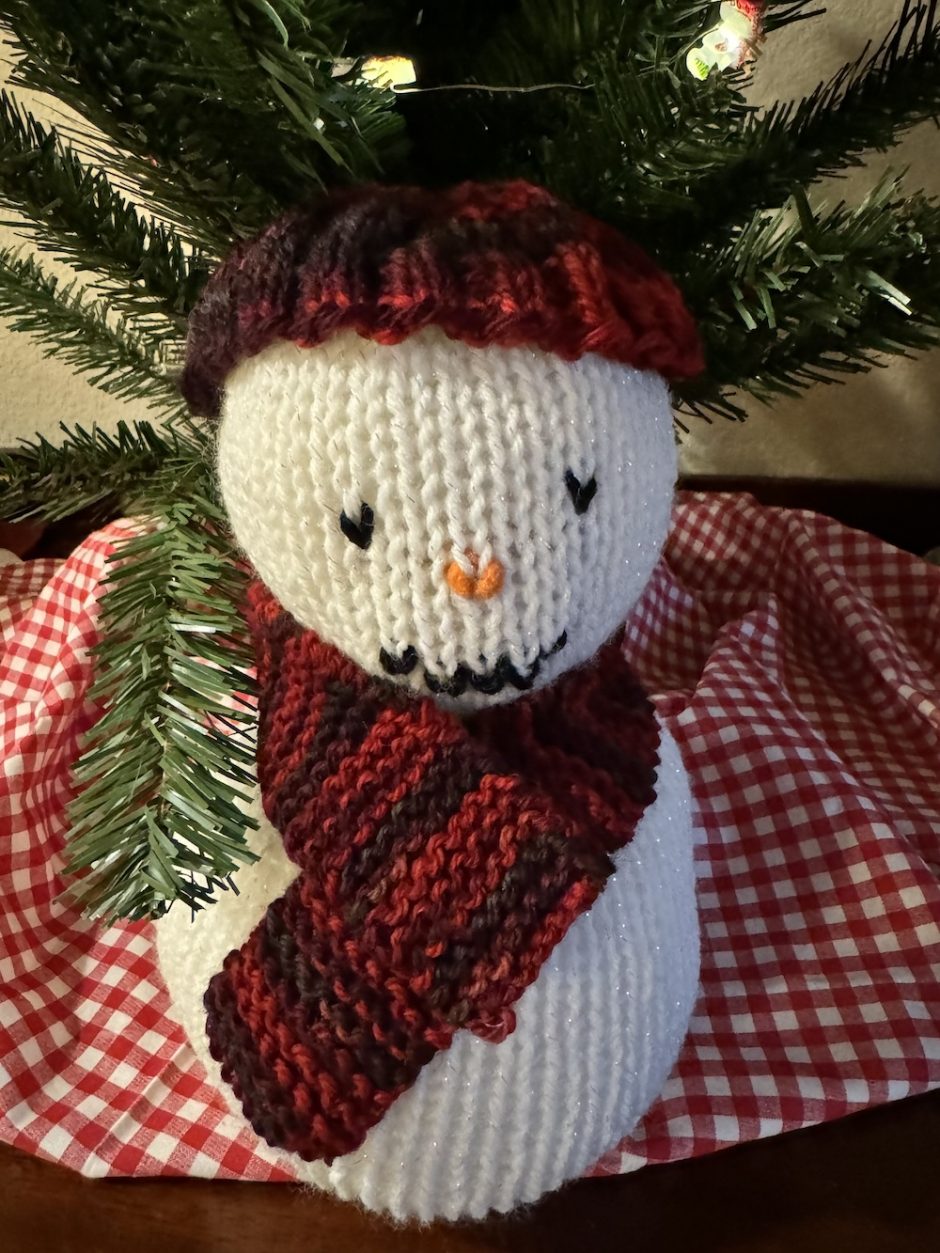
Once I knit the snowman I decided it needed some accessories so I stitched up a scarf and hat using some really old worsted weight yarn out of my stash. We’ll get to accessory ideas once we go through the snowman knitting pattern itself.
Snowman Knitting Pattern
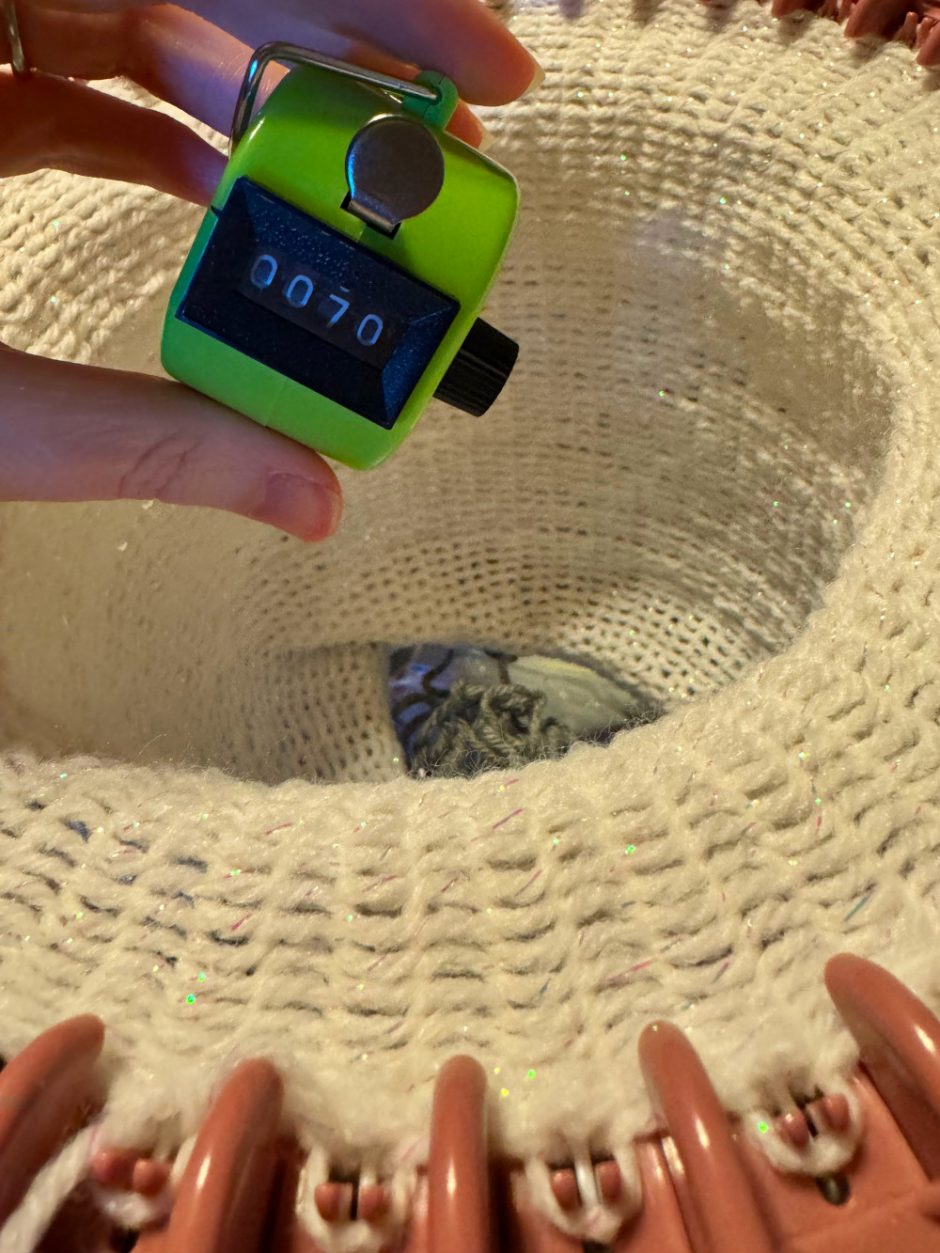
If you have a circular knitting machine, cast on with waste yarn (I like to work three rounds in a different yarn to make finishing easier), then work a tube around 70 rounds long. This came out to right around 12 inches/30.5 cm for me. If you want to make it a little easier for yourself, leave a long tail of the working yarn before you start knitting.
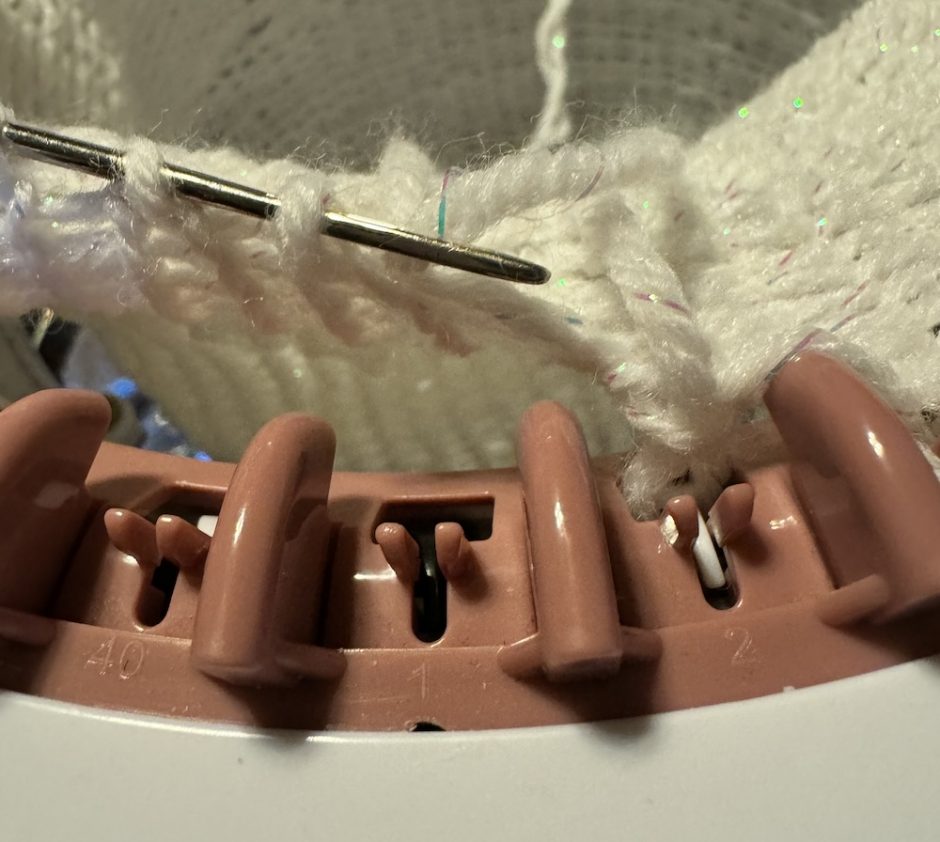
Cut the yarn, leaving a long tail. Thread the yarn onto a yarn needle and slip all the stitches off the machine and onto the yarn, but don’t pull tight. We want to be able to stuff the snowman from either end.
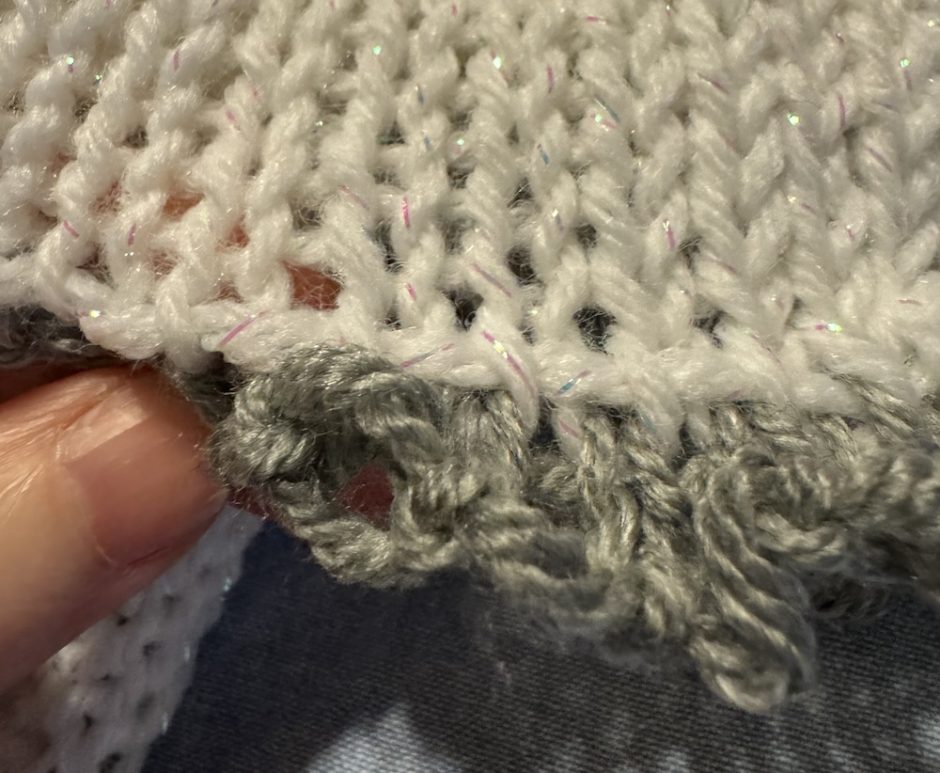
Using a yarn needle and your long tail at the bottom/beginning of the tube (or join in another yarn if you didn’t leave a long tail) pick up all the stitches at the bottom of the tube. You can do this with the waste yarn still attached by taking your needle under one leg of each stitch all the way around.
Remove the waste yarn and pull tight to close up the bottom as best you can. Sew the bottom closed as needed.
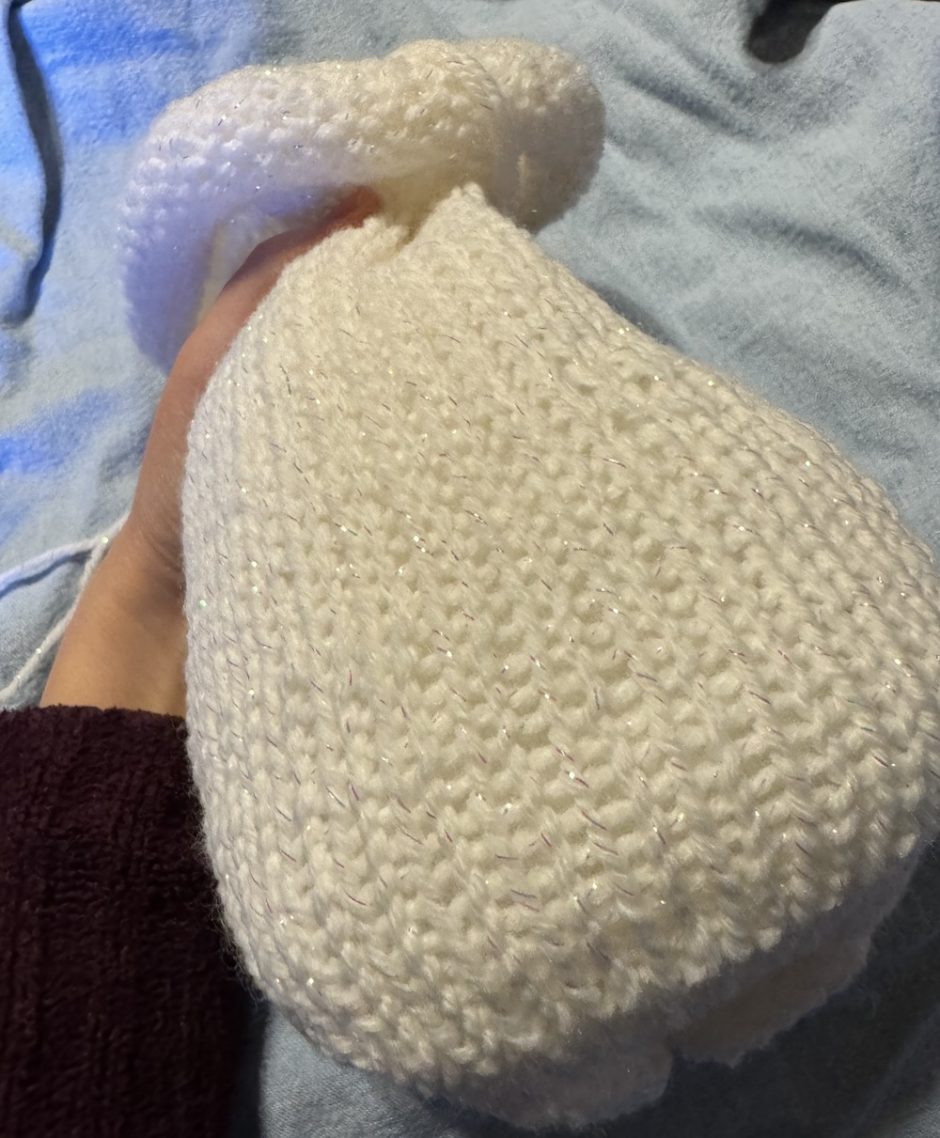
Stuff the bottom part of the body with stuffing to desired fullness. This is the bottom snowball. I left about 4.5 inches/11.5 cm at the top unstuffed.
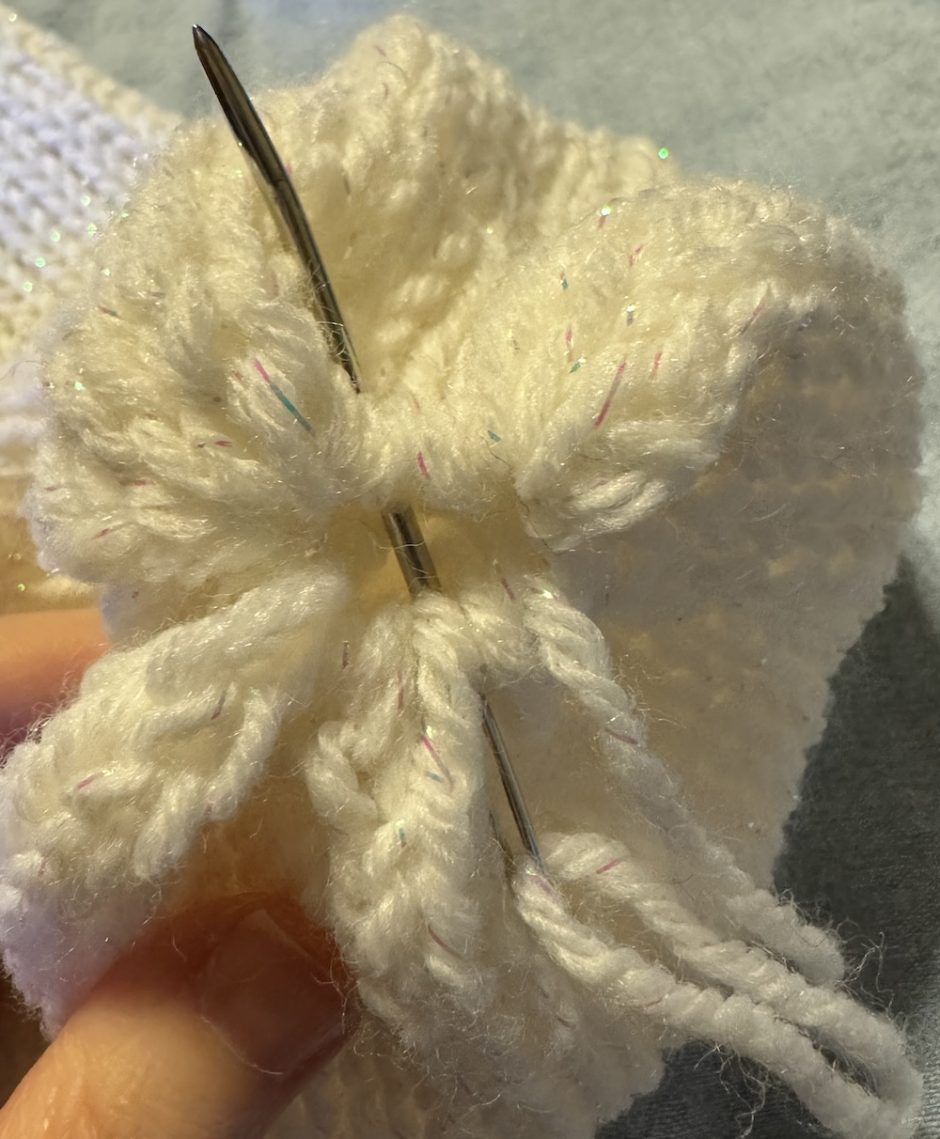
Using the same thread from the bottom (or another piece of yarn if you’re running out) weave in and out of the stitches where you want the snowman’s “neck” to be. Pull tight. I also wrapped the yarn once around the neck and pulled tight again before burying the yarn end in the body.
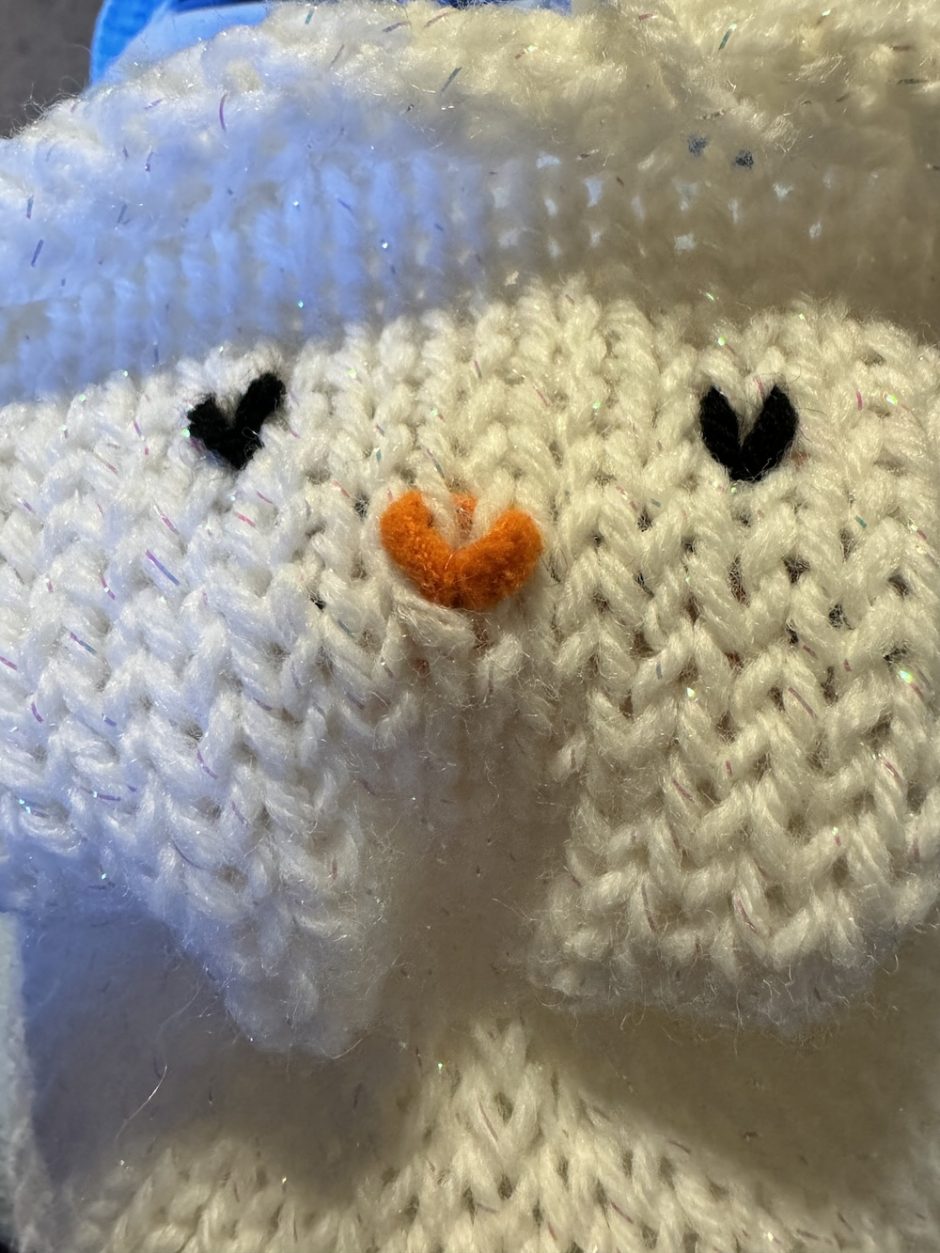
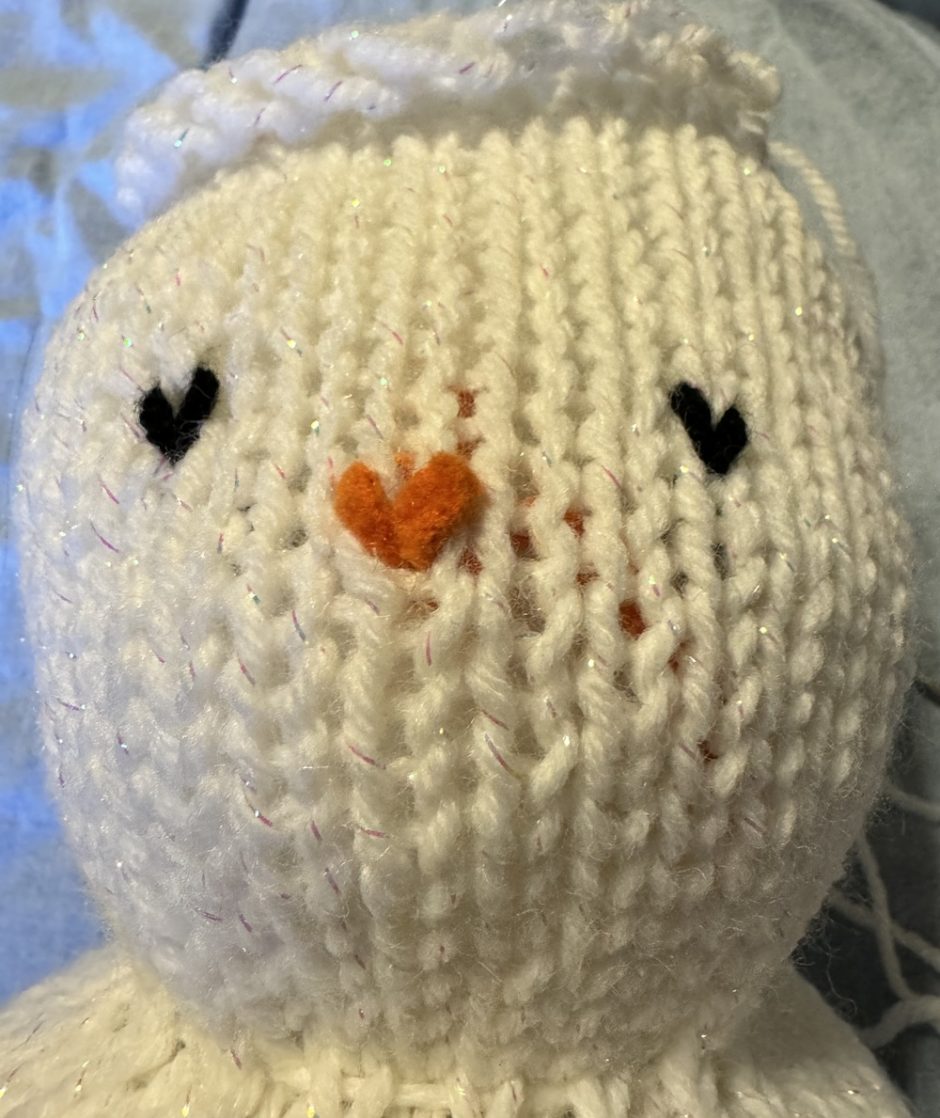
Stitch face details as desired. I started with eyes and a nose, and added the smile after the head was stuffed, so you can really do it either way.
Stuff the head to desired fullness.
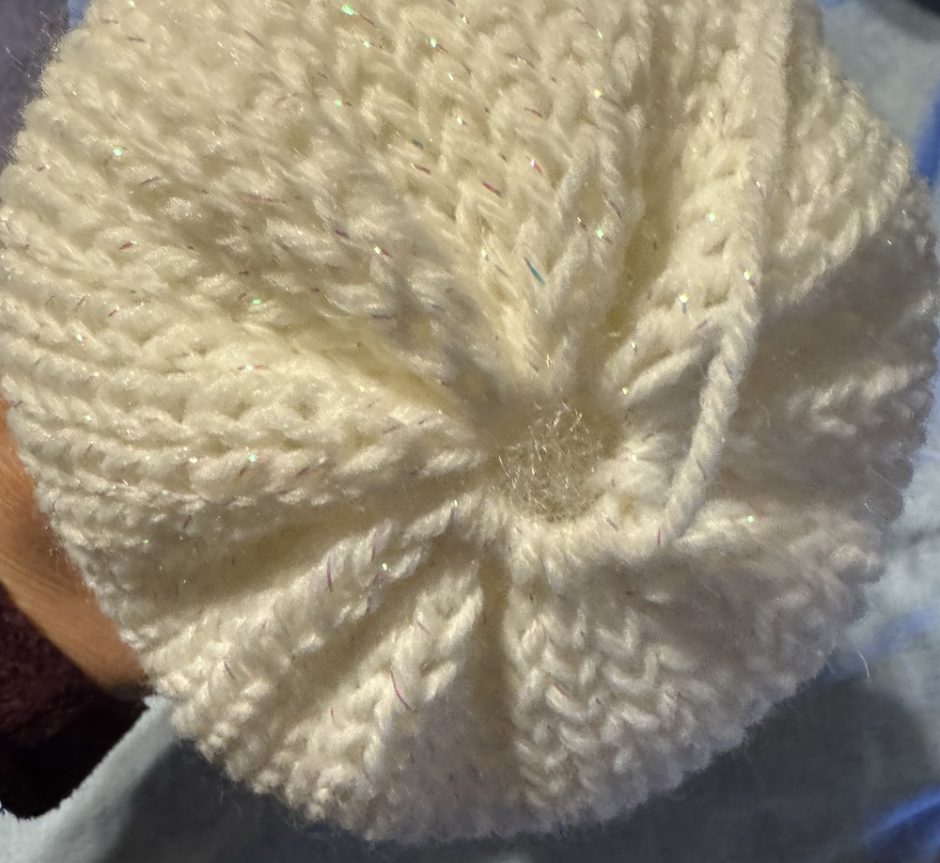
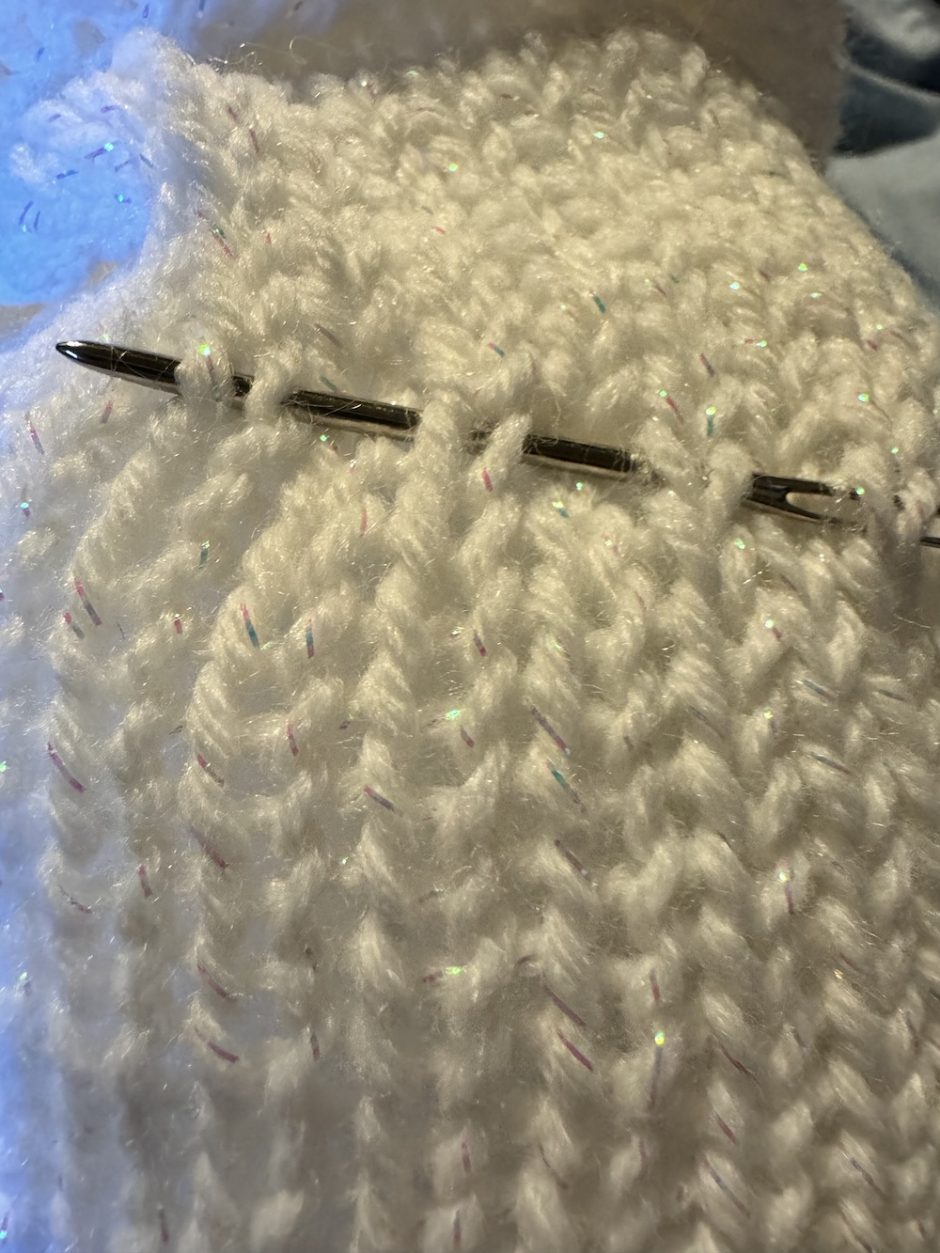
Pull the yarn at the top of the head tight to close the top as best you can. Sew any remaining hole closed and bury the tail in the body.
Knitting the Snowman by Hand
If you don’t have a knitting machine, you’ll want to use size 7 or 8 US (4.5 or 5 mm) circular or double pointed knitting needles. Your gauge is likely to be different using hand knitting but you can make the snowman as big or as little as you want. I would do somewhere between 40 and 60 stitches to get a similar size to mine.
Work in stockinette stitch in the round until piece measures 12 inches/30.5 cm or desired height. You can bind off or keep stitches live. Finish as described above.
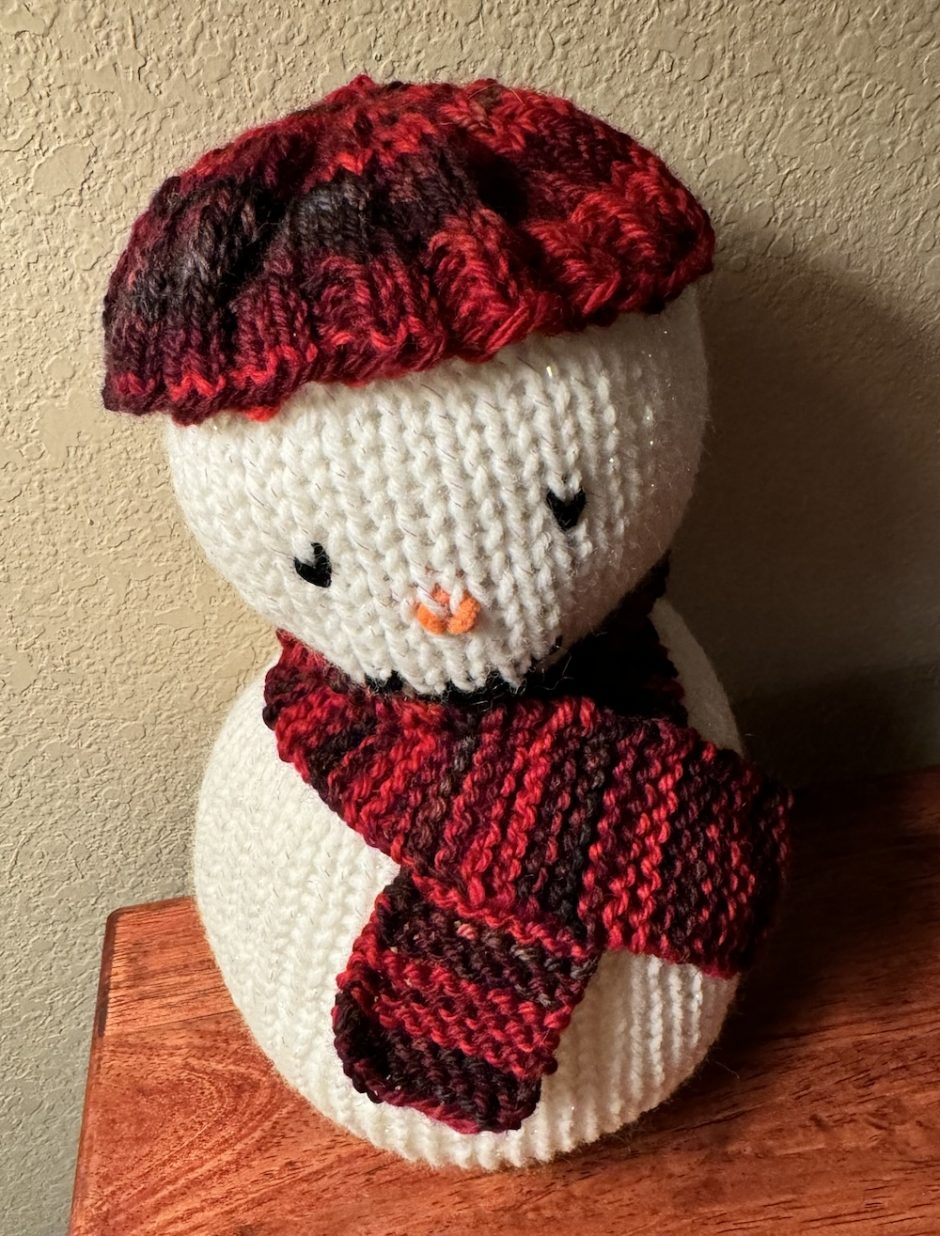
Snowman Accessories
No snowman knitting pattern is complete without some snazzy accessories! Because the snowman was knit on the Sentro you could knit its hat the same way. It just is such a small project and I wanted to make sure it fit since the head is a weird shape. You’ll want to adjust your size depending on the size of your snowman’s head, the gauge of your yarn and how long you want it to be (in retrospect mine could have been a couple of rounds longer, but I like it).
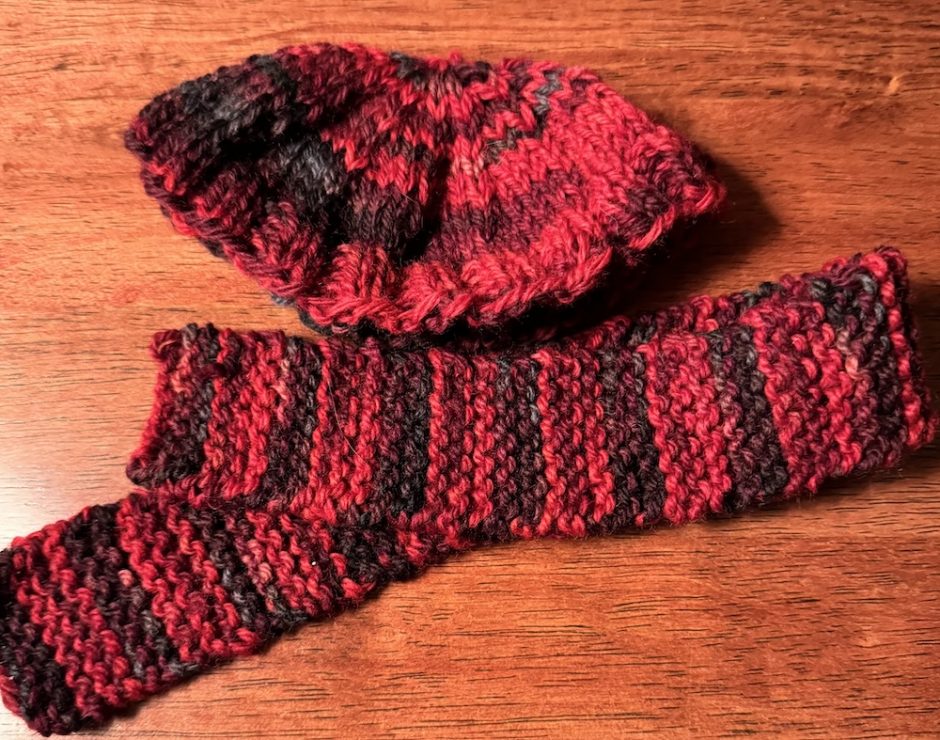
Mine has a head that’s about 14 inches/35.5 cm around. I cast on 84 stitches, worked in knit 2, purl 2 ribbing in the round for 4 rounds, knit 4 rounds, then did a round of knit 4, knit 2 together around.
Knit a round, then do knit 3, knit 2 together around. Knit a round then knit 2, knit 2 together, knit a round and knit 1, knit 2 together, knit a round then knit 2 together all the way around.
Knit one more round and knit 2 together around again. 7 stitches remain. Cut yarn, leaving a long tail to thread through the remaining stitches. Cinch tight and weave in ends.
The scarf is garter stitch, 8 stitches wide, which makes it about 2 inches/5 cm wide. I worked until it was long enough to cross cutely in the front. That’s 18 inches/46 cm.
If you don’t want to knit accessories you could make a scarf out of felt or fleece. You can sew buttons on the belly. You might be able to use a baby hat for the hat. So many fun options!
Looking for more fun things to make with your Sentro? Check out this loop knitting scarf pattern, too!