Affiliate links may be included for your convenience. View our privacy and affiliates policy for details.
Halloween is a lot of fun, but it can be overwhelming for little kids, who still need bedtime to happen earlier than big kids will want to go inside. This trick or treat table is just the thing to keep your house welcoming even after bedtime.
You could also use it as a candy station inside during a Halloween party.
There are a lot of little details involved but it’s pretty quick to put together and really cute. (Though you can make it scary if you want, too.)
Gathering Supplies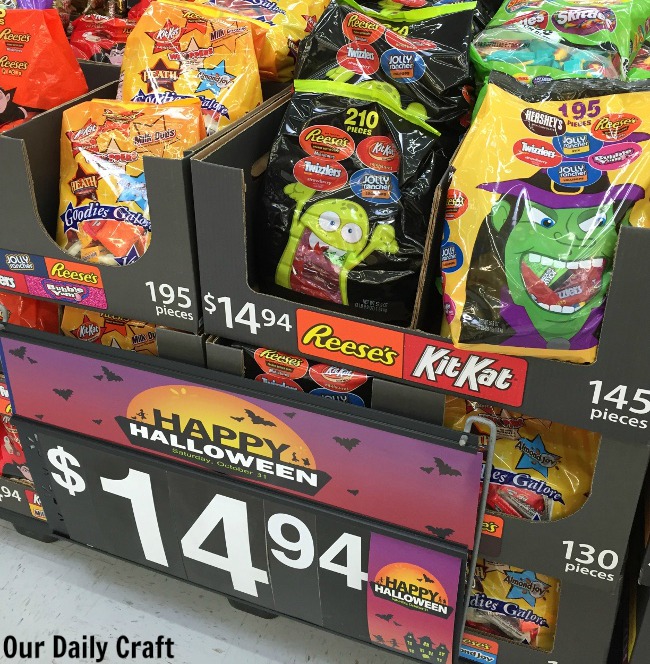
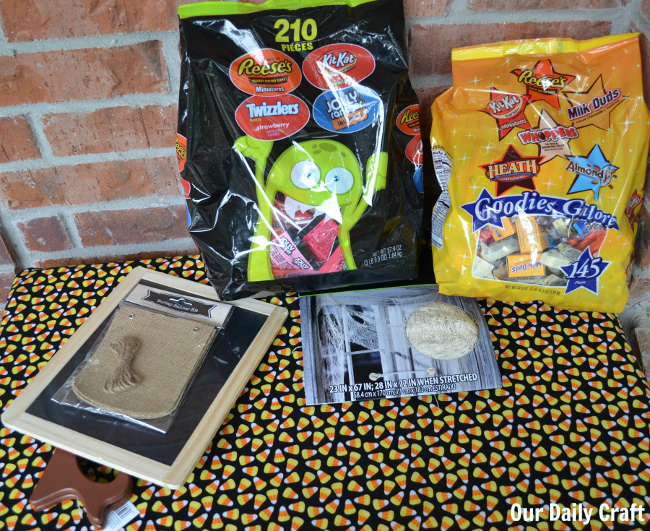
Step one was to head to Walmart for the sweets and other supplies. Hershey has these great giant sampler bags of candy to ensure you won’t run out no matter how many minions and Elsas hit your door. And they’re kind of adorable in their own right.
I also picked up some fabric (one yard of the top fabric, two yards for the skirt) to make a custom tablecloth as part of my display, some “spooky fabric” to cover the top, a burlap banner kit, a small chalkboard and a stand to put it on.
You’ll also need a really big bowl. For candy.
Making the Tablecloth for Your Trick or Treat Table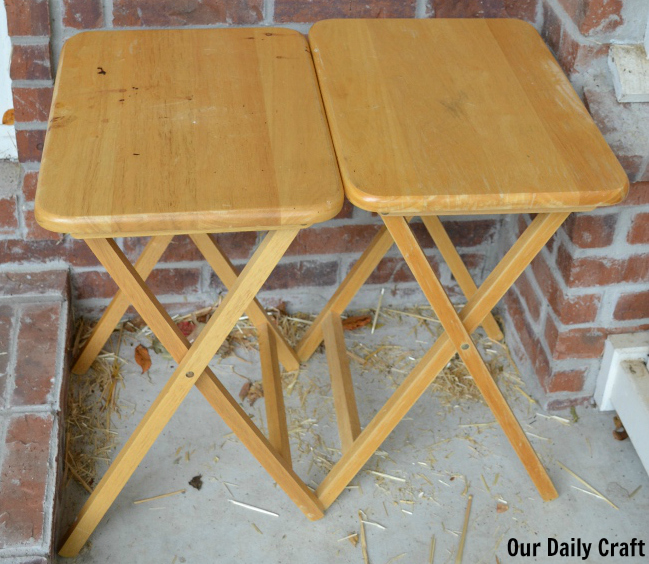
I have these folding tables that fit perfectly in the spot right next to my door, but they’re pretty ugly so I wanted to cover them up.
I measured the dimensions of the table tops put together and cut out a slightly larger (quarter inch all around for seam allowances) piece out of one of my fabrics for the top. Then I measured the width of each side and the length to the floor and added a little extra for seams and cut those four pieces out of the other fabric. 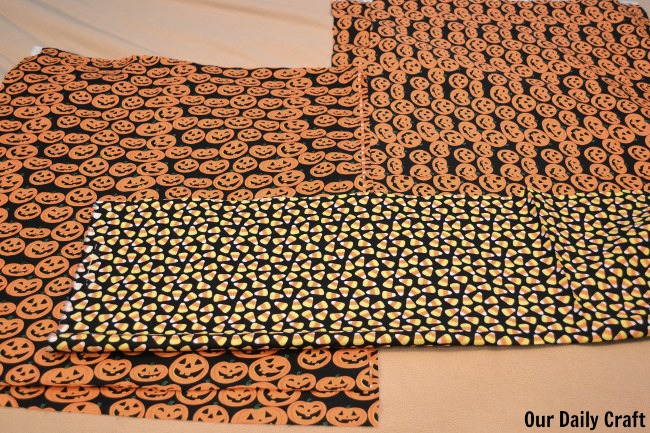
Note: if you use a directional fabric, make sure you cut out the pieces facing the right direction. I almost didn’t, which would have made this project a lot more time consuming. You’ll also need to sew the pieces together so that the pumpkins (or whatever) are facing the right way when the cloth is on the table. 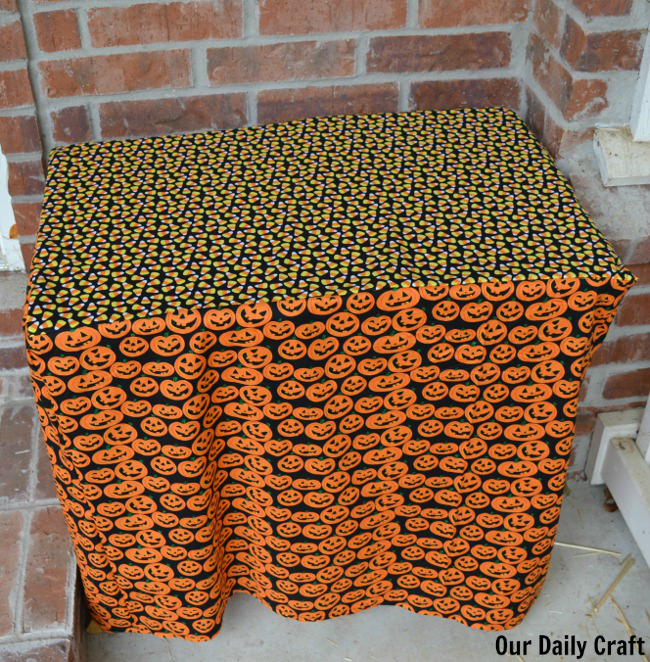
Sew each piece of the side to the corresponding side of the top piece of fabric. Then sew the side seams together and finally the bottom hem (I used my iron to press the seam back). Alternatively you could use pinking shears to cut the bottom edge instead of seaming if you’d rather.
Boo Banner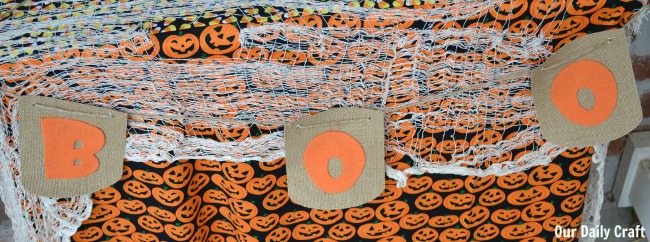
Next step: the banner. I used a kit that came with pre-cut paper-backed burlap pieces and a piece of twine to make the banner for my trick or treat table, but you could absolutely make your own pennants or whatever shape you want out of burlap, felt or other fabric.
I cut the letters out of orange felt, making templates by printing out the word BOO in 300-point Showcard Gothic, a font I love for being a little spooky but still graphic and easy to cut out of felt.
Stick the letters to the banner with fabric glue, then string the letters onto the burlap and arrange so it hangs in front of the table.
Chalkboard Sign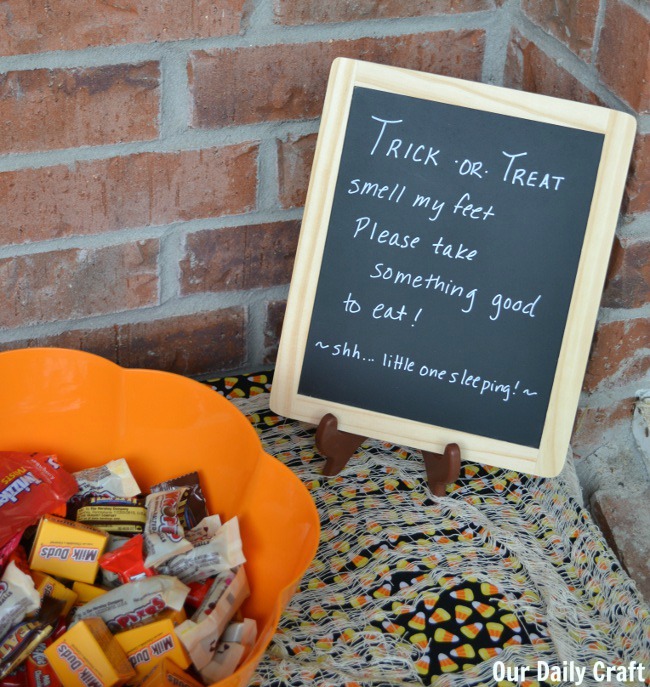
To let people know the candy is free for the taking, I made a little sign using a chalkboard and a chalk pen (so much easier and less mess than actual chalk).
A little plate holder or easel stand (which I found in the store right next to the chalkboards) helps the sign stand up.
Finishing Touches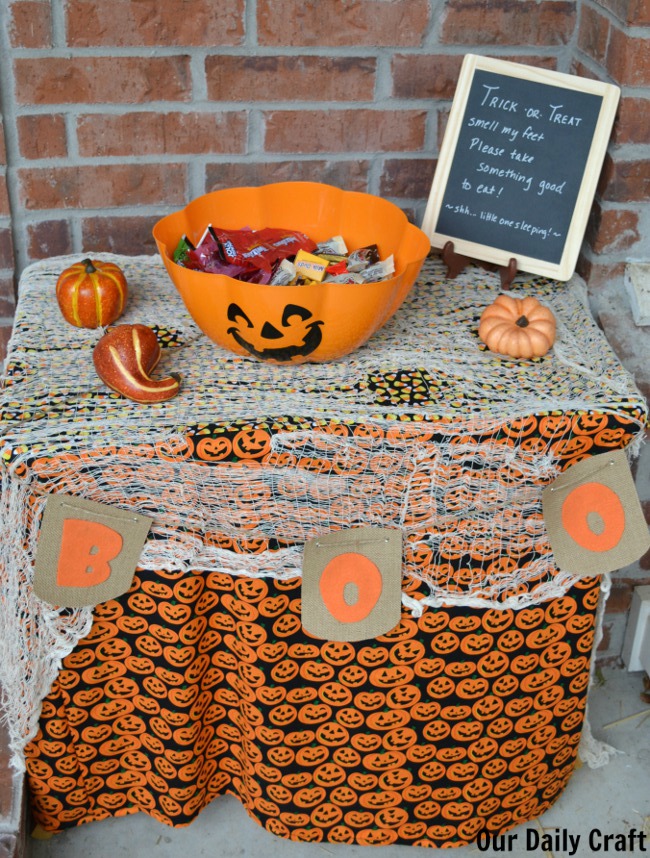
To pull the trick or treat table all together I put the cloth on the table and covered it with spooky fabric. The banner goes in front, the sign and the candy go on the table.
Then just decorate with real or fake pumpkins and you’re ready to welcome trick or treaters even if you’re away from home or getting little ones to bed.
How do you manage Halloween with young kids? I’d love to hear about it!
Related: Kid craft Halloween centerpiece | Leftover Halloween candy cookies
2 Comments
Now this is what I call creative!
I love this idea to keep things quiet as night falls! We have LATE trick or treaters, so this would be a fantastic way to keep them happy and our kids asleep! #client