Affiliate links may be included for your convenience. View our privacy and affiliates policy for details.
Earlier this week, husband made individual pot pies in little ramekins. They were adorable, and delicious, and the leftovers resulted in there being a few little pieces of aluminum foil floating around the house after I at some of them for lunch the next day.
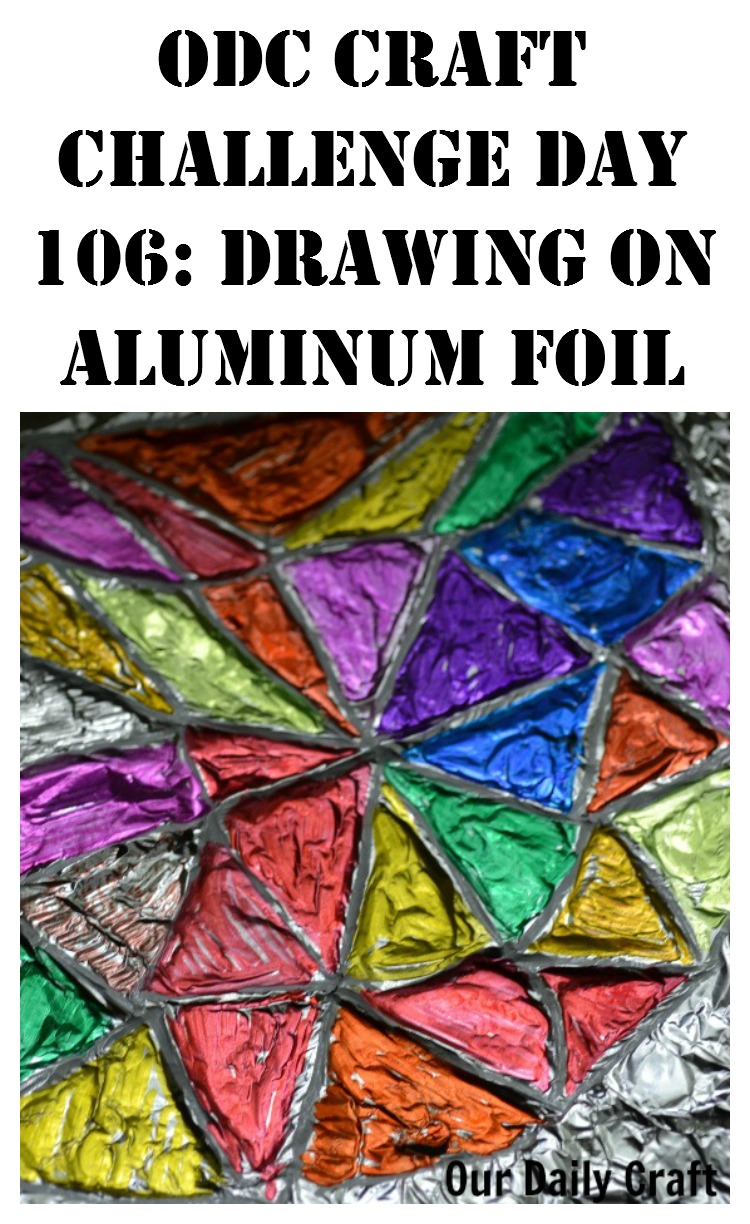
So of course I had to figure out something to do with it.  I kind of wanted to paint on it but I thought it would look better if I drew on it instead. This colored aluminum foil project is quick and would be fun for kids, too. It’s interesting to see how some of the colors look so much different on foil than they do on paper.
How to Make Colored Aluminum Foil
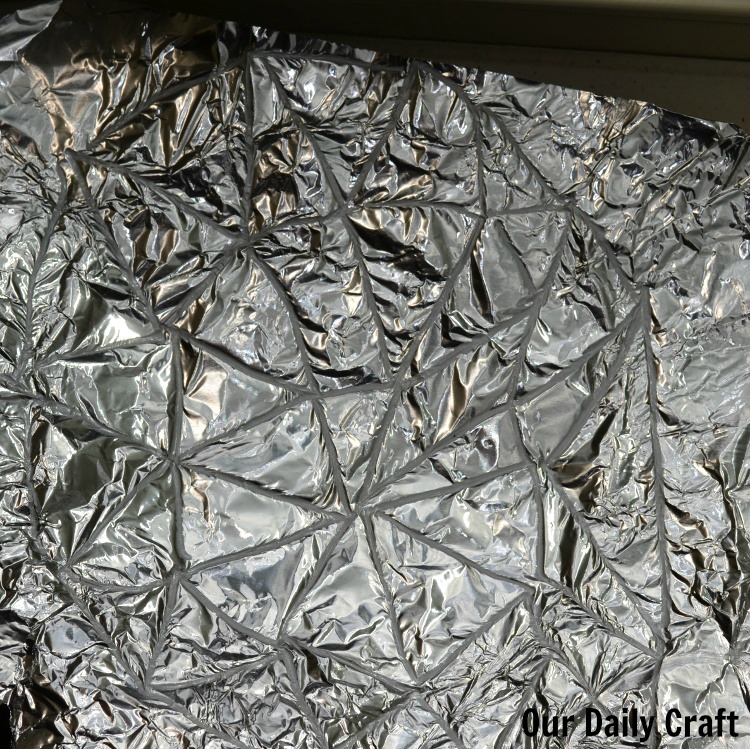
Start with a small piece a foil. I used a chalk pen to mark out a design, which is mostly triangles formed in a sort of spiral shape. 
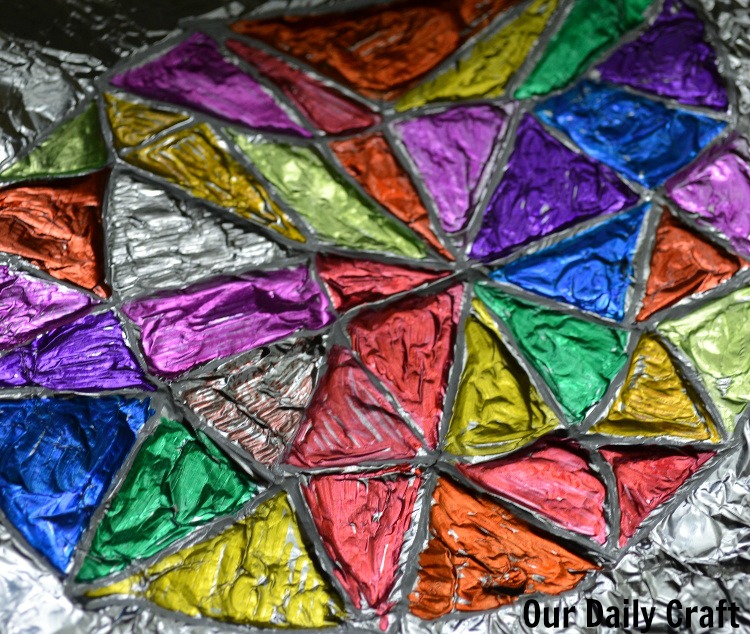
Use markers to color in the design. Sharpies and other permanent markers give the most vivid colors, but use whatever you have. 
It was interesting to see that the brown, which I usually don’t like, came out copper colored on the foil. A neon green became more muted when used this way. 
You also have to pay attention to make sure you’re coloring gently, because the foil can tear (and using markers with pen tips is not a good idea, as you can see on mine).
I really love the way it turned out and now I want to do this project with the girl, too.
Have you ever drawn on aluminum foil? If you try it I’d love to hear about it and see the results (tag me with #ourdailycraft on Instagram).


